Power Cooker Cooker
Quick Start Guide
Step 1
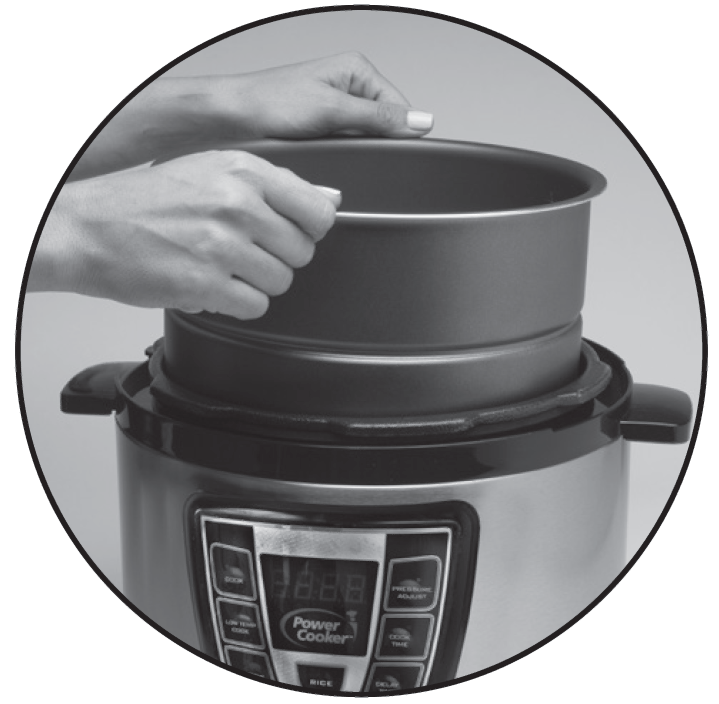
Place Inner Pot into the unit
Step 2
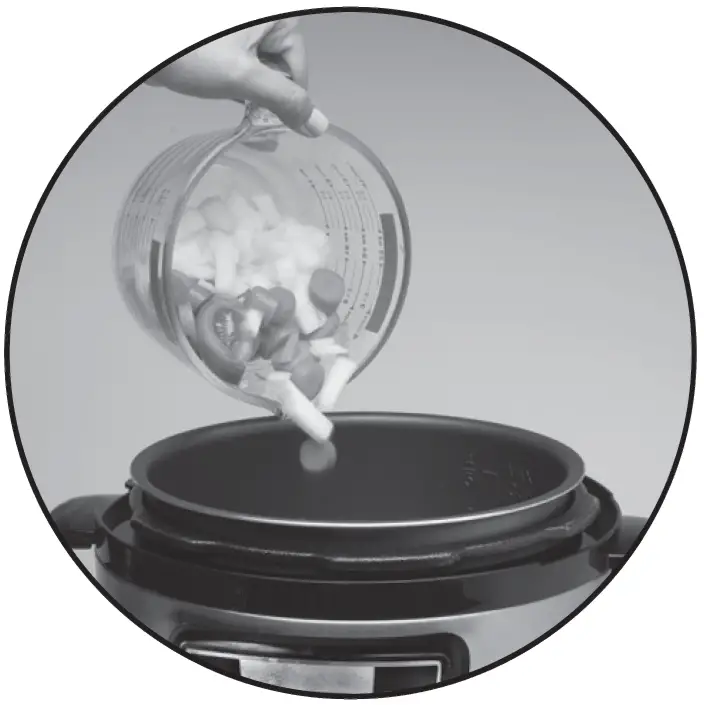
Add Ingredients
Step 3
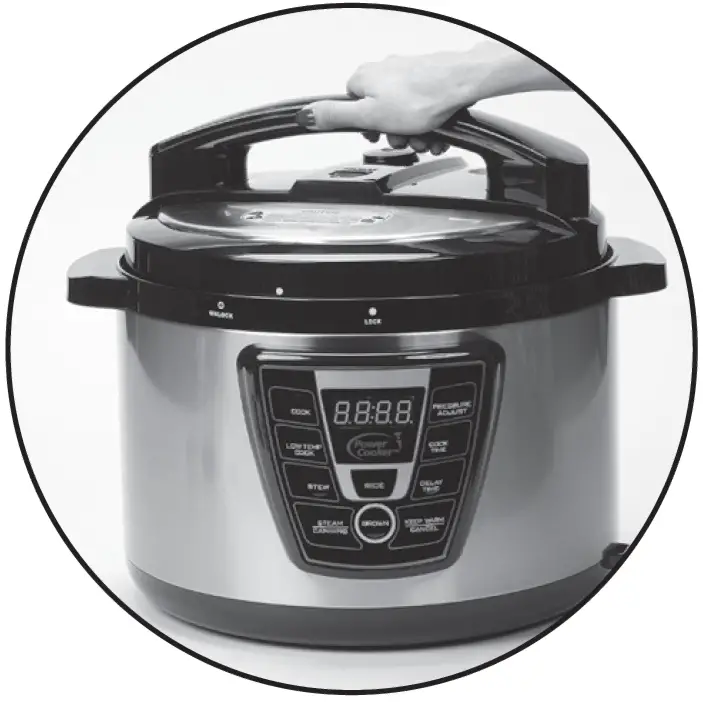
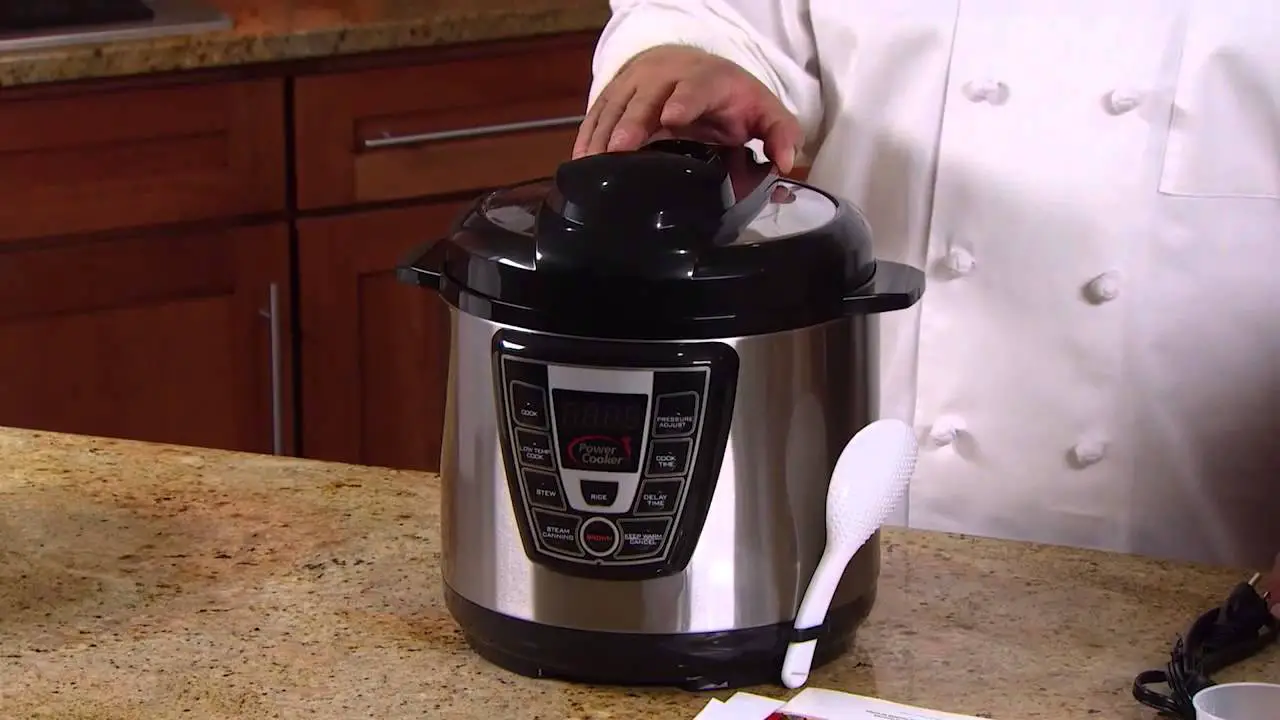
Place Lid on Cooker with Handle and Recessed Valve pointed to the “1:00 o’clock” position. Rotate Lid counter-clockwise until you feel a click.
Step 4
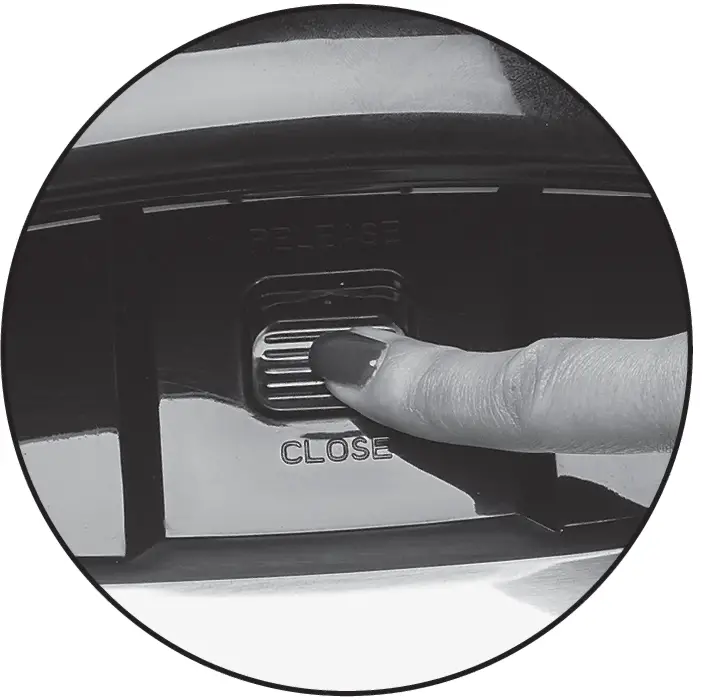
Toggle Pressure Valve switch to the CLOSE position
Step 5
Follow your recipe for correct cook time
Step 6
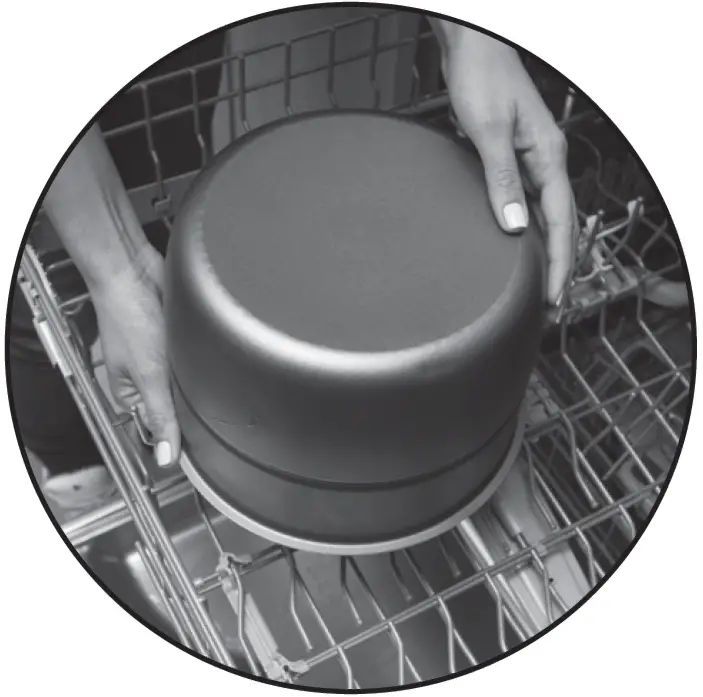
For easiest cleanup, wash Power Cooker parts immediately after cooking. Place dishwasher-safe parts on the top rack only
NOTE: The Power Cooker will take 15 – 17 minutes to pressurize before it starts to cook.
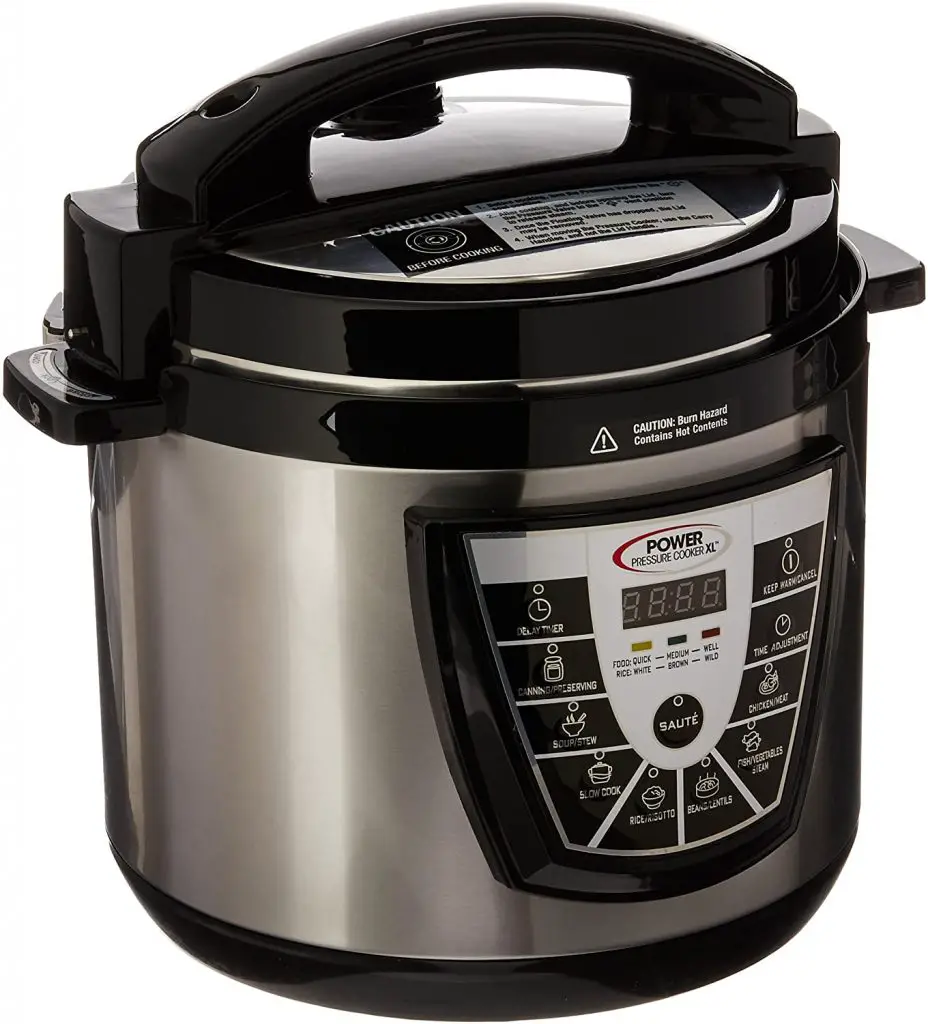
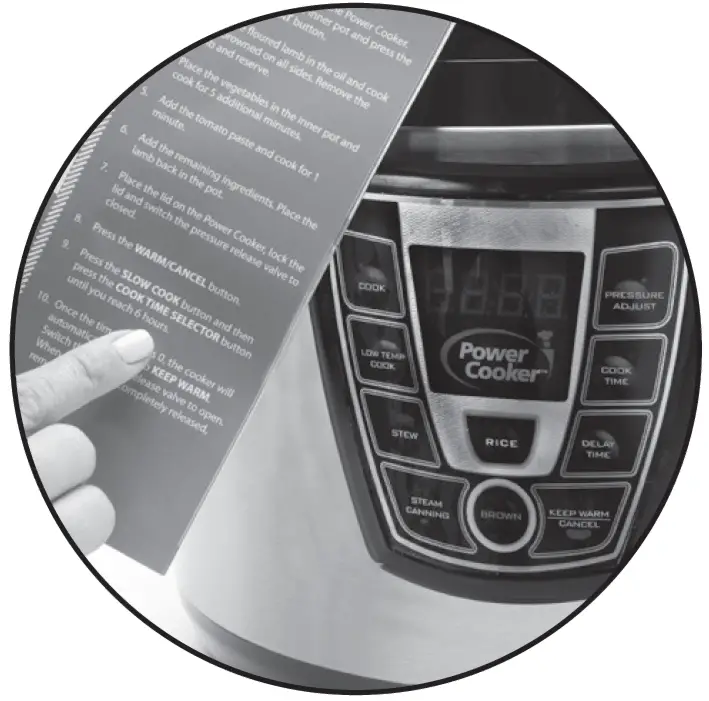
Digital Control Panel – Overview
The Power Cooker has up to eight basic cooking modes that may be used alone or in combination to produce an infinite variety of results. The Quick Start Guide supplied with this unit provides Step-By-Step instructions.
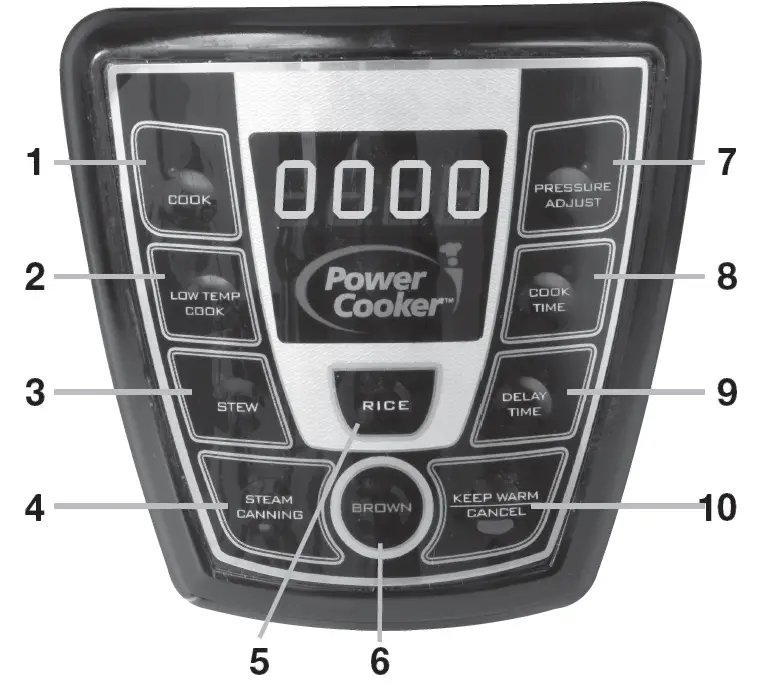
WHEN THE UNIT IS FIRST PLUGGED IN, 0000 will appear on the LED Display. When a cooking process is selected, such as COOK, the default time will blink 5 times. Then rotating double zeros may appear on the left side of the screen to signify it is building pressure. Once pressure is built, the zeros will stop rotating and begin counting down the time. It will beep, the LED Display will be blank, and enter KEEP WARM mode once the time has expired until cancelled.
NOTE: go to page 10 of the manual for complete control information.

![]()


