baby lock BLE-GP Serger General Purpose Foot
Instructions
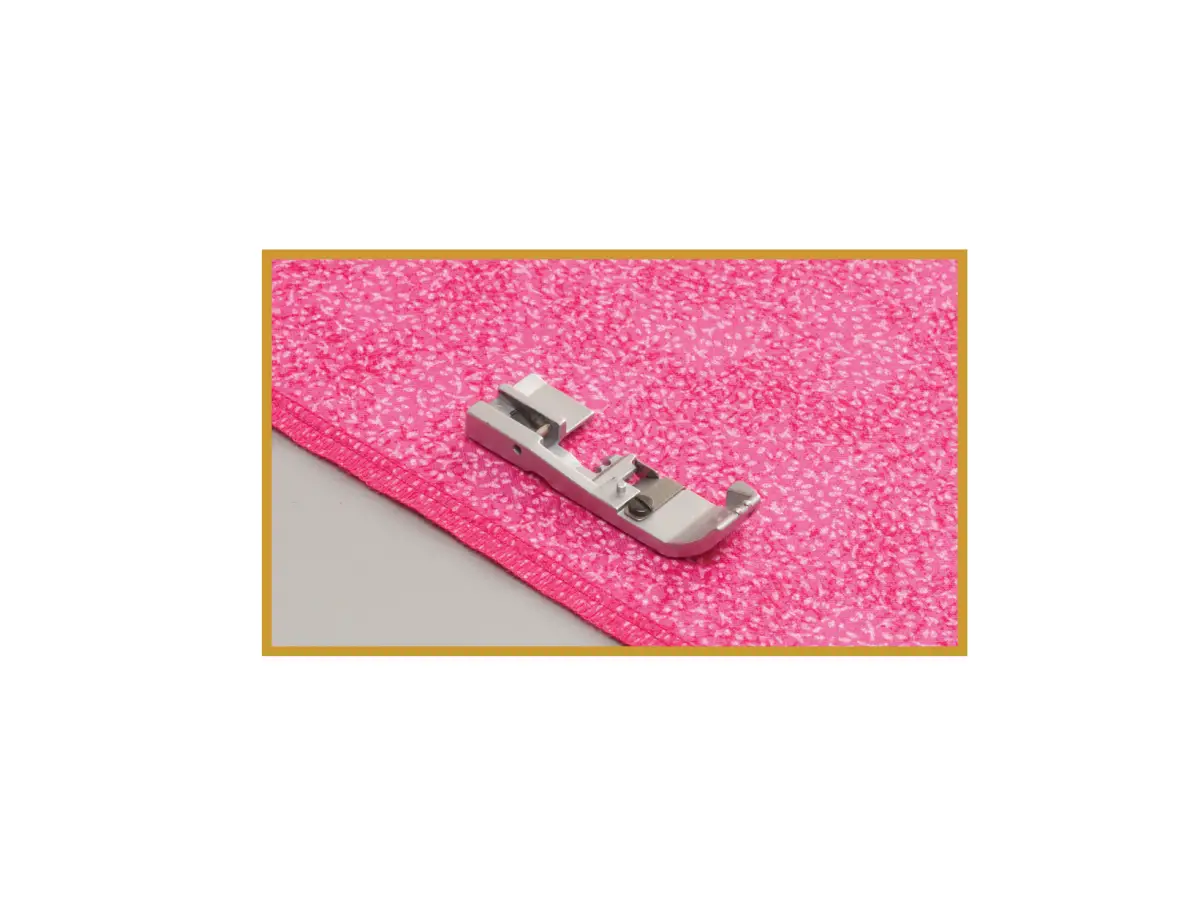
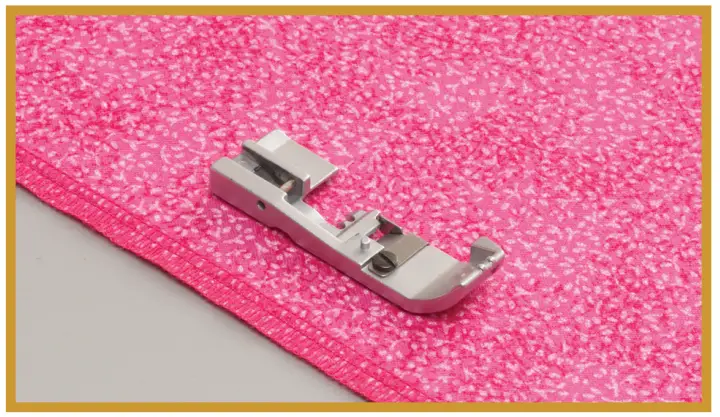
This presser foot is perfect for all of your everyday serging needs using the overlocking stitch and other standard functions. This is a great accessory to have on-hand if your machine’s original foot is misplaced.
The serger has the convenience of a snapon presser foot. The raised markings on the toe of the foot are seam line guides.
They indicate the needle positions to help guide your fabric for accurate seaming.
To Release:
- Raise the presser foot lever.
- Lower the cutting blade.
- Raise the needles to the highest position.
- Push the presser foot release lever located at the back of the presser foot holder.
- Carefully turn the presser foot clockwise 90 degrees.
- Slide the presser foot to the rear to remove.
To Replace:
- Raise the presser foot lever.
- Lower the cutting blade.
- Raise the needles to the highest position.
- Slide the foot from the left to right.
- Align the bar of the foot with the groove in the holder.
- Lower the presser foot lever to snap into place.
The presser foot that comes with the serger has a tape sewing slot. Insert the tape or ribbon, into the slot in the front of the foot, then under the sole of the foot.
Inserting Tapes – Overlock
The slot in the standard presser foot is designed to guide stabilizing tape, narrow elastic or decorative ribbon into the stitching. Insert tape or elastic into the slot and under the back of the foot. Adjust the stitch width to match the tape width. Place the fabric under the foot and stitch.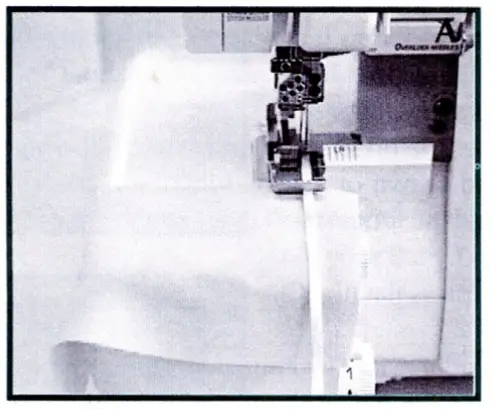
Customer Support
800-422-2952
www.babylock.com