Takuma Seiko AS1 Address Sensor Unit
Introduction
This address sensor unit (AS-1) is an RFID low-frequency (LF) 134.2kHz reader/writer
unit for address tag for AGV (Automated Guided Vehicle) system with internal loop antenna. Address tags are used by the AGV to determine its position while driving.
AS-1 has two types of the functions by factory default, AS-1 READER is an RFID reader function for use with AGV, AS-1 WRITER is an RFID writer function for writing an ID to a tag.
This user manual describes the AS1 WRITER unit.
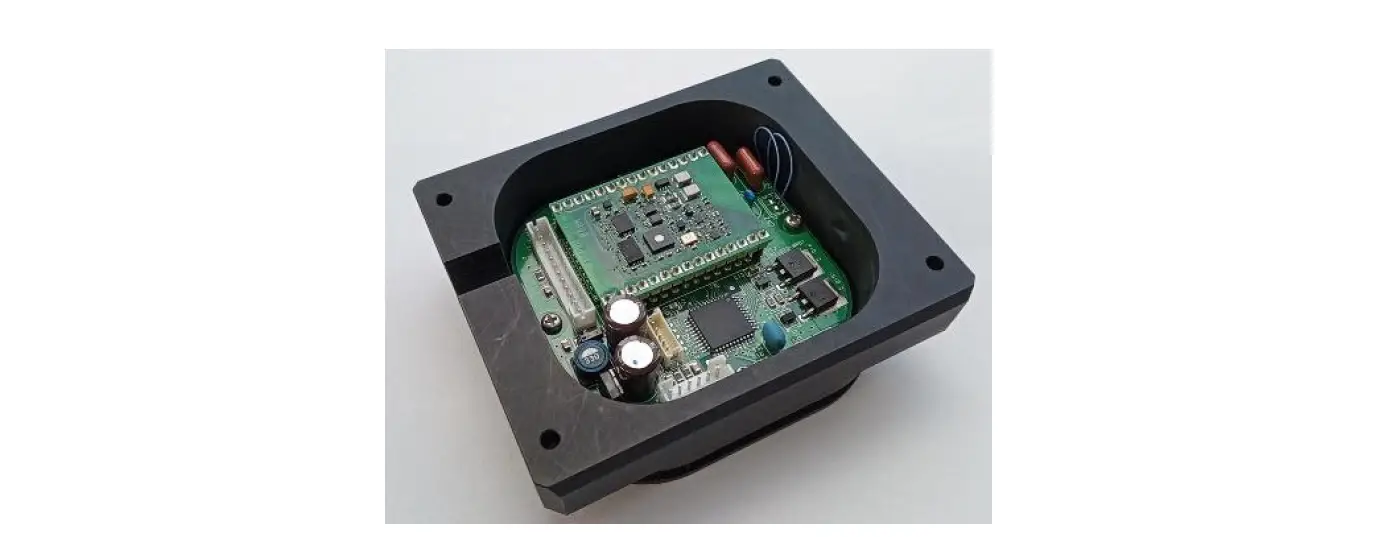
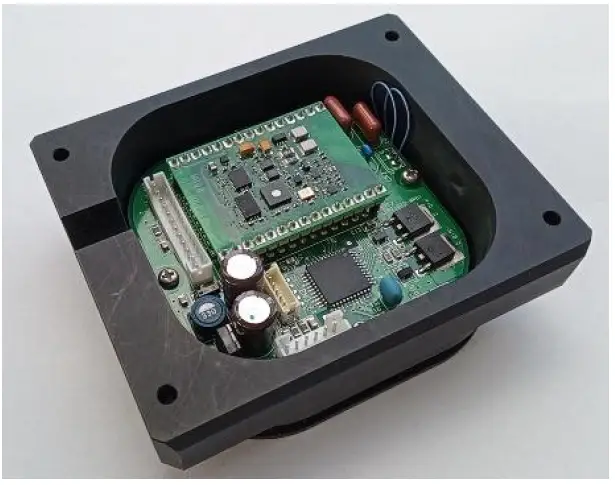
Appearance
The appearance of AS-1 READER is almost the same as above.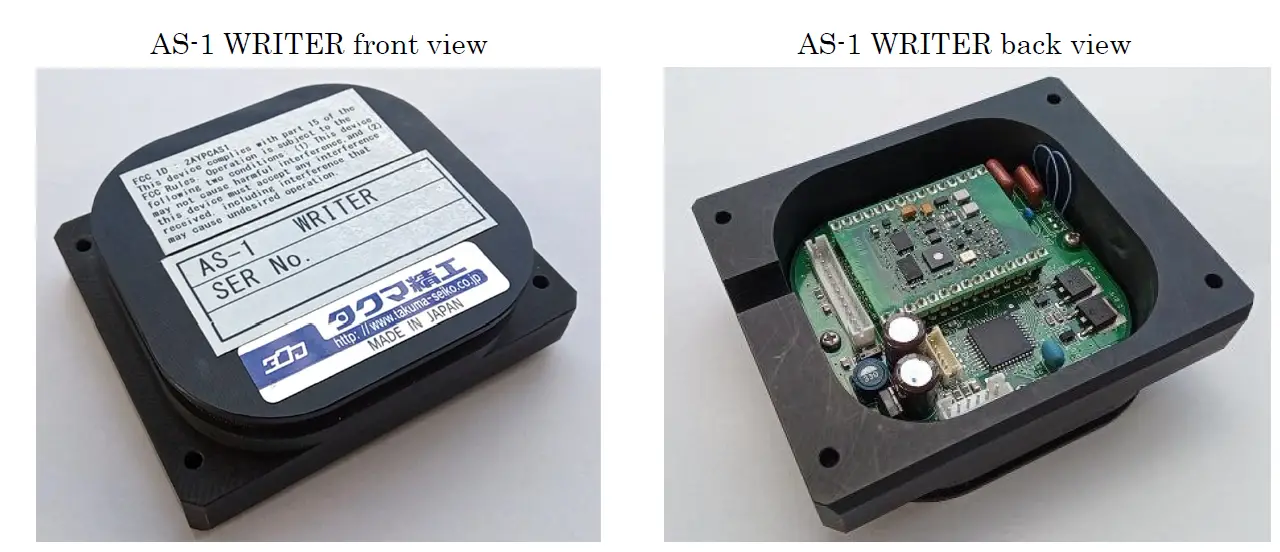
Specification
- Compliant : ISO 11784/11785 134.2kHz RFID
- ID Tag type : RI-TRP-WR3P-30 (23mm Glass), RI-TRP-WR2B-30 (32mm Glass)
- Dimension : 88mm (W), 73mm (D), 27mm (H)
- Weight 100g
- Voltage DC +12V
- Current 0.5A
Part names
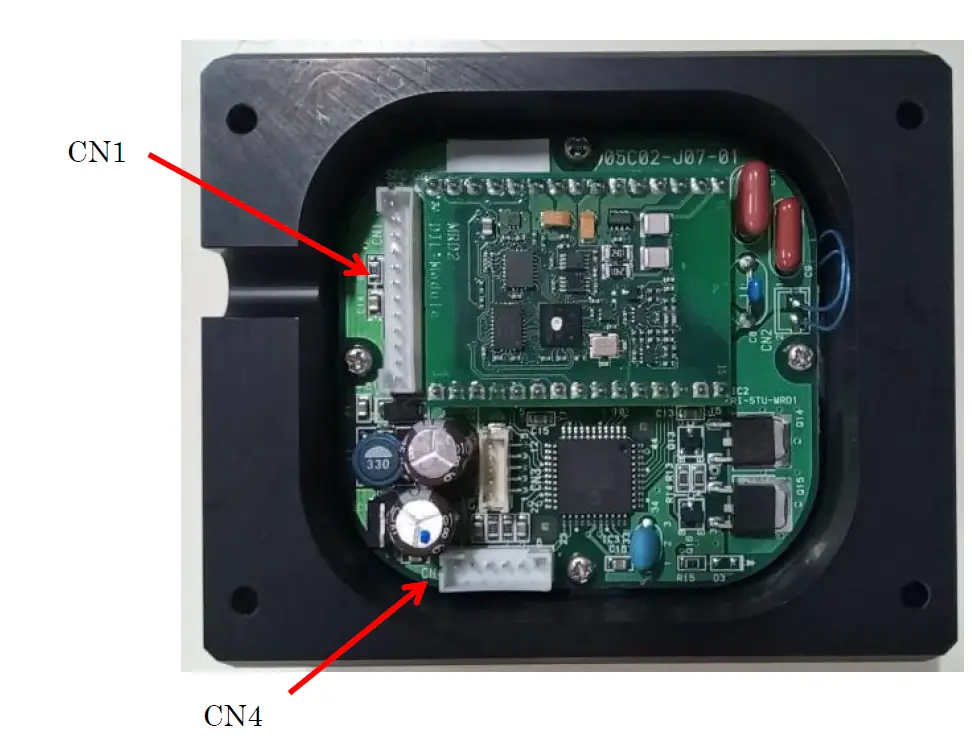
Interface
CN1 (JST B12B-PH-K-S)
| Pin No. | Pin Name | Function | Description |
| 1 | GND | – | |
| 2 | DC +12V | Power | |
| 3 | NA | – | |
| 4 | /OKT | O | Execute done signal for EXE LED |
| 5 | DB7 | O | Data bit 7 for LCD (1602) module |
| 6 | DB6 | O | Data bit 6 for LCD (1602) module |
| 7 | DB5 | O | Data bit 5 for LCD (1602) module |
| 8 | DB4 | O | Data bit 4 for LCD (1602) module |
| 9 | BL | O | Back Light enable for LCD (1602) module |
| 10 | W/R | I | Write/Read switch signal (L: Write Mode) |
| 11 | RS | O | Register Select signal for LCD (1602) module |
| 12 | STB | O | Strobe signal for LCD (1602) module |
CN4 (JST B6B-PH-K-S).
| Pin No. | Pin Name | Function | Description |
| 1 | Battery | I | A/D converter input for battery voltage check |
| 2 | /CLEAR | I | LCD clear switch button |
| 3 | /UP | I | UP switch button |
| 4 | /X10 | I | X10 switch button |
| 5 | /DOWN | I | DOWN switch button |
| 6 | /EXE | I | EXE switch button |
Operation
Write operation:
- Turn on the power.
- Put AS-1 WRITER above the ID tag you want to write.
- Set R/W switch to WRITE side.
- Press the CLEAR, UP, X10, DOWN button and select the number you want to write ID address number.

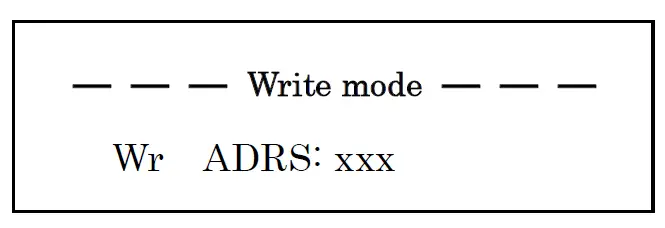
Write mode
CLEAR: ID write address to “000”.
UP: ID write address to 1 increase
DOWN: ID write address to 1 decrease.
X10: Hold down this button and press UP button then ID write address to 10 increase. (DOWN is 10 decrease)
Read operation:
- Turn on the power.
- Put AS-1 WRITER above the ID tag you want to read.
- Set R/W switch to READ side.
- Press the EXE button.
- If reading was succeeded, ID address number will present on LCD display
Read mode
If reading was succeeded, EXE LED will light 100msec. If reading was failed, LCD display will present Rd ADRS: xxx . During read operation, CLEAR, UP, X10, DOWN button disabled.
Other: – If Battery voltage check function finds low battery voltage situation will display
Low Battery! – LCD backlight will turn off automatically if no any buttons pressing during in a few seconds.
REGULATORY COMPLIANCE INFORMATION
Product Name: Address sensor unit
Model Name : AS-1 WRITER
This device complies with Part 15 of the FCC Rules. Operation is subject to the following two conditions: (1) this device may not cause harmful interference, and (2) this device must accept any interference received, including interference that may cause undesired operation.
TOMITA U.S.A INC. (HEADQUARTERS)
7801 Corporate Blvd. Ste. G, Plain City, OH. 43064 U.S.A.
TEL:1-614-873-6509 FAX:1-614-873-6806
FCC CAUTION
Changes or modifications not expressly approved by the party responsible for compliance could void the user’s authority to operate the equipment.
Note: This equipment has been tested and found to comply with the limits for a Class A digital device, pursuant to part 15 of the FCC Rules. These limits are designed to provide reasonable protection against harmful interference when the equipment is operated in a commercial environment. This equipment generates, uses, and can radiate radio frequency energy and, if not installed and used in accordance with the instruction manual, may cause harmful interference to radio communications. Operation of this equipment in a residential area is likely to cause harmful interference in which case the user will be required to correct the interference at his own expense.
Revision History
| Rev. | Description |
| 1.00 | 1st release |


