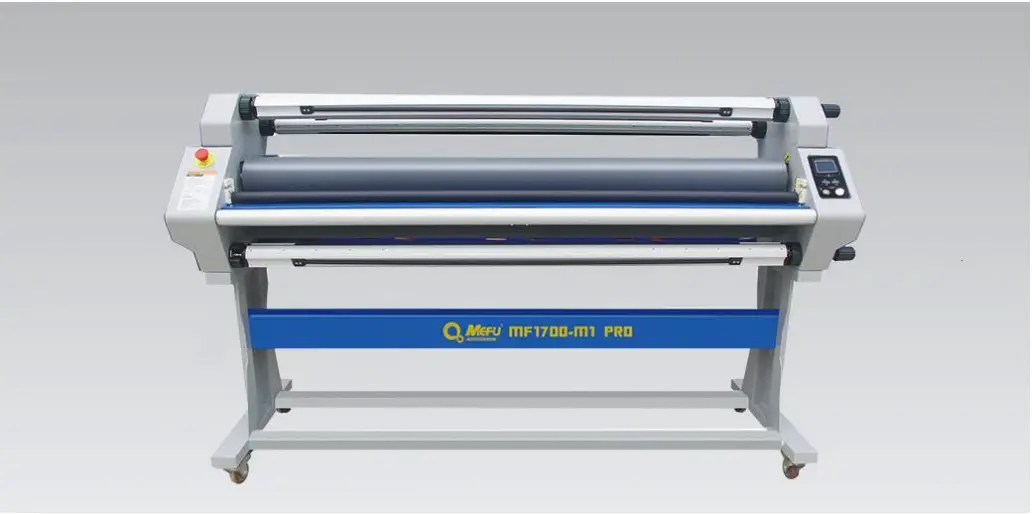
Mefu MF1700-M1 Pro Hot Selling Heat Assist Cold Laminator with Cutter User Guide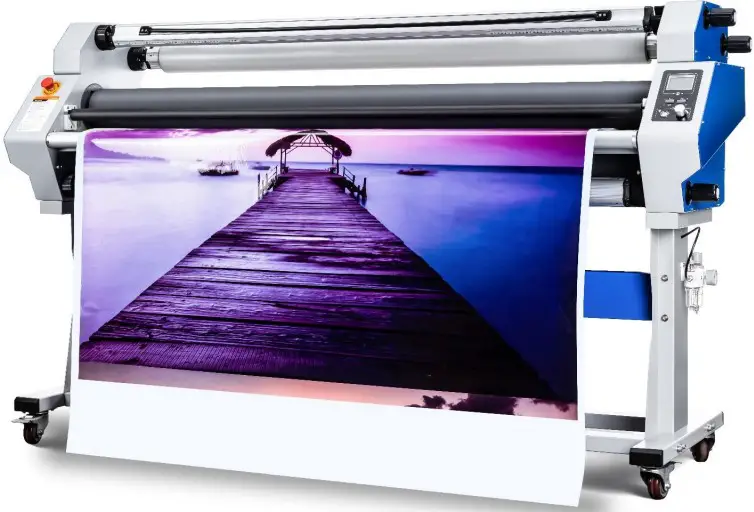
Information
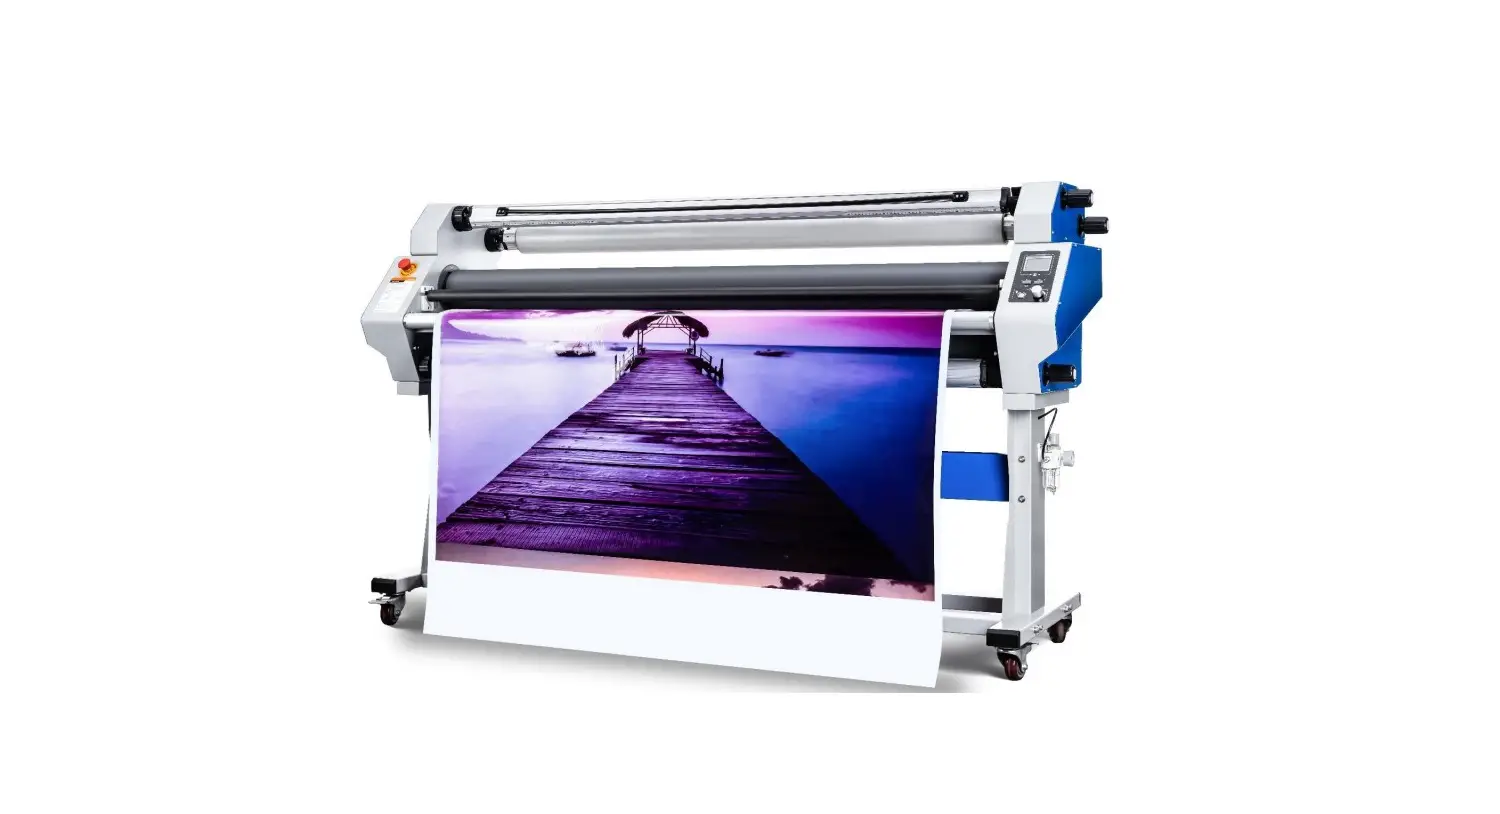
Description
MF1700-M1 PRO is fully auto heat-assist laminator for signage and graphics. This premium machine’s vertical cutting systemcan cut the wastededges with efficiency during lamination. Pneumatic up and down, Top speed 31.17ft/min, you got everything here.
Specification
| Smart System | Entry | Up and down | Pneumatic | |
| Control Panel | Front and Rear | Roller | Silicon | |
| Max Lam Width | 64” | Roller Diameter | 5.04” | |
| Max Lam Thickness | 1.1” | Trimmer Holder | 2 Single and1 Double Central blade | |
| Max Speed | 31.17ft/min | Power | 1600W | |
| Heating | Top Heated | N.W. | 330lb | |
| Max Temp | 140℉ | Dimension (LWH) | 87”x34”x30” | |
| Rated Input Voltage | 110V 60HZ 1PH |
Unique functions
Smart Entry – Front panel
Easy to check figures of set temp, real temp, and button speed, as well as find your lamination records in 30 days. Date and time display. Up and down button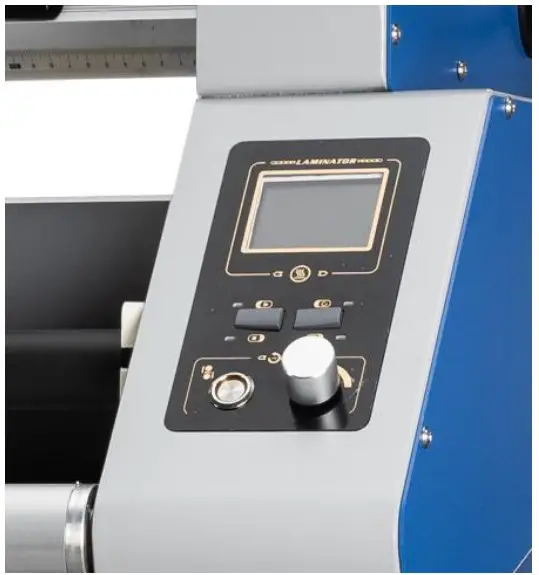
Patent roll shafts
Auto locked and exchangeable roll shafts Upgraded shaft caps and holders can be easily locked and loaded media.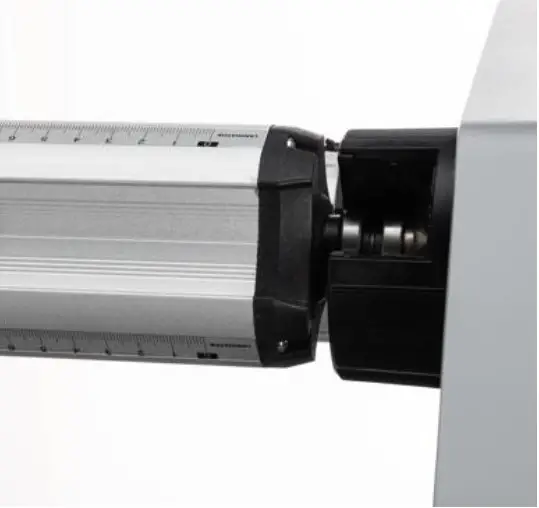
Smart Entry – Rear panel
Run or stop lamination. Speed statistics, showbuttonspeed, which is convenient toadjust machine speed.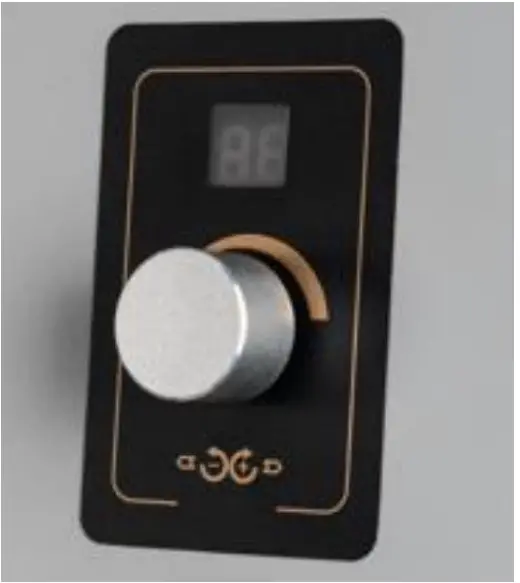
Safety vertical cutter
Equipped with 3 trimmer holders, 2 Single and 1 Double central blade. Upgraded with two paddles on2single trimmer holders. Durable tungsten steel blades cancut common medias withalifetime that over 15000m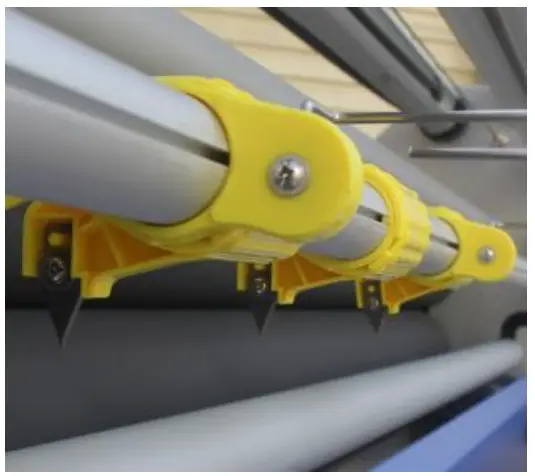
Packing list
| ‘Machine Components | ||||
| ltem | Picture | Details | Quantity | Remark |
| 1 | 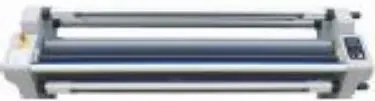 | Body | 1 unit | |
| 2 | 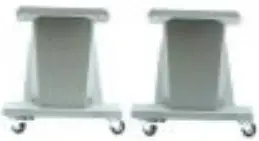 | Stand Legs | 2 pes | |
| 3 |  | Bar | 3 pes | |
| 4 |  | Roll | 4 pcs | |
| 5 | 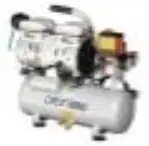 | Compressor | 1 unit | |
| 6 | 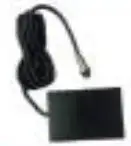 | Foot Pedal | 1 pc | |
| 7 | Heater | 3 pes | Fragile | |
| 8 | 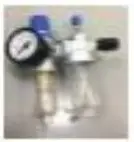 | Oil-water separator | pc | |
| Accessories Carfon | ||||
| ltem | Picture | Details | Quantity | Remark |
| 1 |  | Stand screw | bag | |
| 2 |  | Eis | 2 pes | |
| 3 |  | Terylene mat | 2 pes | |
| 4 |  | Ceramic pipe | 6 sets | |
| 5 |  | Wrench | 1 set | |
| 6 |  | Cutter | 1 pc | |
| 7 |  | Roll clip | 1 set | |
Installation
Stand
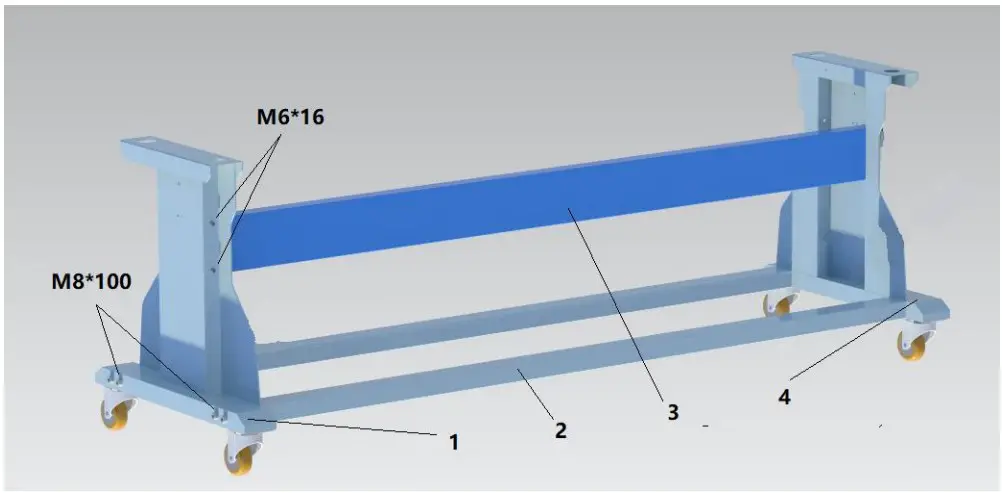
- Left stand leg
- Lower two bars
- Blue supporting bar
- Right stand leg
Machine body
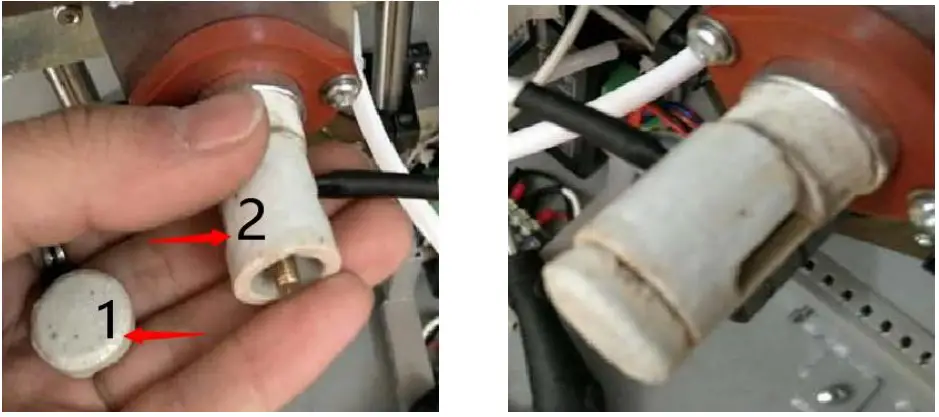
Heater (Caution: Please shut down the power before installation)
Step1: Put heater in roller(open left and right covers)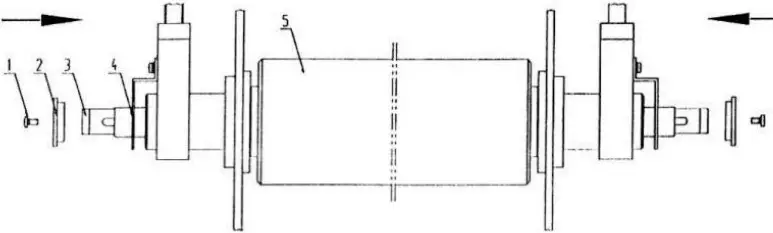
- Screw
- Rubber mat
- Heating tube
- Heating tube bracket
- Roller
Photos:
- Open left and right covers.

- Remove screw and

- Put heater into upper roller.

- Install rubber mat and screwit. rubber mat from bracket.


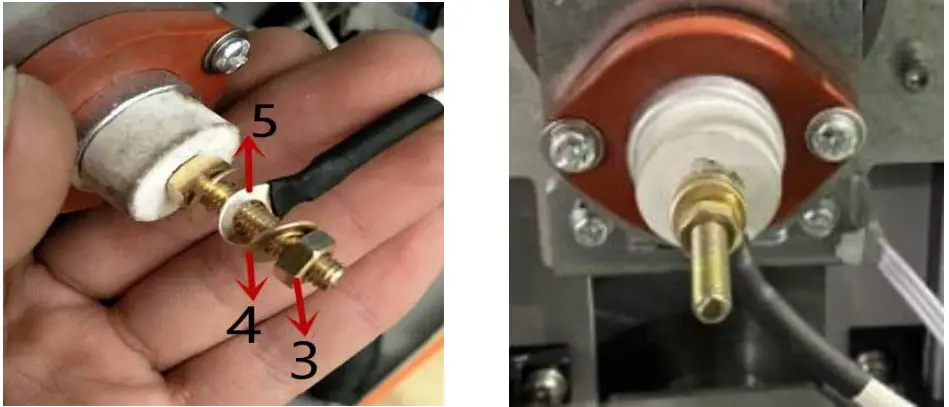
Step: Lead wire
Photos:
- Install lead wire, flat mat and hex nut as pic.

- Install ceramic cap and ceramic pipe.

Compressor
 |  | |
| Step 1 | Step 2 | Step 3 |
| Install compressor as the pic. | Connect air tube to oil-water separator. | Press “Red” button to operate |
Operation
Panel
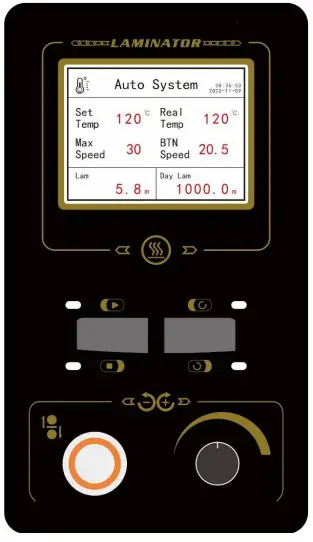
- Press speed button 3 seconds to active Heat ON/OFF
- Turn right to select Heat ON or OFF, press again to confirm
- (Heat ON) Press button to select “Set Temp”, rotate to adjust degrees, press again to confirm the setting
 runs continuously
 Stop running; Foot Pedal can control roller moves
 Only Foot Pedal can control roller moves
- Long pressing
 to show 30 days lamination statistics
 - Long pressing to adjust settings
- You can press rear button to run or stop
- Over 2 mins no operate, machine will auto stop if button speed is “0
Lamination
Power on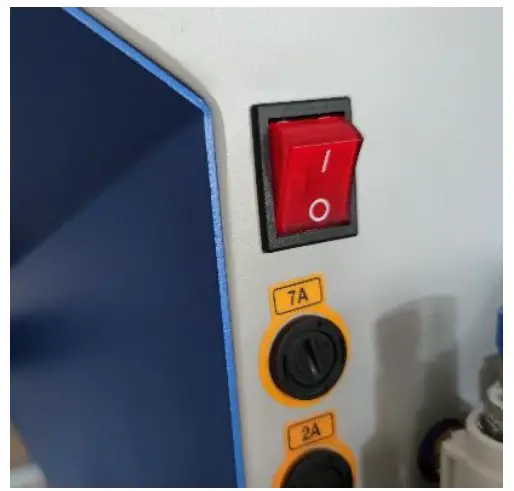
Loading medias
Loading film and prints. Put 3” cores on liner and finish roll.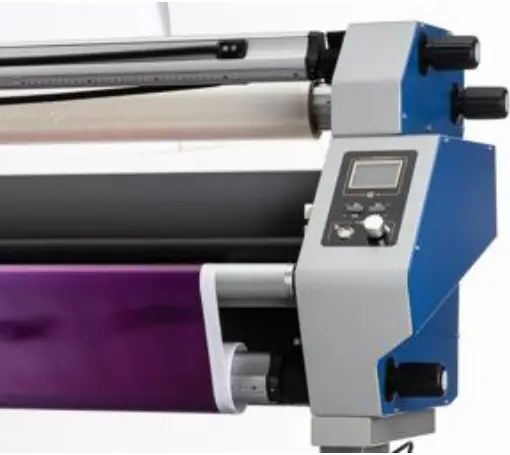
Heat ON/OFF
Press speed button 3 seconds to active Heat ON/OFF.
During heating up pleasemake sure roller lift downand slowing running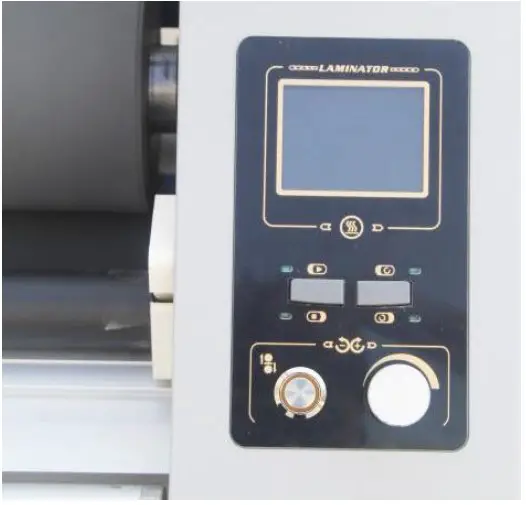
Up roller by button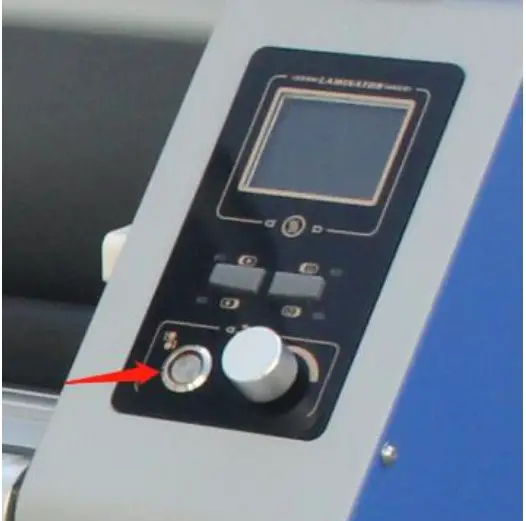
Method A – Feeding filmPeel off film and pull it
through the rollers until stick on the finish roll. (A)
During this step, please keep the film tight.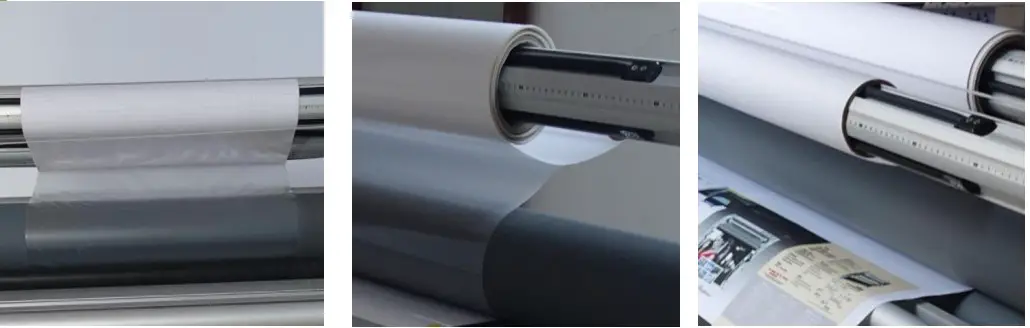
Method A – Feeding prints
Feeding the prints slowly with tension through the top roller.
Keep align with film.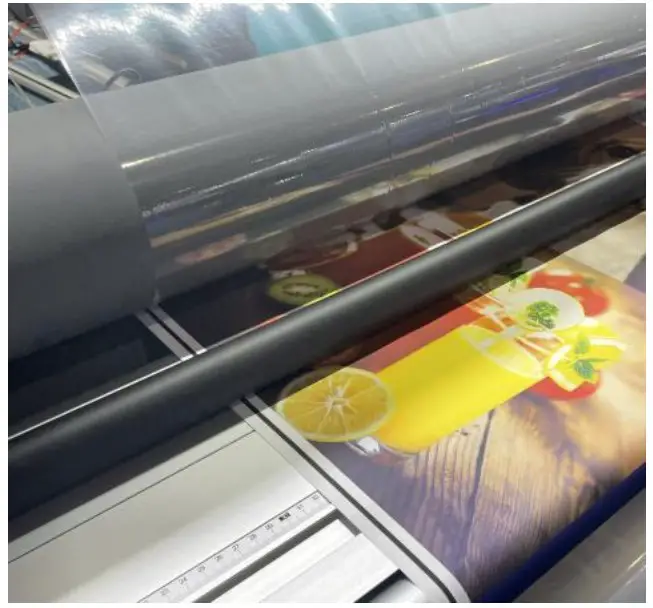
Method A – Running
Down roller by button.
Slowly running the machineor use foot pedal.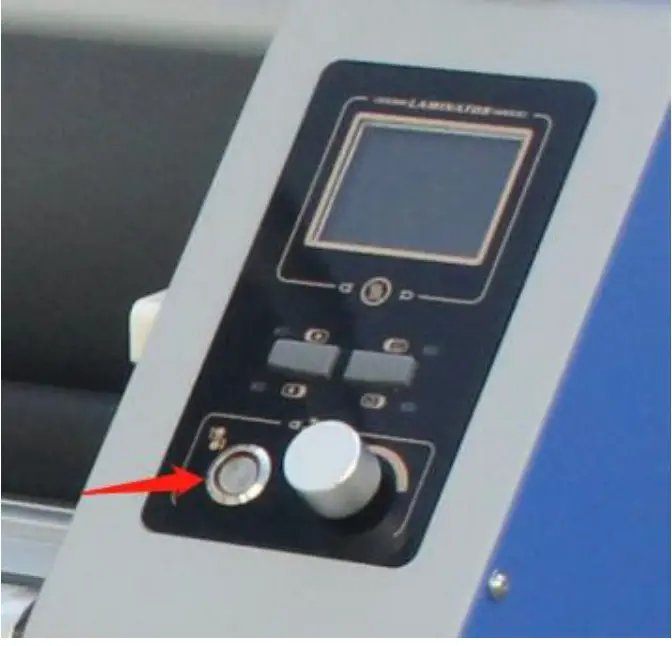
Method B – Feeding film
Pull film with liner through the rollers. (B)
During this step, please keep the film tight.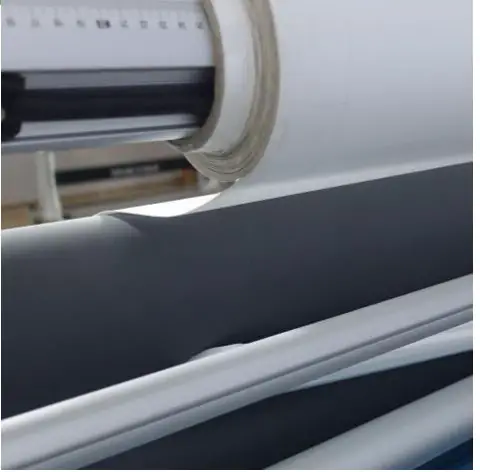
Method B – Feeding prints
Feed prints under upper roller.
Keep prints align with film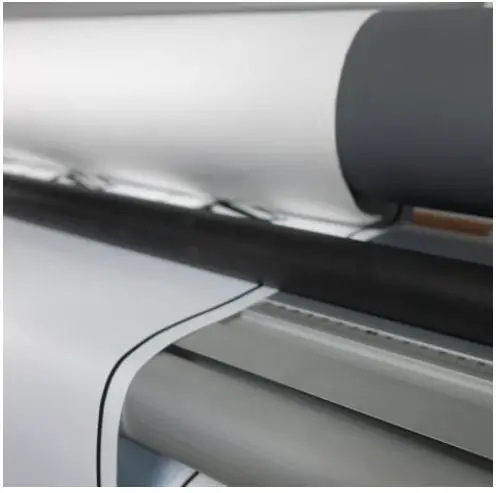
Method B – Peel off liner
Use safety knife to peel off film liner and stick onto liner roll.
Then lift down roller andslowly running the machineor use foot pedal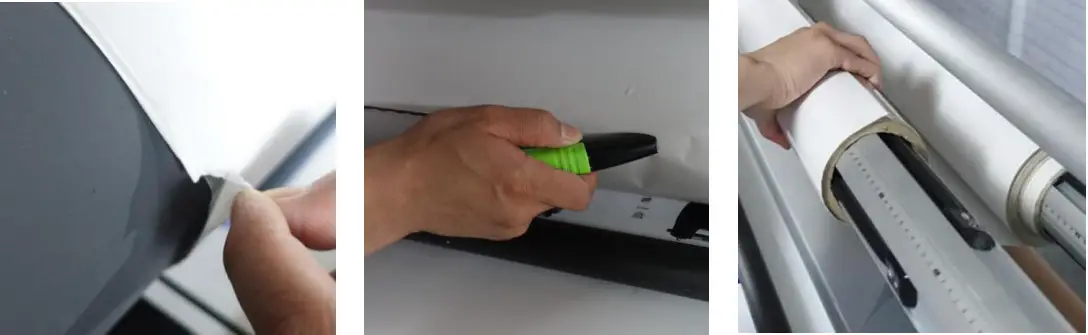
Alignment
Keep film and media alignment.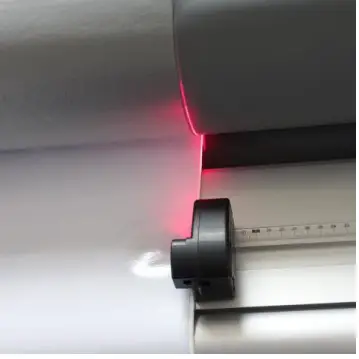
Notice
When the lamination starting, please be careful the if the oversized filmmay stick onto roller.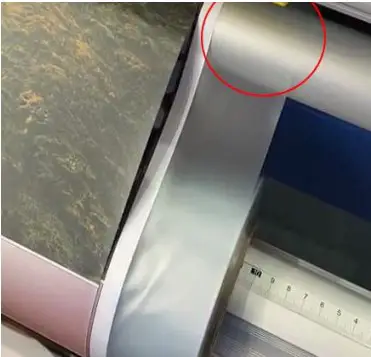
Cutter
If needed, you can active the cutters to trimmingtheedges or separate two different pictures. The cutters can be slightly adjusting the distance.
Lift up cutting bar.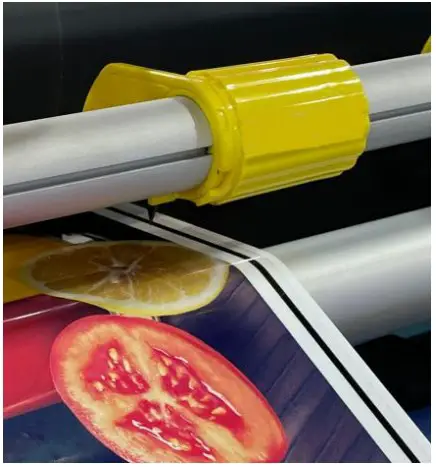
Locked the cutter holder.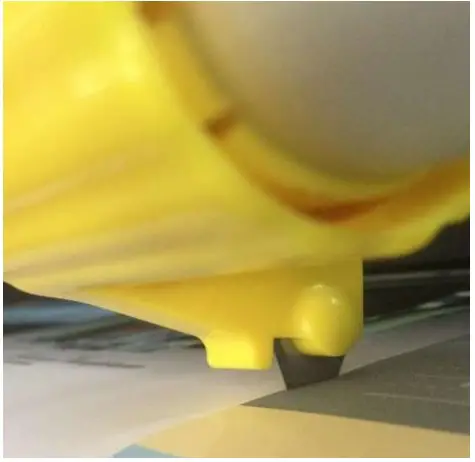
Cutter adjuster.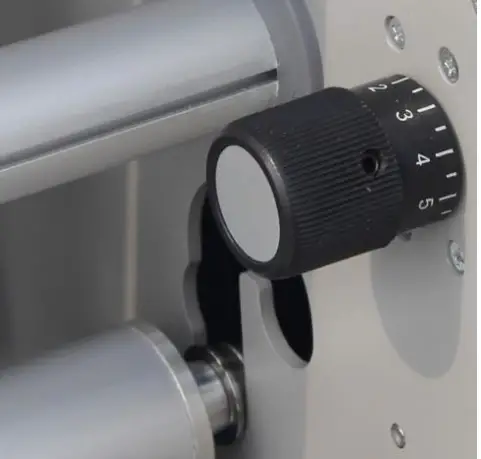
Trouble shooting
Check roller balance
| Roller balance | 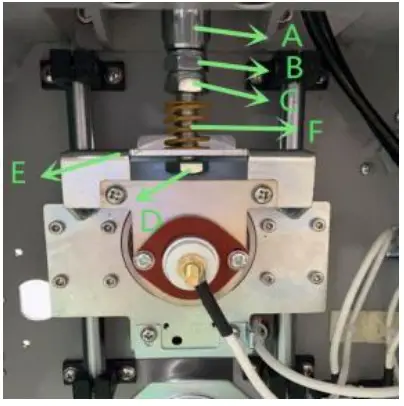 | A. Check if there is 2mm/0.08” gap between F and C of both sides.B. If the gap is not the same, use wrench hold Bolt D, adjust Screw C to make sure the gap of both sides are same. |
| Pressure increase | Step1. Make ensure the roller is balance. Step2. Lift down top roller.Step3. Using wrench to hold Bolt D, then adjust Screw C downward for more pressure. | |
Trouble shooting
| Trouble | Defective parts | Incorrect operation |
| Roller can’t lift up and down | Air cylinder Air CompressorRoller stuck in lifting trackLifting knob or button | Reset emergency button Air inlet speed of both cylinder |
| Control Panel don’t light | Fuse tubePower supply | Press “SET” 3 secondsReset emergency button |
| Abnormal speed | Motor Fuse tubeSpeed button Speed controller Central controller Laser sensorChains (Motor shaft) | Laser sensor blocked Reset emergency buttonActive speed button in Front or Rear |
| Temperature issue | Heater Fuse tube Solid relayTemp sensor | Real temp higher than Set temp Adjust Temperature correction |
| Bubbles | Roller broken | Rollers balance Increase roller pressure More roll shaft tension Higher temperature Slow down speedMore tension in PrintsPrints not dry enough |
| Folds | Roller broken | Roller balance Align Prints and Film Tension in Prints / Tension in Film Roll shafts tension Prints not dry enough |
Notice
- Slowly running the machine when heated.
- Lift up roller after finishing the lamination.
- Keep rollers clear.
- Do not scratch the rollers.
- Lubricate the gears and chains.
- Friction mats should be checked and replaced regularly.