
 Cricut Auto press Mist Sewing Kits
 Get to know your Cricut Auto press
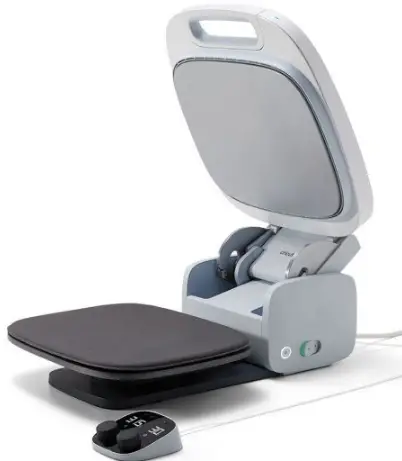 Get to know your Cricut Auto press
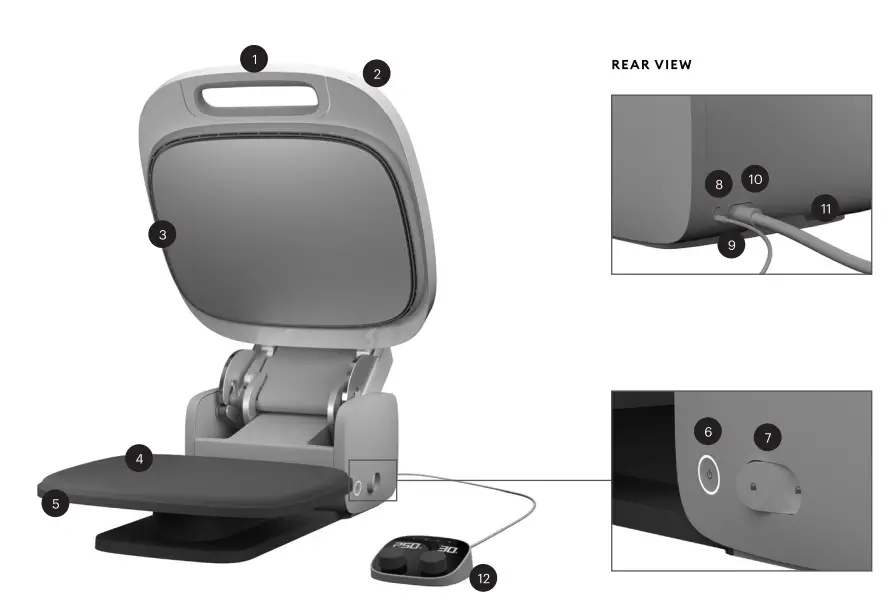
 Handle Indicator
- Lights Orange = heating up
- Green ready to use
- Red machine locked or Control Pod disconnected
- Heat Plate
CAUTION: Gets very hot during use Pressing Mat Platen - Power Button
- Lock/Unlock
- USB Port
- USB Cable
- Power Port
- Power Cord
- Control Pod
 Handle Indicator
Control Pod
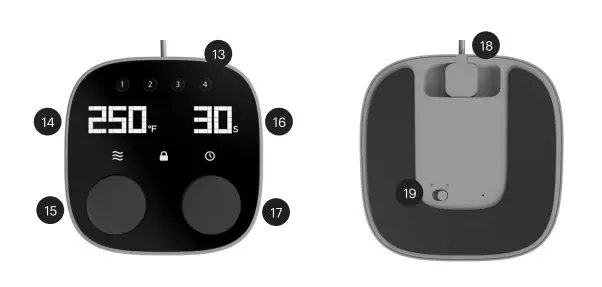
- Preset Buttons: Press for 3 secs to save settings Temperature
- Set Temperature: Use dial to adjust
- Timer Starts when handle is pressed
- Set Time: Use dial to adjust
- Micro-USB Port: Connect machine cable C°/F°
- Toggle: Switch from Celsius to Fahrenheit
Use your heat press
Before using for first time, activate Cricut Autopress at cricut.com/setup. Follow on-screen instructions to set up press and connect to Design Space.
- Get time & temperature settings for your project at cricut.com/heatguide
- Position project on Pressing Mat (4)
- Use Handle (1) to lower heat plate
- Press handle to start timer
Note:
- Timer starts automatically Heat plate lifts automatically when complete
- Carefully remove project
CAUTION: Heat Plate (3) gets very hot during use. Platen (5) may become hot during use. Handle with care. Read safety instructions before use.


