![]()
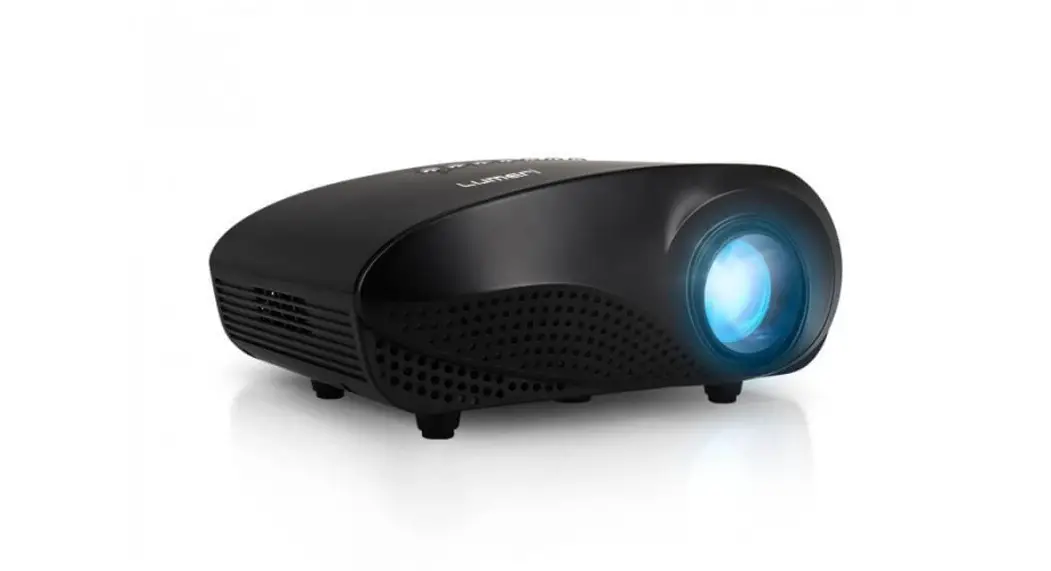
Q120 Projector
Instruction Manual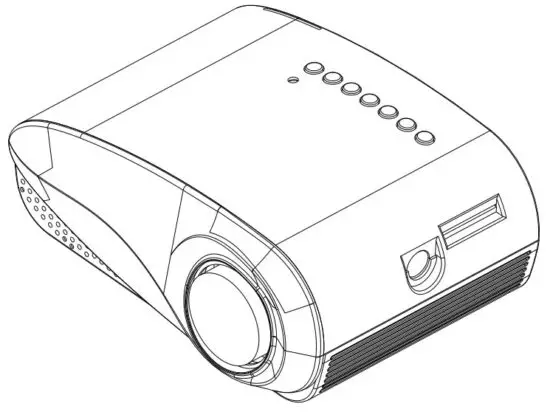
Note: As the product system is updated from time to time, t he specific operation content is based on the actual situation. This product 5 is only suitable for projections of images & video. and may not be used for room lighting.
Important Safeguards
- Please read the manual carefully before operating the projector. To ensure a stable power supply, please use a standard power cable.
- Please use the power supply and cable indicated on the rating label. The projector should be kept away from clothes, sofas, and anything that may block the ventilation scoop. Please keep the unit away from flammable and explosive materials.
- Please do not disassemble the unit yourself as this will invalidate the warranty service. To protect your eyes, do not stare directly at the lens when the projector is on. The projector must be kept away from water and any other liquids.
- To prevent electric shock, please keep the projector out of the rain and away from moisture. It is recommended to switch off the projector after it has run for 6 hours non-stop. Please use the original foam and other cushioning materials when transporting the projector.
- If the projector does not work, please contact the authorized service agent.
Accessories List
AV signal cable x1
Remote control x1
Power adapter it 1
User manual x1
Projector Overview

- Infrared Port
- USB Port
- HDM I Port
- VGA Port
- AV Port
- Audio Output
- DC 12V Adapter
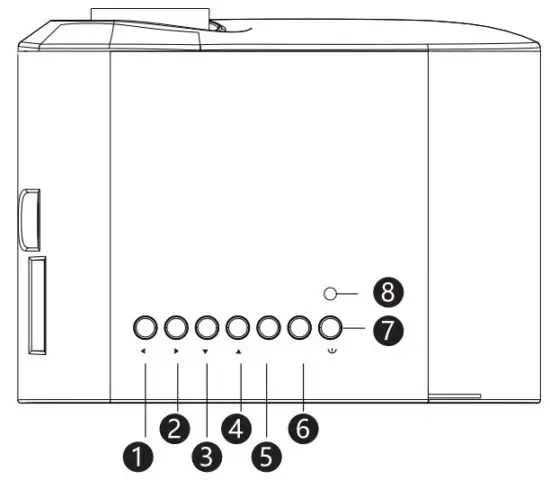
 Left: move left or volume down
- Right move right or volume up
- Down: move down
- Up: move up
- Menu: operate multiple functions
- Source: confirm the signal input source
- Power Button: power on or off
- Power Indicator
 Left: move left or volume down
Specification
| Model | LCD projector | Image system | LCD |
| Lamp | LED | Native resolution | 480×320,support 1080P |
| Language | English, 25 languages | Input voltage | DC 12V/2A |
| Size | 168x110x7Omm | ||
| Aspect Ratio | 16:9/4:3 | Working temp | 0-35°C |
| Weight | 0.5 KG | Input voltage | HDMI /USBNGA/AV/SD/ATV (Optional match) |
| Operation mode | Manual / Remote control | Output | Headphone |
Multimedia Supported Files
| Image Format | JPG/PNG/BMP/JPEG |
| Video Format | MP4/MKV/MOV/WMV/RMVB/RM/AVI/FLV/TRP/V0B/3GP/DIVX/TP/TS/MPG/M2TS/F4V/DAT |
| Audio Format | MP3/AAC/WAV/FLAC/WMA/M4A |
| File Format | TXT |
![]() The projector does not support Dolby audio decoding.
The projector does not support Dolby audio decoding.
Remote Control
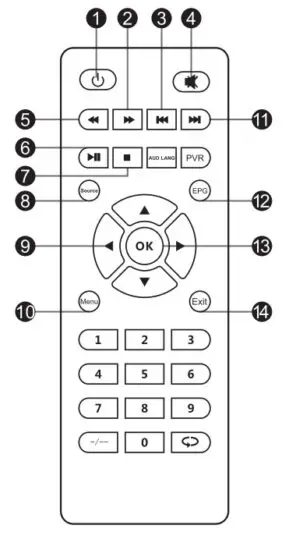
| 1. Power 2. Forward 3. Previous 4. Mute 5. Backward 6. Play 7. Stop | 8. Source 9. Up / down / left / right 10. Menu 11. Next 12. Electronic Menu 13. Confirm 14. Exit |
Focus / Keystone Correction
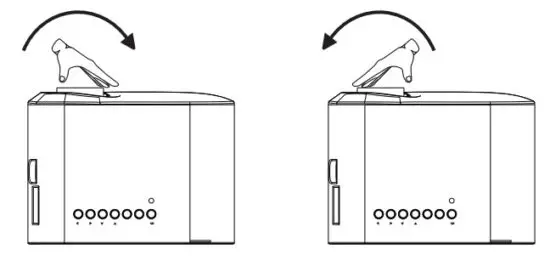
I. Image focus
Turn the lens clockwise to the projector, and thereafter slowly turn it counterclockwise. At the same time, check the resolution point. The best position of the lens will be determined when the image is clear.
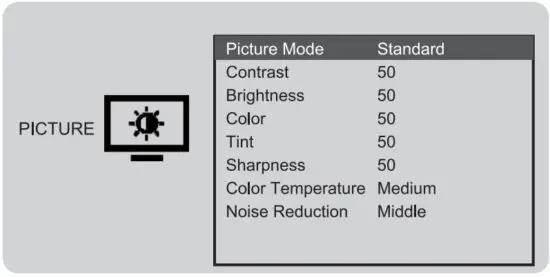
Select Setup in the main interface, first press the left/right keys to select the sub-menu, the second set up the mode you need, and finally press the OK key to confirm.
Submenu:
PICTURE: Picture Mode \ Contrast \ Brightness \ Color \ Tint \ Sharpness \ Color Temperature \ Noise Reduction.
SOUND: Sound Mode \ Treble \Bass.
OPTION: OSD Language \ Aspect Ratio \ Projection Mode \ Factory Reset \ Software Upgrade \ Version.
•How to Select Source
Step 1: Select the source you want in the main interface, such as HDMI, AV, etc.
Step 2: Press the OK button on the remote control to enter into the corresponding source interface.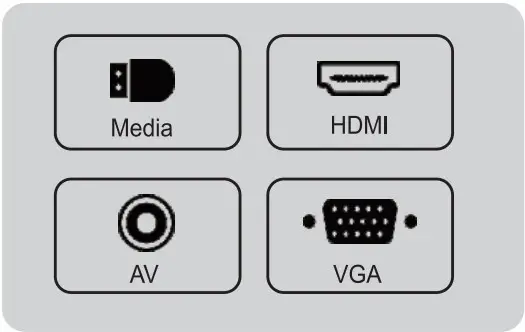 Note: When the projector is in the no signal interface, please press the source button on the remote control to select the home page or other source.
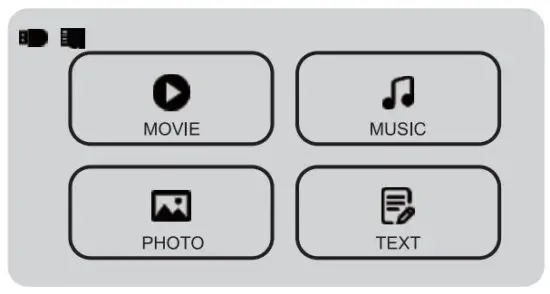
•How to Play Multimedia
Step 1: Select “Media” in the main interface.
Step 2: After entering the interface, select the files you want.
 Standard Setting
 Standard Setting
Refer to the data in the table below to place the projector away from the projection screen according to the preset graphic size. When installing, place the projector on a solid, stable countertop. The airframe should be well ventilated. Do not cover or block the vents. There should be no obstructions within 30cm of the vents.
| Aspect ratio | 16:9 |
| Picture size (inch) | Projection distance (m) |
| 5 0 “ | 2.11 |
| 7 0 “ | 2.96 |
| 1 0 0 “ | 4.23 |
| 1 2 0 “ | 5.07 |
Note: The above data is for reference only, please refer to the physical measurement.
This product is only suitable for projections of images & video, and may not be used for room lighting.
![]() The terms HDMI and HDMI High-Definition Multimedia Interface, and the HDMI Logo are trademarks or registered trademarks of HDMI Licensing Administrator, Inc. in the United States and other countries.
The terms HDMI and HDMI High-Definition Multimedia Interface, and the HDMI Logo are trademarks or registered trademarks of HDMI Licensing Administrator, Inc. in the United States and other countries.


