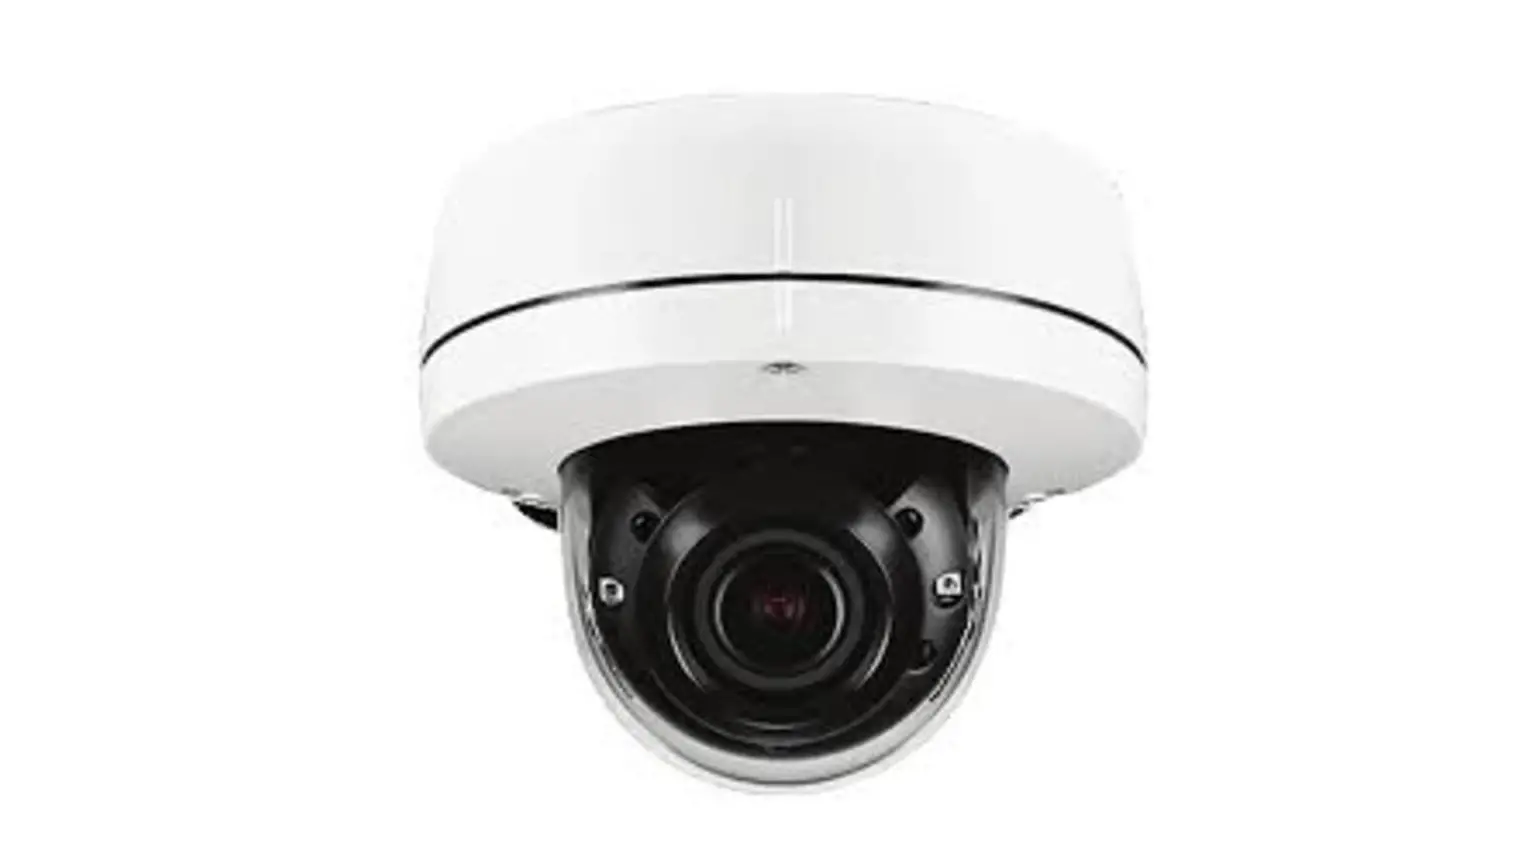
OpenEye OE-7084-AWR 4MP IP Dome Camera
OE-7084-AWR / 4MP IP Dome Camera
OE-7088-AWR / 4K IP Dome Camera
This quick start guide provides only basic information on the camera’s settings and operation for initial installation. Please read the user manual for optimal camera configurations.
CONNECTIONS
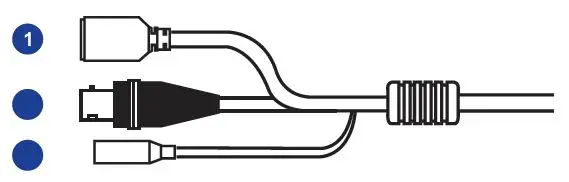
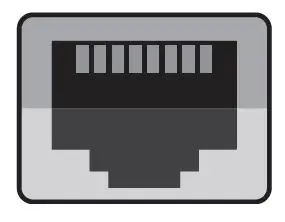
| 1 | RJ-45 | For network and PoE connections | |
| 2 | BNC | For analog video out | |
| 3 | Power (12vDC) | Power connection | |
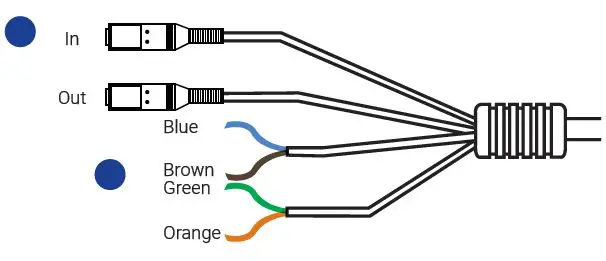
| 4* | Audio In/Out | Audio Out is reserved | |
| 5* | Alarm I/O | Blue | Ground |
| Brown | Alarm Input | ||
| Green | Alarm Out – | ||
| Orange | Alarm Out + | ||
| 1 | Reset Button | To restore the camera to factory defaults: 1. Disconnect power for 30 seconds. 2. Reconnect power and wait 30 seconds. 3. Press and hold the reset but- ton for 20 seconds. |
| 2 | MicroSD Card Slot | Supports up to 128GB microSD card for Edge storage. Do not add or remove the microSD card when the camera is powered on. |

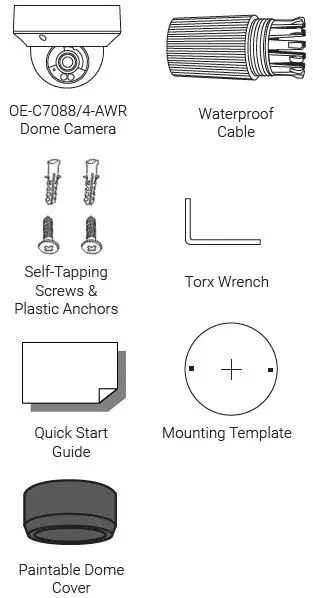
Waterproof Cable

| 1 | Thread lock cap | 4 | Rubber “O” ring |
| 2 | Rubber plug | 5 | Camera cable |
| 3 | RJ45 enclosure | ||
Liberty Lake, WA, USA
509.232.5261
openeye.net
Copyright © 2021 OpenEye.
All Rights Reserved. Information contained in this document is subject to change without prior notice. OpenEye does its best to provide accurate information but cannot be held responsible for typos or mistakes.
CONTENTS
INSTALLATION
- Apply template sticker to desired camera location.
- Drill anchor holes using included mounting template.
- Remove mounting template.
- Insert anchors.
- Mount camera.
- Connect network cable with included waterproof cable connector.
- Adjust camera view.
- Secure lid/dome.
NOTE: If the camera will be exposed to inclement weather, OpenEye recommends sealing around the camera base or connection to accessory and accessory connection to mounting
surface with outdoor waterproof caulking.
POWER
This camera is compatible with 12vDC and Power over Ethernet (PoE). If you are connecting 12vDC power, verify the polarity of the power connection.
ETHERNET CABLE CONNECTIONS
Connect a network cable to the camera using the RJ45 input and connect the other end of the cable to your network switch or recorder.
DEFAULT USERNAME AND PASSWORD
NOTE: OpenEye IP cameras ship without a default password.
The admin user password can be set using the following methods:
- OpenEye recorders running Apex 2.1 or newer will automatically set a new unique password if:
- Connected to an M-Series recorder with a built-in PoE switch.
- Connected to a network switch through the camera network port and selected then added in setup, if a new password has not already been set.
- Connect to the camera directly through a Web Browser and follow the onscreen prompts.
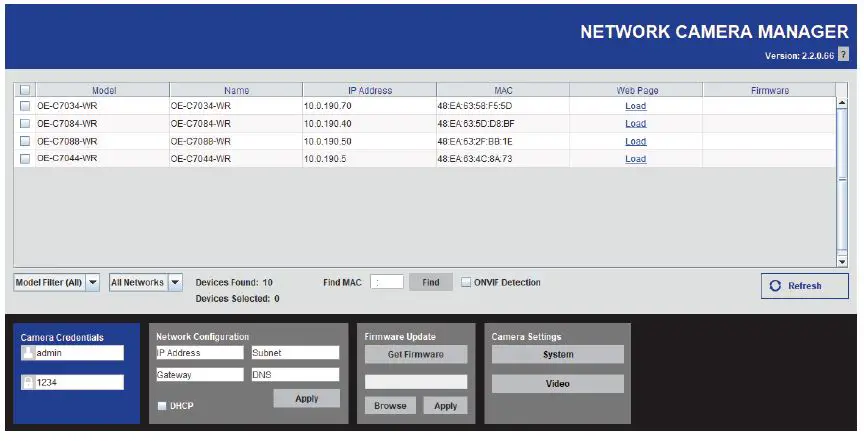
- Use the Network Camera Manager (NCM) Utility.
Username: admin
NOTE: The NCM software manual can be found at https://www.openeye.net/ncm-manual
NOTE: Refer to your Apex recorder manual or quick start guide for instruction on adding cameras. Passwords must be 9-32 characters including at least two elements of the following three: digits,letters, and special characters.
ASSIGNING AN IP ADDRESS
OpenEye IP cameras are set to DHCP by default. If a DHCP server is not detected after 4 minutes, the camera will default to IP address 192.168.51.2.
If you are not using a DHCP server, NCM will allow you to batch configure a static IP address.
The IP address for the camera network on your Apex recorder is 192.168.51.1.
NOTE: To change this IP address please refer to your Apex recorder manual. Selecting multiple cameras and entering IP address. 192.168.51.2 will set an IP address on all selected cameras, starting at 192.168.51.2 and increase per camera.
- Open Network Camera Manager.

- Select applicaple camera(s).
- Input starting IP address, Subnet Mask, Gateway, DNS.
- Apply changes.
- Wait 60 seconds before refreshing NCM.
CONNECTING TO THE IP CAMERA
To access the camera setup menu, you need to open Network Camera Manager (NCM) utility. NCM is preinstalled on all OpenEye Recorders, and is also available for download on the OpenEye website for installation on your personal computer or laptop.
- Open Network Camera Manager.
- Locate your camera on the Network Camera Manager list.
PRODUCT FEATURES
| Camera | ||
| Model | OE-C7084-AWR | OE-C7088-AWR |
| Max Resolution | 2592×1520 | 3840×2160 |
| Frame Rate at Max Resolution | 20FPS – H.264/H.265 | 15FPS – H.264/H.265 |
| ONVIF | Profile S / G Compliant | |
| Day/Night | True Day / Night | |
| WDR | True WDR | |
| Environmental and Power | ||
| Model | OE-C7084-AWR | OE-C7088-AWR |
| Power Consumption | 7.2 W Max | 8.5 W Max |
| Input Voltage | 12vDC ±25% / PoE | |
| Operating Temperature | -40 ~140 °F (-40 ~ 60 °C ) | |
| Vandal Resistance | IK10 Rated | |
| Ingress Protection | IP67 Rated | |


