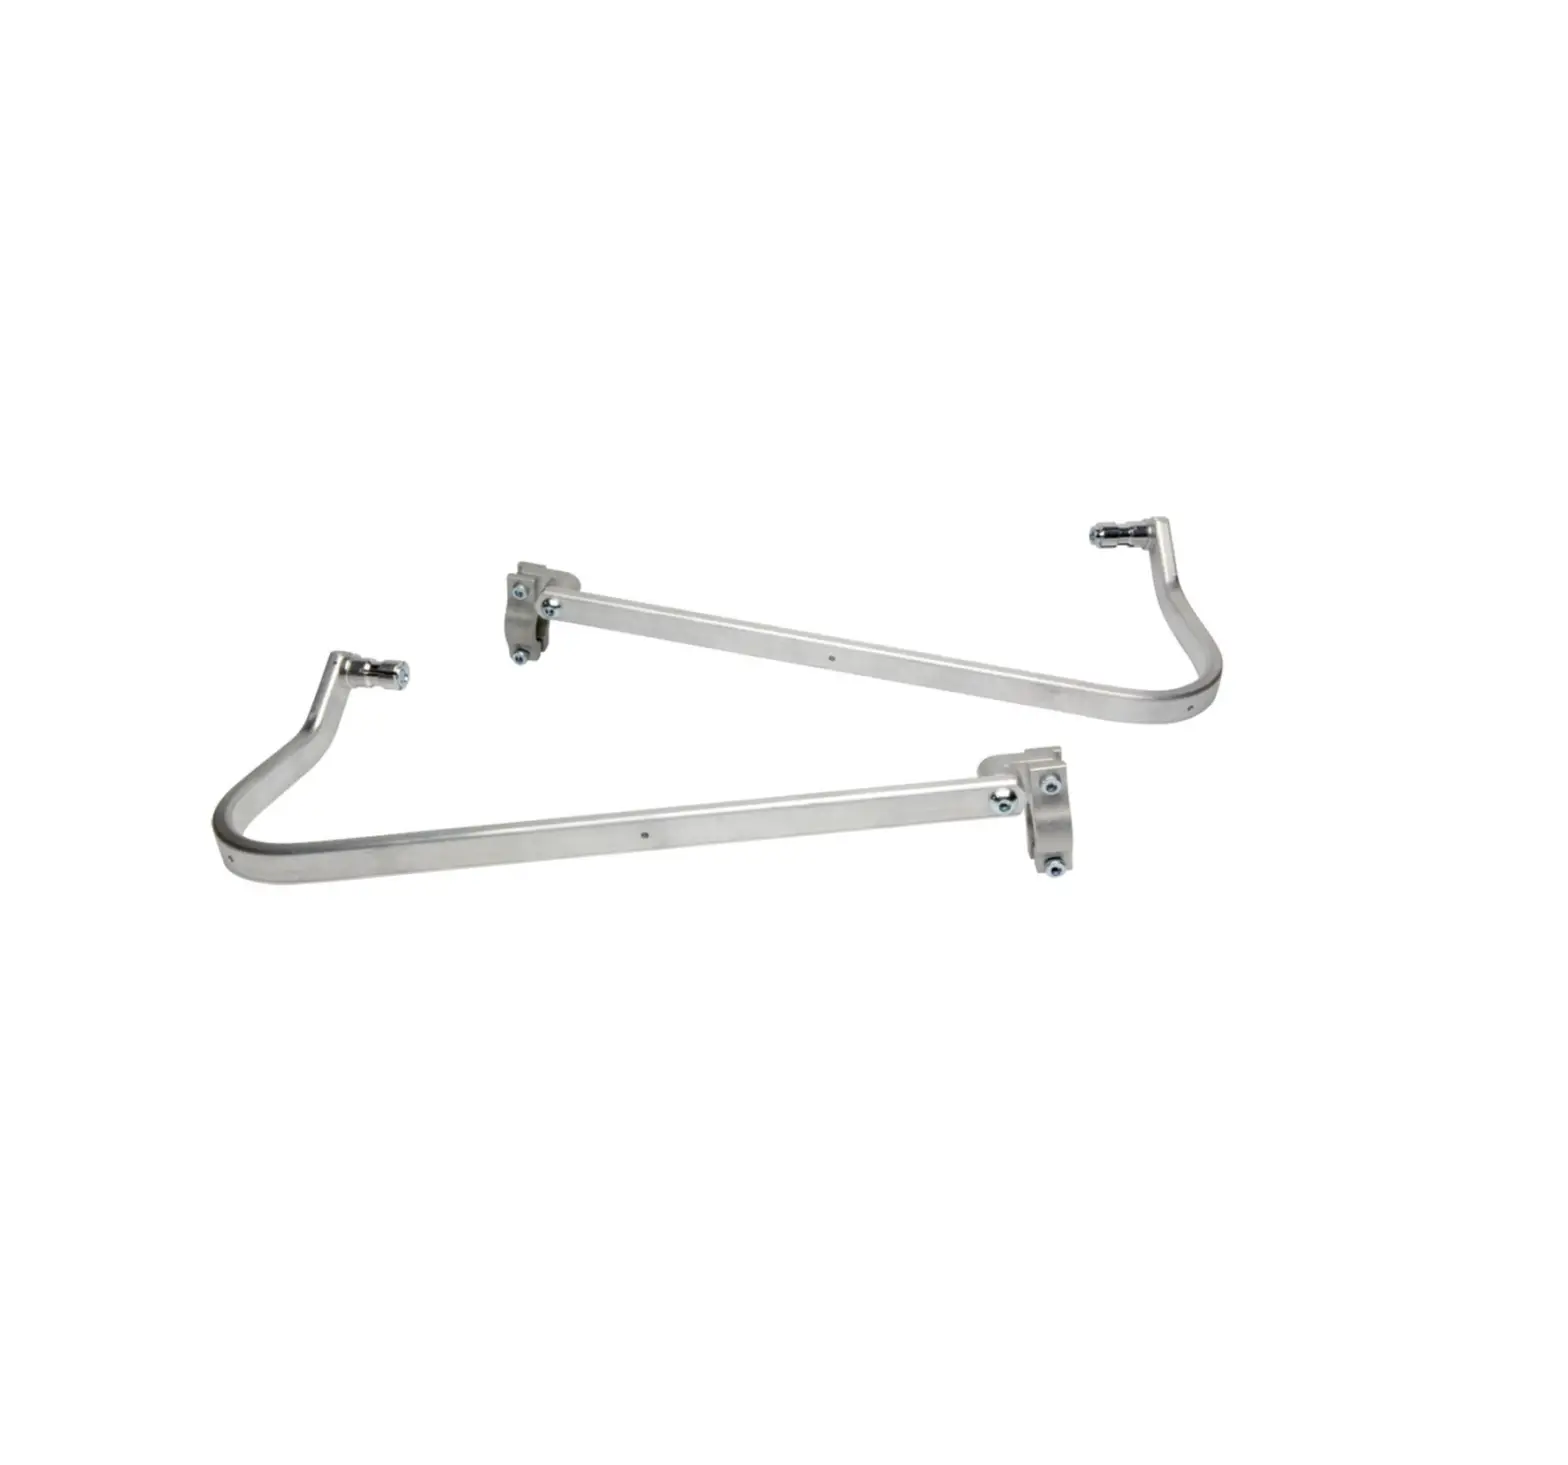
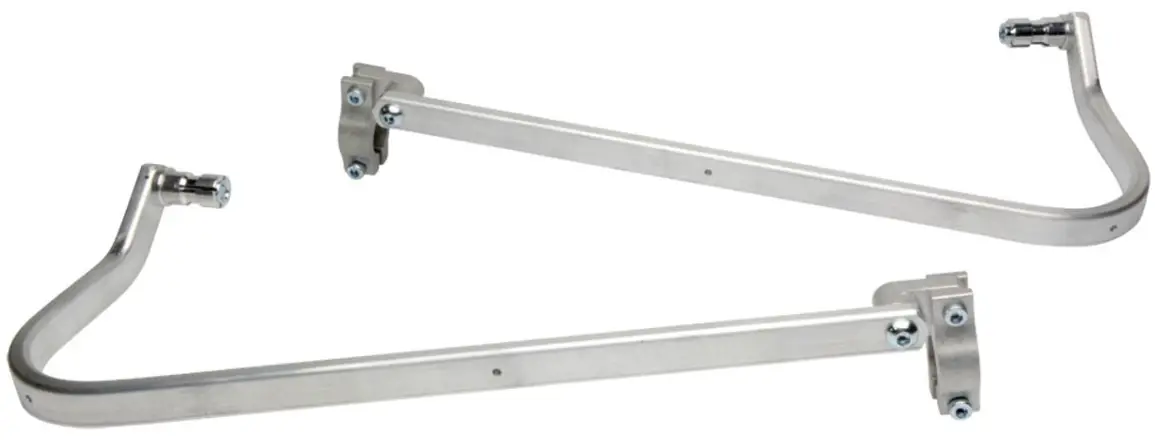
SW-MOTECH BHG-045-01-NP BarkBusters Handguard Kit
Preparation
R100GS
If the handlebar grips are not open at the end they will need to be cut open for the handguard to be fitted. Use a sharp knife to cut a hole in the end of each handgrip. On the right side the hole size should be neat and no smaller than the inside diameter of the throttle tube. Loosen the throttle assembly to move it outward about 20mm. Roll back the end of the grip and use a hacksaw to carefully cut off the end cap of the plastic throttle tube. Do not remove more than 3mm and take care not to cut the underlying handlebar. Before refitting, remove any burrs that could restrict throttle movement.
G650GS
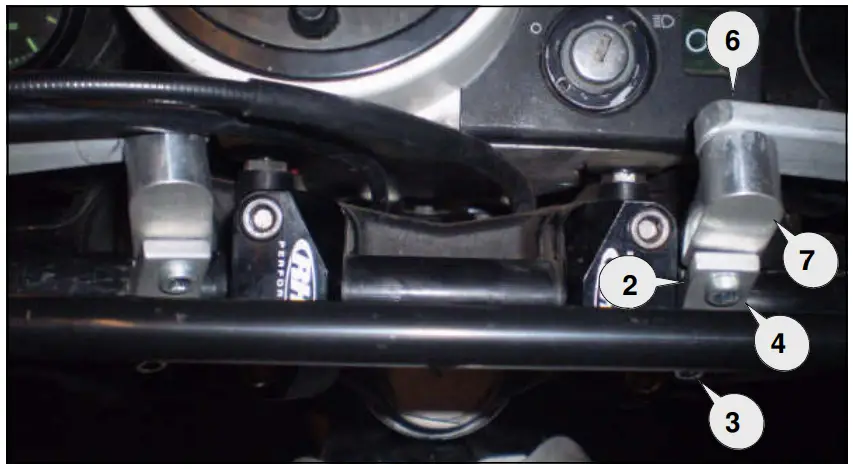
Remove bolt from bar end weight. Loosely assemble clamp to the handlebar with applicable parts. Attach the handguard backbone with applicable parts to the handlebar end and also to the clamp connector (7).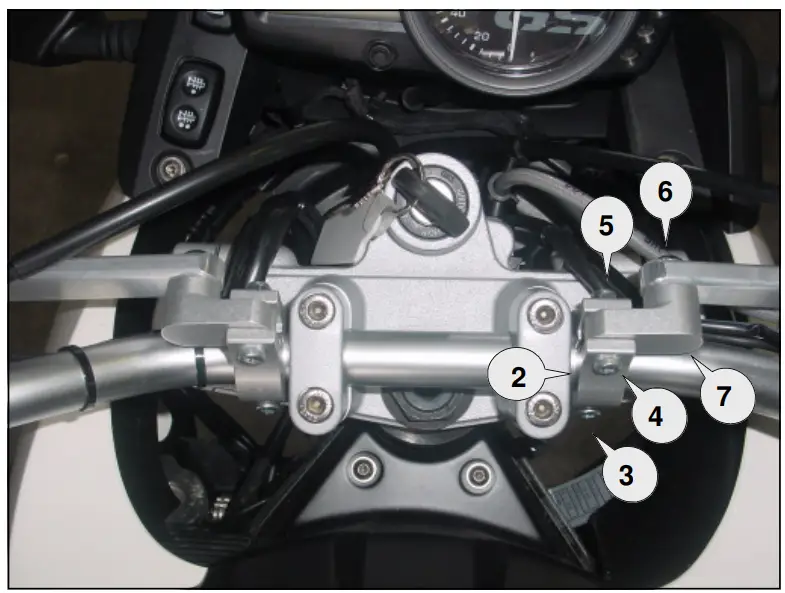
Important
Be sure to tighten clamp bolt (4) before bolt (3) to securely lock the clamp connector (7) between the two clamp halves (2).
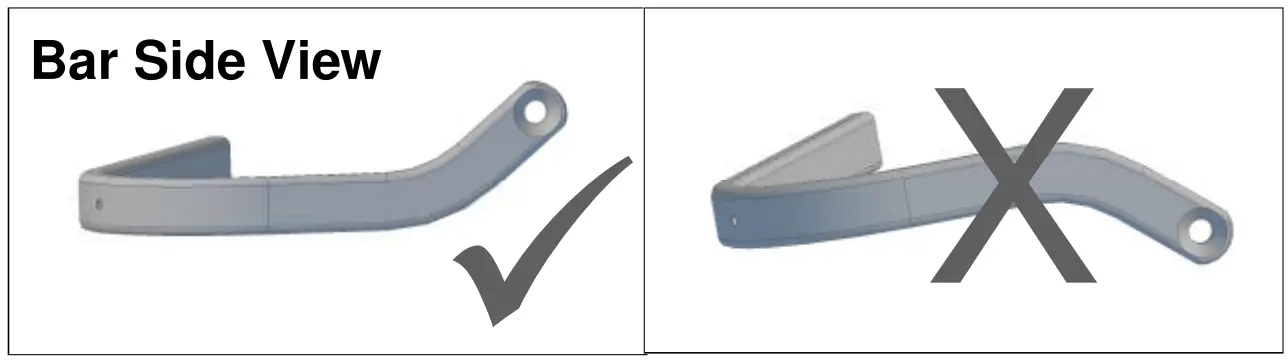
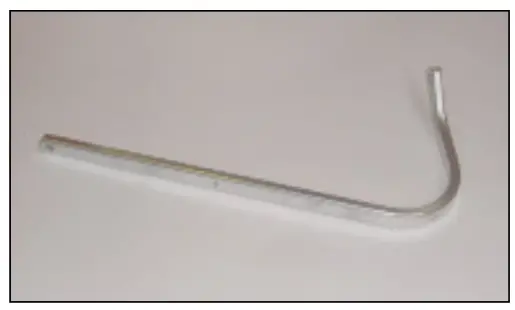
- Aluminium Bar

PN: BAR-V-050
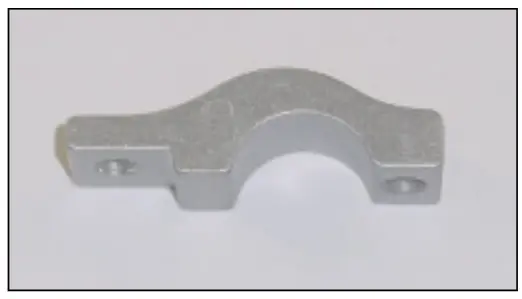
Pcs. 1 Left & 1 Right - Clamp Saddle

PN: CS-STD
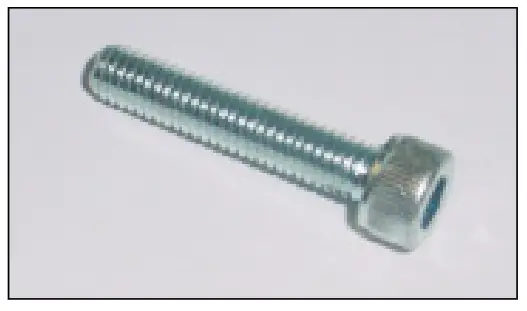
Pcs. 4 pieces - Socket Head Bolt 30mm

PN: M6x30SHCSZP
Pcs. 2 - Socket Head Bolt 25mm

PN: M6x25SHCSZP
Pcs. 2 - Nylock Nut 6mm

PN: M6LN
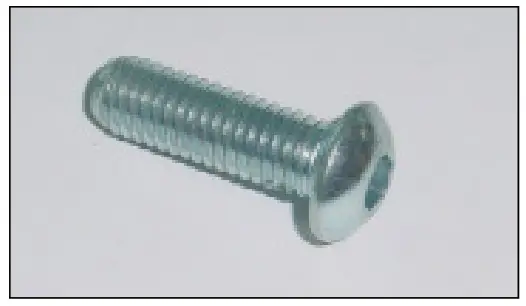
Pcs. 4 - Button Head Bolt 25mm

PN: M8x25BHCSZP
Pcs. 2 - Clamp Connector

PN: CP3
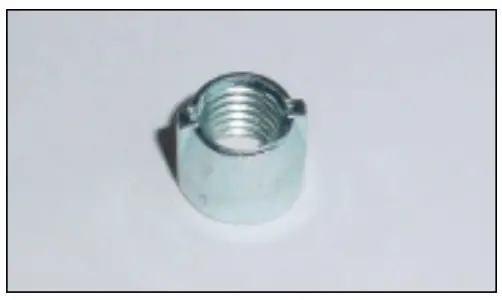
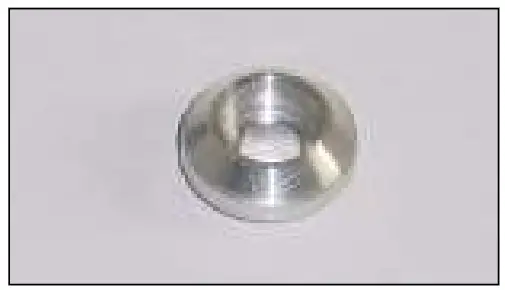
Pcs. 2 - Taper Nut

PN: NUT12
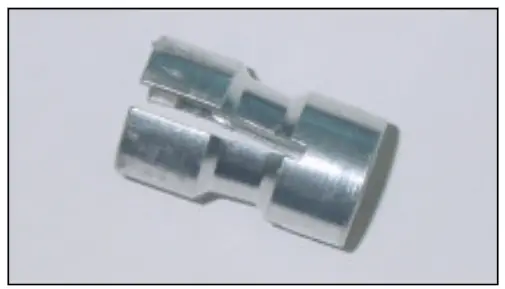
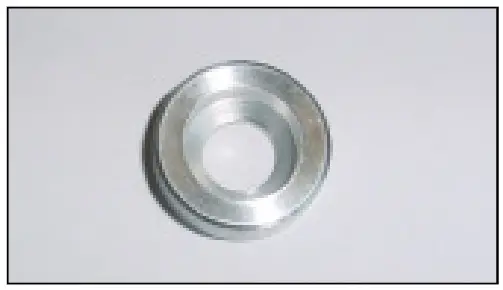
Pcs. 2 - Expander

PN: BBE17
Pcs. 2 - Collar

PN: BBEC5m
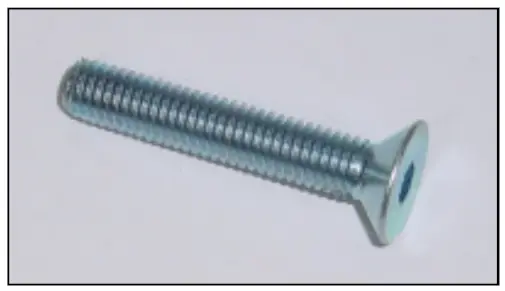
Pcs. 2 - Flat Head Bolt 45mm

PN: M8x45FHCSZP
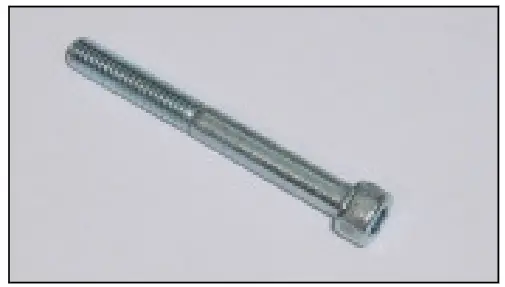
Pcs. 2 - Socket Head Bolt 55mm

PN: M6x55SHCSZP
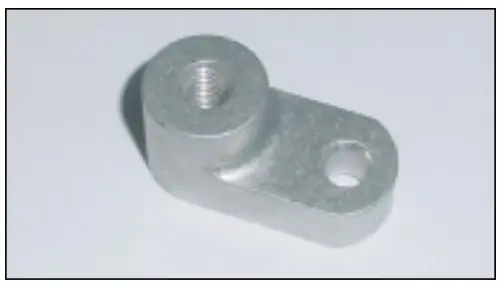
Pcs. 2 - Bolt Adaptor

PN: S7-BA
Pcs. 2


| Recommended Torque Settings | |
| M6 | 10 Nm (7.4 lbf ft) |
| M8 | 20 Nm (14.8 lbf ft) |
CAUTION
Installation of the handguard is safety-relevant work and can be complicated. We recommend the installation be performed by a motorcycle service technician. Rideworx accepts no liability for damages caused by improper mounting. All screws, bolts and nuts, including all replacement hardware provided by Rideworx, should be tightened to the torque specified in the below table. After the first 50km of riding check all screws, bolts and nuts are tightened to the correct torque. We recommend a medium strength liquid thread lock product on all fasteners.
WARNING
It is important there is a working clearance (approx 3mm) between the throttle grip end and the handguard to ensure a free closing throttle. Check operation of all handlebar controls, specifically the throttle, front brake, kill switch and clutch to ensure they are operating correctly and are in accordance with the OEM specifications. Do not ride the motorcycle if any controls are not operating correctly. Check periodically that all bolts are tight.
Disclaimer
A failure to follow these fitting instructions could cause serious injury, death or property damage. These handguards are intended solely for use with motorcycles/ATV/snowmobiles/ scooters that have not been modified. They are not designed to prevent injury or death while riding or in an accident or crash. The user must ensure that all controls are free of the handguards every time that they ride. By installing and/or using this product you acknowledge that you accept these terms and have followed the fitting instructions.
Mounting Instructions
ATTENTION: The assembly of this product can be complicated and requires a good technical understanding. If you are not sure of how to do this, have a specialty garage perform the mounting and service. SW-MOTECH accepts no liability for damages caused by improper installation.
ATTENTION: After the installation check all operations of all handlebar controls, specifically the throttle, front brake, kill switch and clutch, to ensure they are operating correctly and are in accordance with the OEM specifications. Do not ride the motorcycle if any controls are not operating correctly. Make sure the handlebar can fully turn in either direction. Check periodically (50 km) that all bolts are tight.
Subject to change. Not responsible for typos.
Mounting
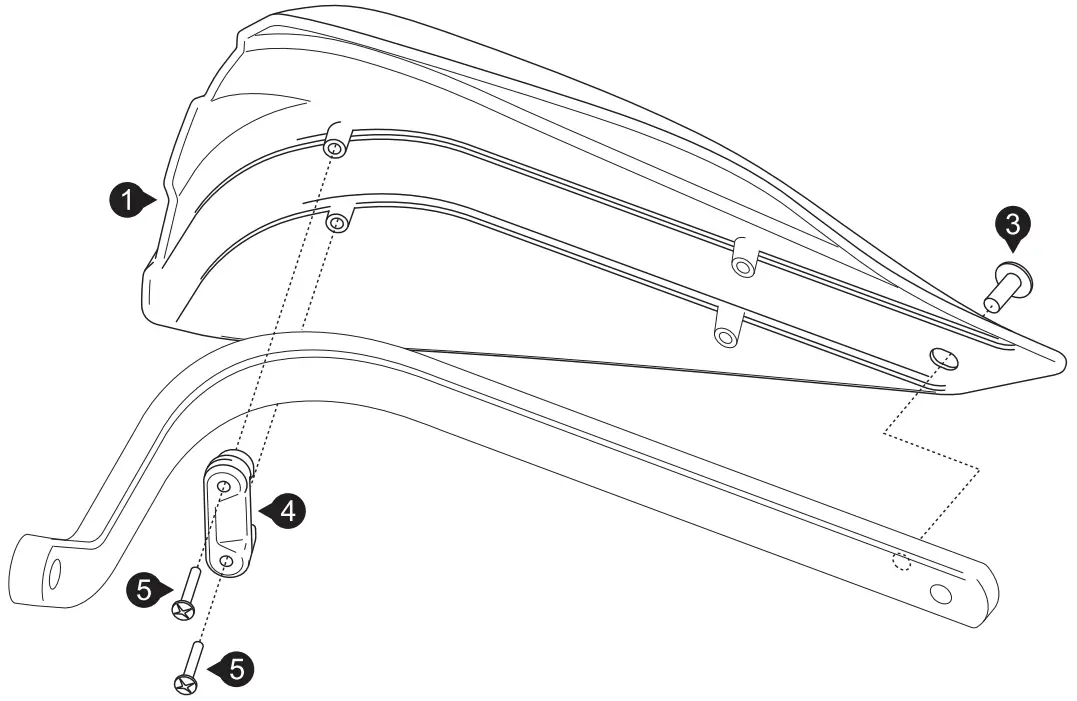
NOTE: Installation is shown for the left side. Repeat for right side with applicable parts. Attach the handguard shells (1] & [2] to the backbones [before mounting the backbones to the vehicle]. as shown in the drawing.
ATTENTION: Tighten the screws carefully by hand (max. 2 Nm]. Do not overtighten the screws!
- Hand protektoren Schale, LINKS Handguard Shell, LEFT

SP1
Anzahl/Pcs. 1 - HandprotektorenSchale, RECHTS Handguard Shell, RIGHT

SP1
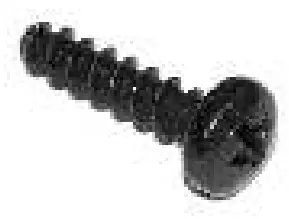
Anzahl/Pcs. 1 - Gewindefurchende Schraube Self-Tapping Screw

M4x 10 DIN 7970
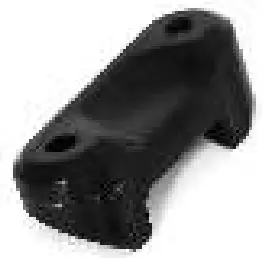
Anzahl/Pcs. 2 - Befestigungsbugel Saddle

Storm-Saddle
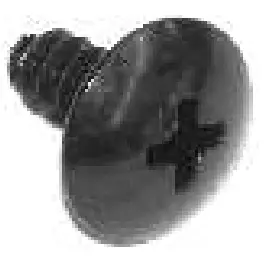
Anzahl/Pcs. 2 - Gewindefurchende Schraube Self-Tapping Screw

M3,5 x 14 DIN 7981
Anzahl/Pcs. 4


Phone: +61 (0)2 4271 8244
Email: [email protected]
Web: www.barkbusters.net


