![]() User guide
User guide
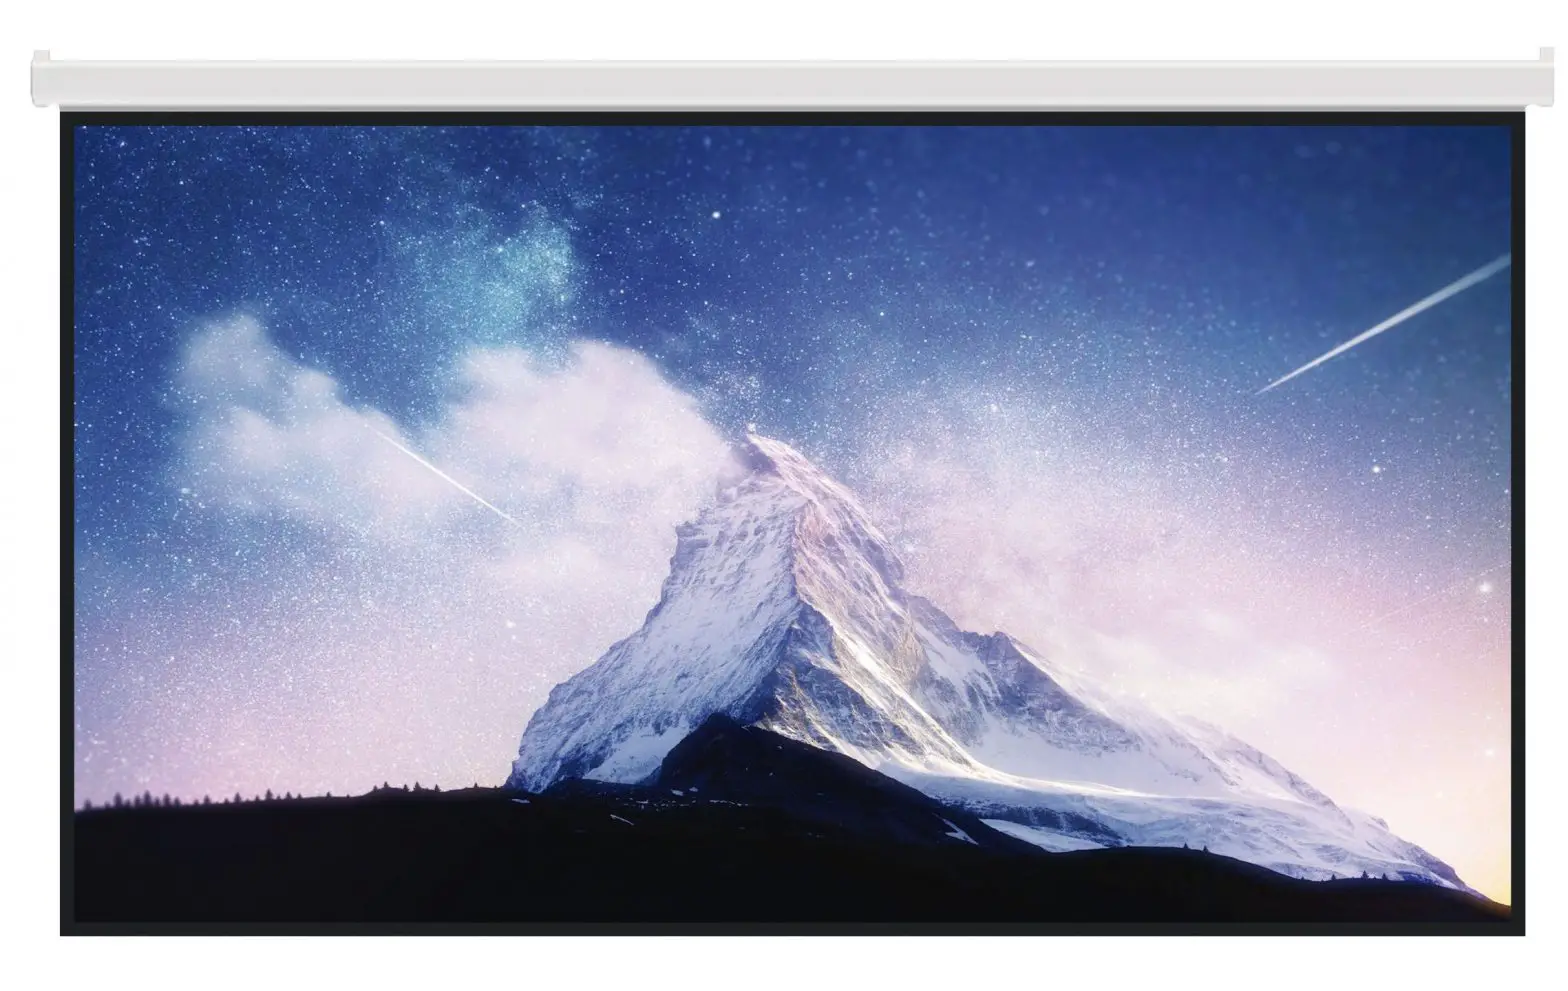
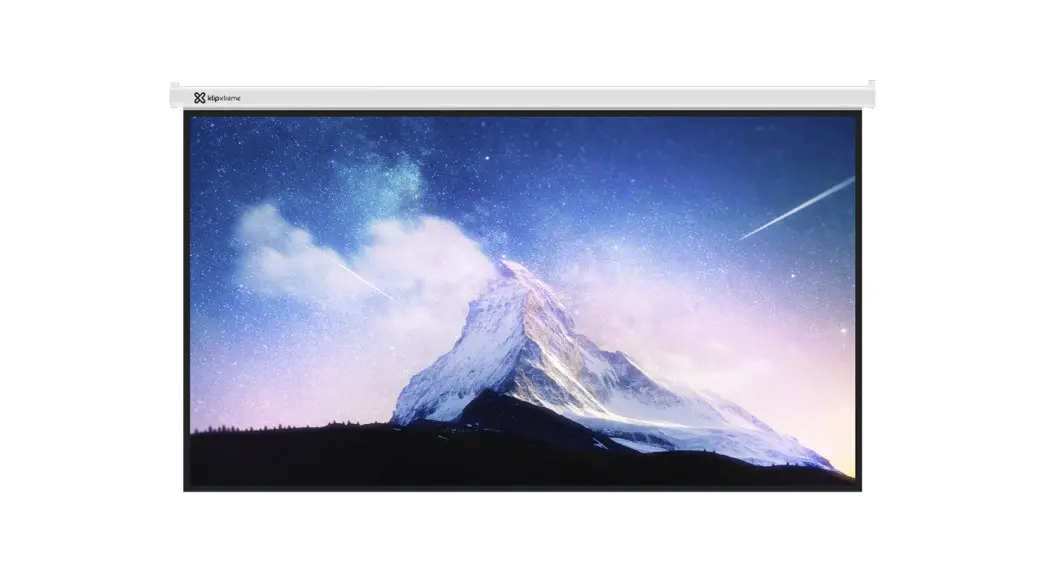
100in Projection screen
Projection screen
Manual pull-down unit
KPS-313
Introduction
Thank you for purchasing the manual projection screen from KlipXtreme®. Ideal for home theater applications and business presentations, this durable projection screen can be mounted on the wall or ceiling. Please follow the instructions below for proper operation and care of the product.
We invite you to visit us at www.klipxtreme.com for support and to find out more about our full line of projection screens and other new and exciting products.
Product overview
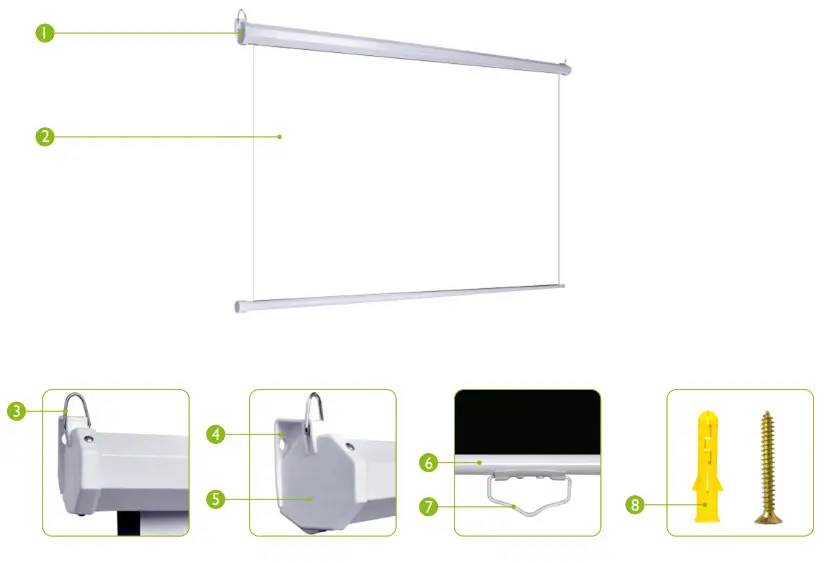
| 1.Case 2.White matte fabric 3.Metal hooks 4.Integrated wall mount bracket | 5.Endcap 6.Slat rod 7. Pull-down handle 8. Set of 4 screws and anchors |
Warnings
- The screen must be installed on a flat, level position.
- The ceiling or wall structure must be capable of supporting at least five times the weight of the projection screen. Otherwise, the structure must be reinforced.
- The screen should be securely mounted to avoid vibration and to withstand daily use.
- Before sliding the screen back to the case, make sure its surface is completely clean.
- Refrain from hanging anything on the screen as it may cause the screen to fall.
Installation
- Carefully unpack the screen from the carton box. Remove any protective foam or tape from the case before operation.
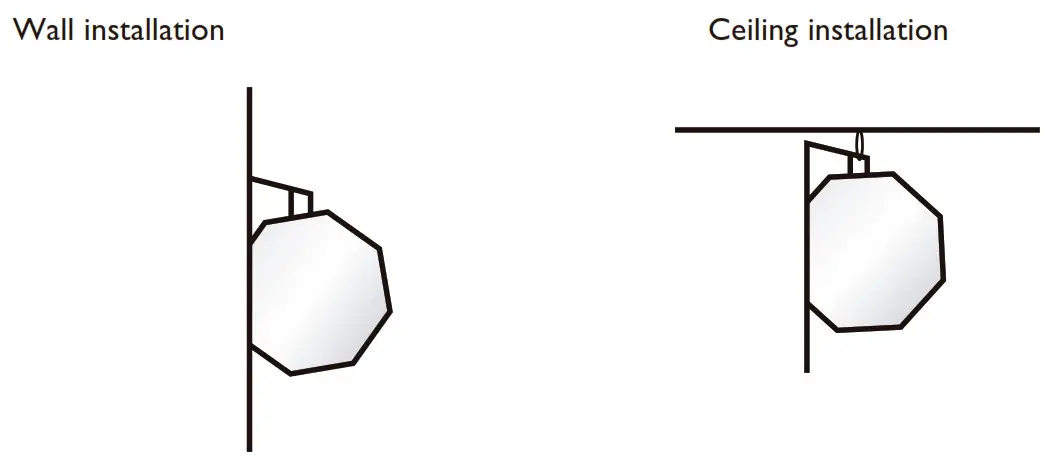
DO NOT use a knife or sharp object to cut tape or nylon, to avoid damaging the screen. - The screen comes with metal hooks and integrated mount brackets. Use the metal rings attached to hang the screen from the ceiling, and the integrated brackets if you prefer to install the screen on the wall, as illustrated below:

- Measure distance on the wall or ceiling, and mark the mounting spots.
- Drill the holes, and insert the proper anchors or expansion screws to secure the mount firmly onto the surface.
- Depending on the configuration chosen, carefully hang the screen from the metal hooks or fasten the screws firmly to the wall at both ends of the case.
Operation
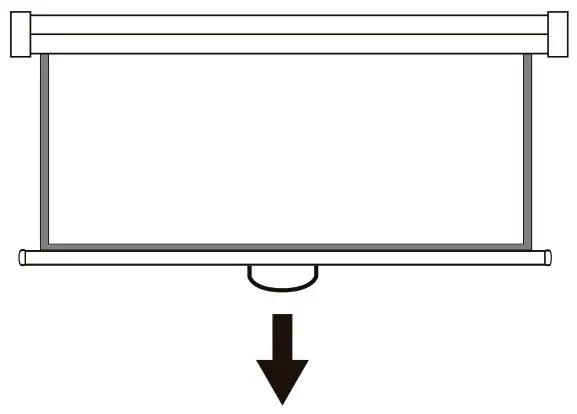
- To open the screen, pull down the handle to the desired level.
- The self-locking mechanism will snap into place at that height after 3 seconds.

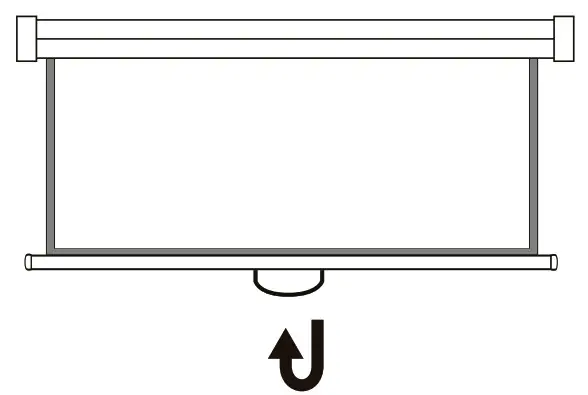
- To close the screen, pull down the handle slightly and then release it.
- The screen will retract automatically, slowing down the speed before rolling up completely into the case.
 Technical specifications
 Technical specifications
| MPN KPS-3 I 3 | |
| Dimensions | |
| Screen dimensions (HxWxD) | 90.5×60.6×0.01in |
| Maximum screen size (Diagonal) | I OOin |
| Viewing area height | 49.6in |
| Viewing area width | 88.2in |
| Screen thickness | 0.42mm±0.03mm |
| Aspect ratio | 16:9 |
| Weight | 211b |
| Specifications | |
| Operation mode | Manual |
| Mount type | Wall and ceiling |
| Color | White screen with black frame |
| Screen material | Outside PVC layers, internal cloth layer |
| Gain | 1.1 |
| Fire retardant | Yes |
| Auto-lock system | Yes |
| Additional information | |
| Warranty | One year |
Notes:……….
![]()
KlipXtreme®is a registered trademark. All rights reserved. All other brand names and trademarks are the property of their respective owners. Any mention of such is only intended for identification purposes, and therefore shall not be construed as a claim to any or all rights pertaining to those brands. Made in China.


