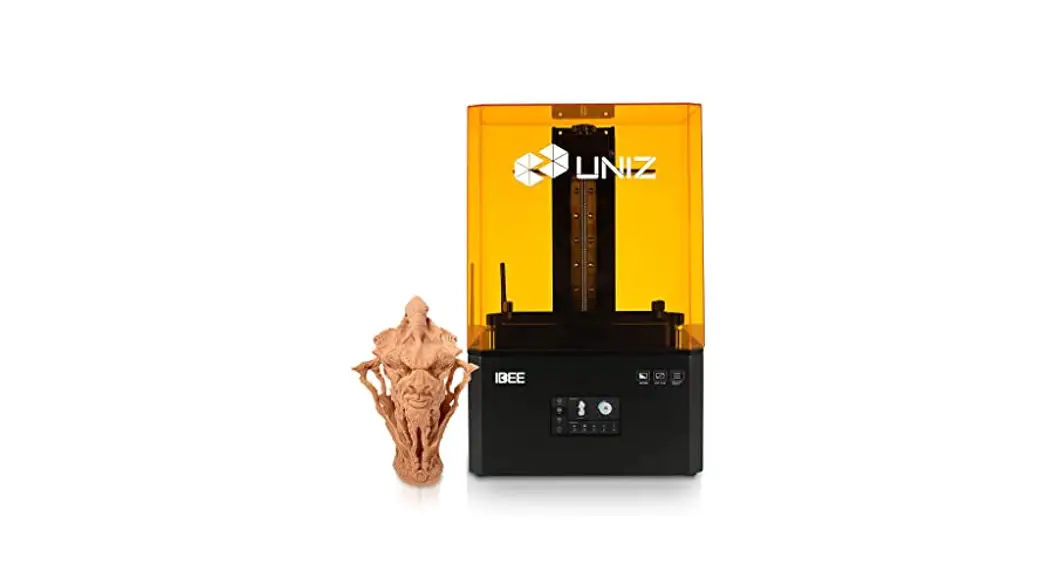
QUICKSTART GUIDE
for NBEE 3D PRINTER
SET-UP YOUR PRINTER
A. Take accessories out.
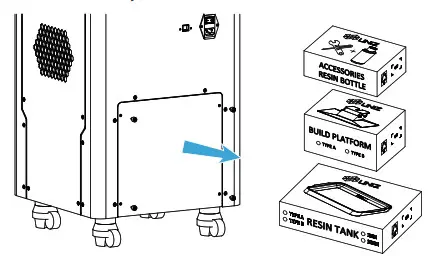
- Remove the bottom rear cover.
- Remove the packing strap and take out the accessory boxes.
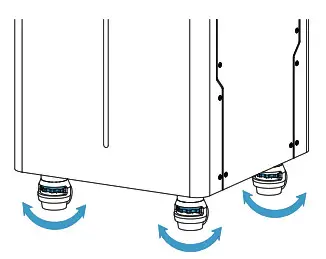
B. Position the printer.
- Place the printer on the ground.
- Adjust the four leveling screws under the printer to level it.
C. Flip the touch screen up.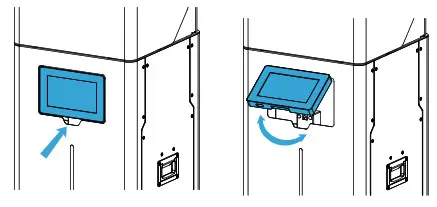 D. Check the Resin Tank.
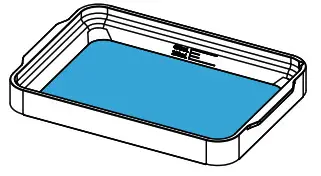
- Take the Resin Tank out from the box.

- Check the Resin Tank, the film should be intact.

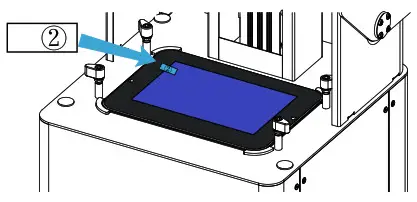
- Peel off the upper film marked 2. The real protective film is lower and should be clean.

 Paste a new LCD protective film if the old one is broken.
 - Put the Resin Tank onto the LCD screen and turn the four lock blocks to lock it.

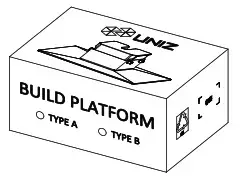
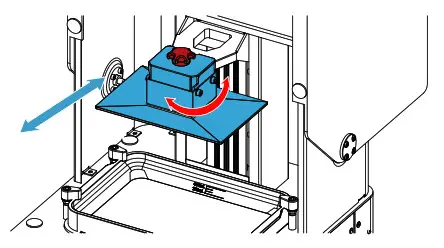
E. Check the Build Platform.
- Take the Build Platform out of the box.

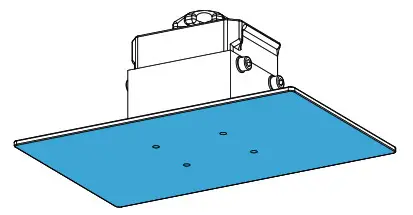
- Check the Build Platform, the bottom should be flat and clean.

- Insert the platform onto the Arm and turn the lock handle clockwise to lock it.

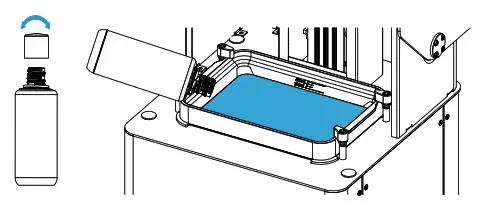
F. Load the Resin.
- Take the Cap off the Resin Bottle.
- Pour the resin into Resin Tank directly.
- Put the Cap back and place it steady.
- Close Front Cover of the printer.
G. Light it up.
- Connect the power cable.
- Toggle the switch to ON.
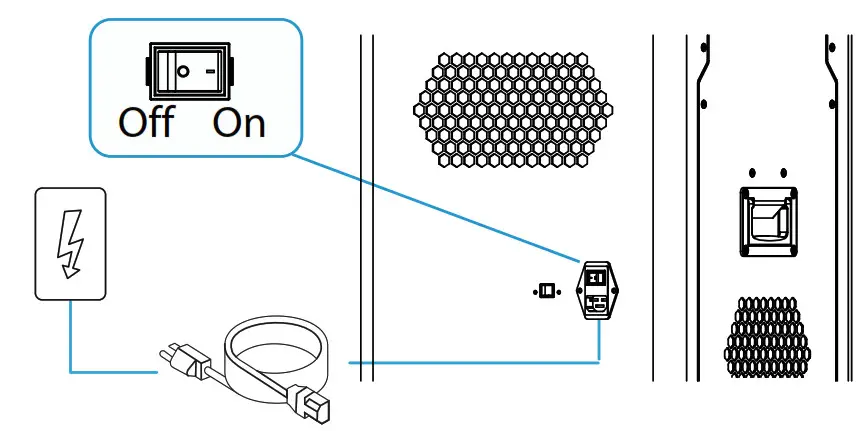

- Please make sure the power cable is connected firmly.
- Confirm the voltage is matched.
PREPARE THE SOFTWARE
H. Download and install UNIZ Dental.
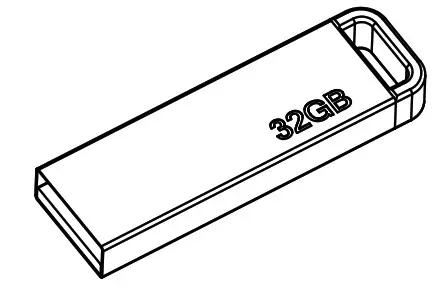
You can also find the install file in the USB disk.
https://www.uniz.com.software
START A PRINT
Prepare the printing file.
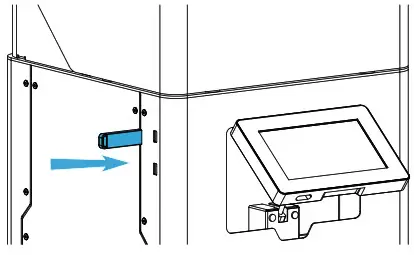
- Take out the USB disk in the accessory box.

- Insert the USB disk from the left side of the printer.

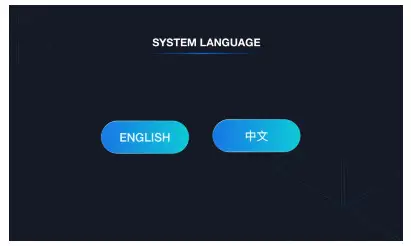
- Choose the preferred language.

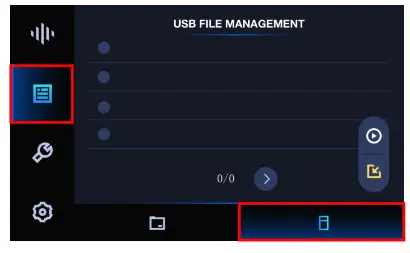
- Enter USB File Management page, select the slice file you want to print.

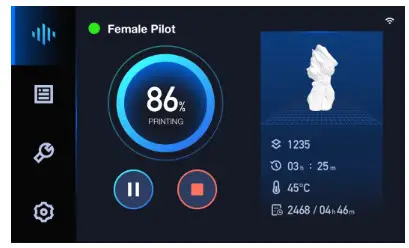
- Click PRINT to start the printing process, printing details will show up.

J. Finish Printing.
- Clean up the remaining resin on the Build Platform, then lose the lock screw and take the Build Platform out.
- Use the scrapper to remove the models.
For more details regarding usage and maintenance, please check User Manual.


