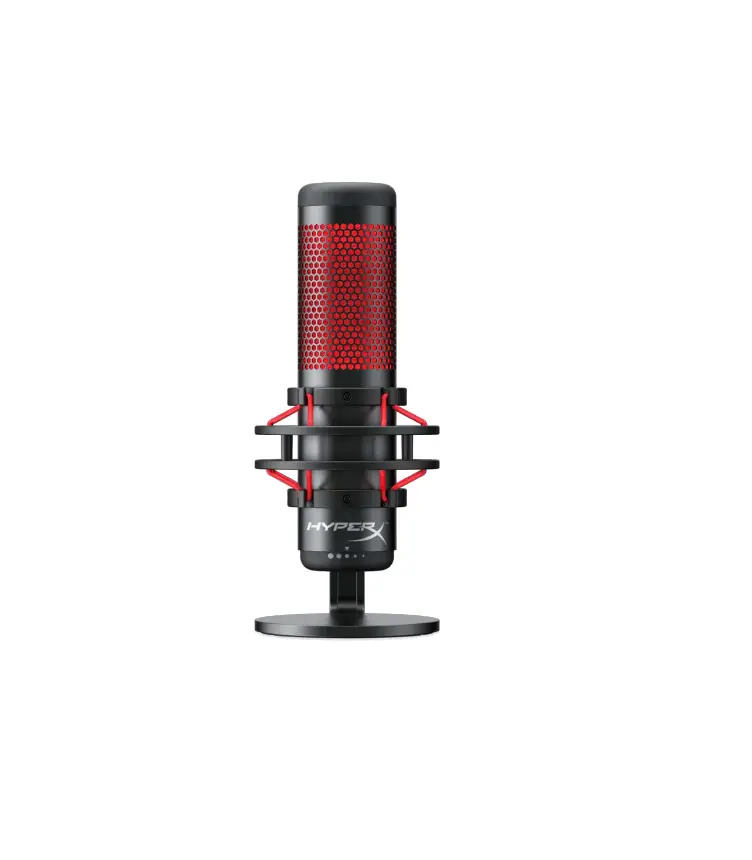
HyperX HX-MICQC-BK QuadCast Condenser Microphone
Part Numbers
HX-MICQC-BK
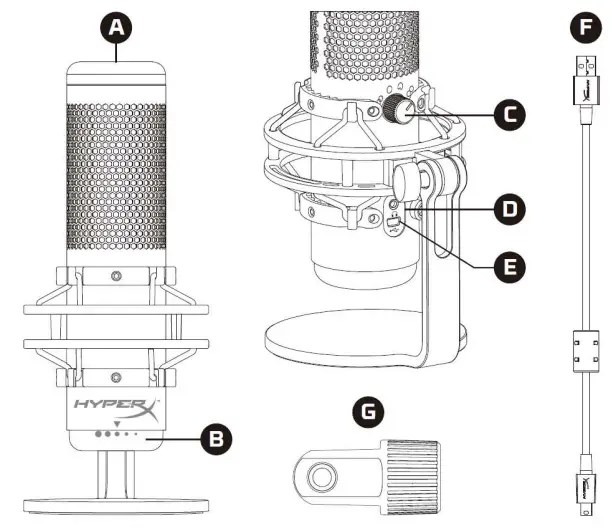
Overview
A. Tap-to-Mute Sensor
B. Gain Control Knob
C. Polar Pattern Knob
D. Headphone Jack
E. USB Cable Port
F. USB Cable
G. Mount Adapter*
*Supports both 3/8” and 5/8” thread sizes
Specifications
Microphone
Power consumption: 5V 125mA
Sample/bit rate: 48kHz/16-bit
Element: Electret condenser microphone
Condenser type: Three 14mm condensers
Polar patterns: Stereo, Omnidirectional, Cardioid, Bidirectional
Frequency response: 20Hz – 20kHz
Sensitivity: -36dB (1V/Pa at 1kHz)
Cable length: 3m
Weight:
- Microphone: 254g
- Shock mount and stand: 364g
- Total with USB cable: 710g
Headphone Output
Impedance: 32 Ω
Frequency response: 20Hz – 20kHz
Maximum power output: 7mW
THD: ≤ 0.05% (1kHz/0dBFS)
SNR: ≥ 90dB (1kHZ, RL=∞)
Microphone Controls
Selecting a Polar Pattern
Rotate the polar pattern knob to select one of the four polar patterns.
| Symbol | Sound Direction | Polar Pattern | Scenarios |
 | 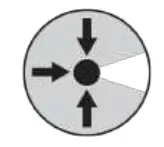 | Stereo | Vocals, instruments |
 | 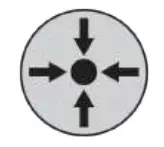 | Omnidirectional | Multi-person podcasts, conference calls |
 | 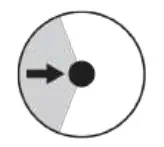 | Cardioid | Podcasts, streaming, voiceovers, instruments |
 | 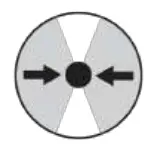 | Bidirectional | Face-to-face interviews |
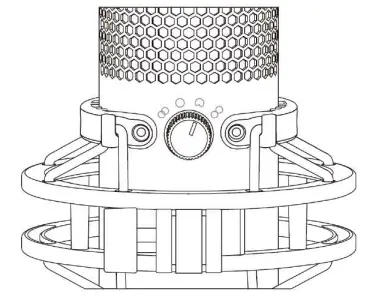
Adjusting Gain Control
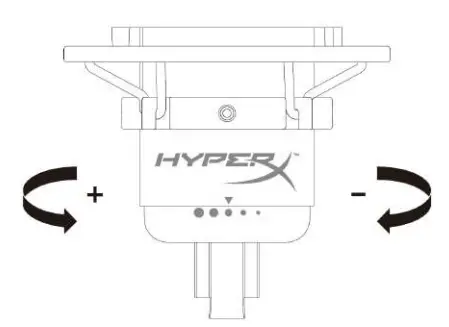
Rotate the gain control knob to adjust the gain of the microphone.
Muting the Microphone

Tap the top of the microphone to mute/unmute the microphone. The microphone LED will indicate the current mute status of the microphone.
| Microphone LED | Mute Status |
| Red | Mute off |
| Off | Mute on |
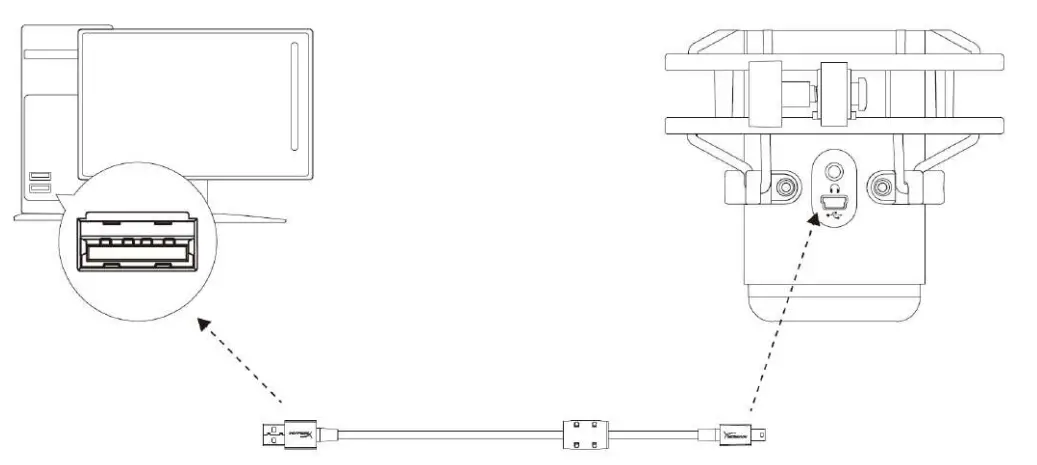
Using with PC or Mac
Connect the microphone to a USB port on the PC or Mac with the included USB cable.
Windows
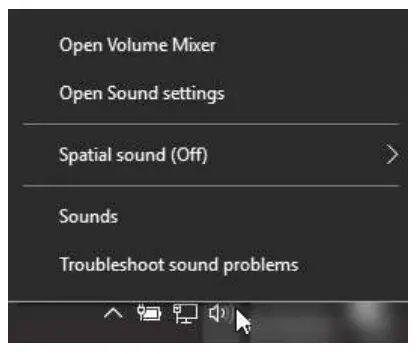
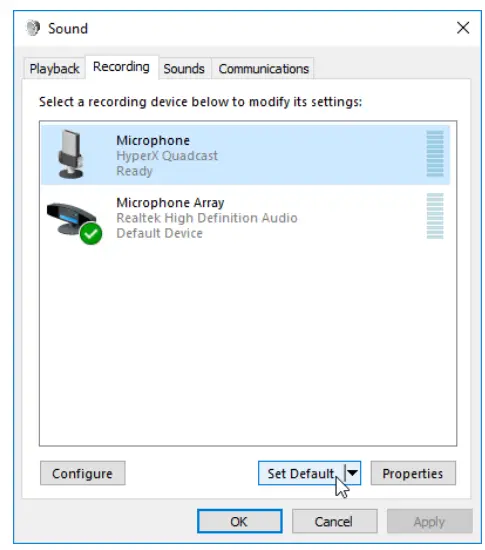
To ensure the microphone is configured correctly on the PC, follow the steps below:
- Right-click on the sound icon on the system tray and select Sounds.

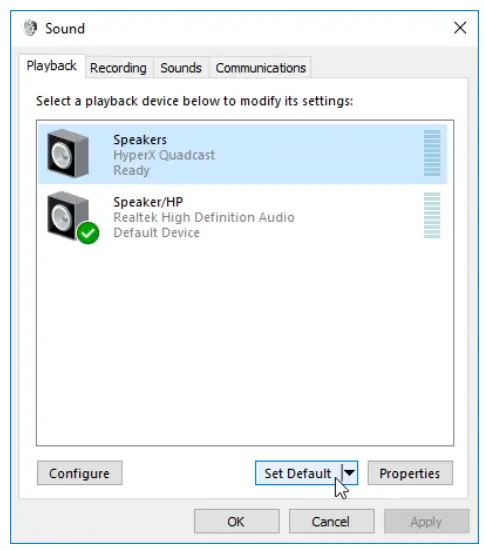
- On the Playback tab, select Speakers HyperX QuadCast and click on the Set Default button.

- On the Recording tab, select Microphone HyperX QuadCast and click on the Set Default button.
macOS
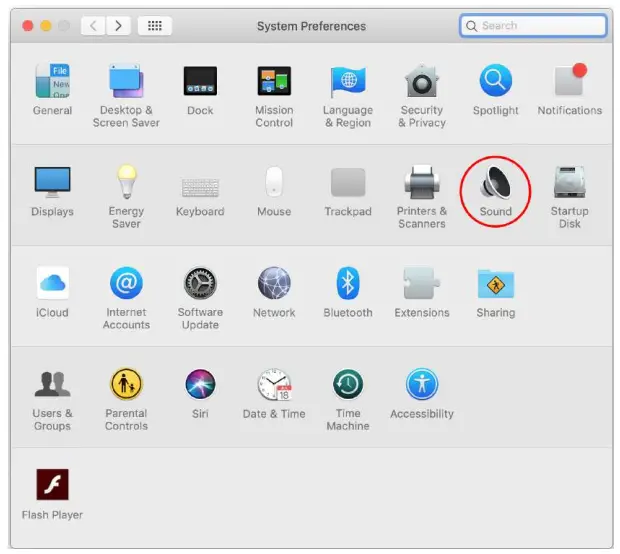
To ensure the microphone is configured correctly on the macOS, follow the steps below:
- Open System Preferences and select Sound.

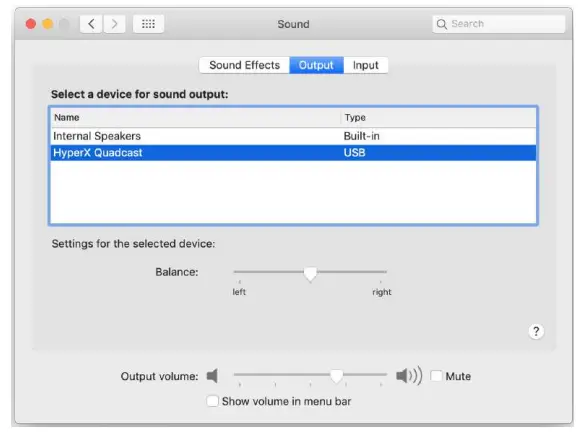
- On the Output tab, select HyperX QuadCast

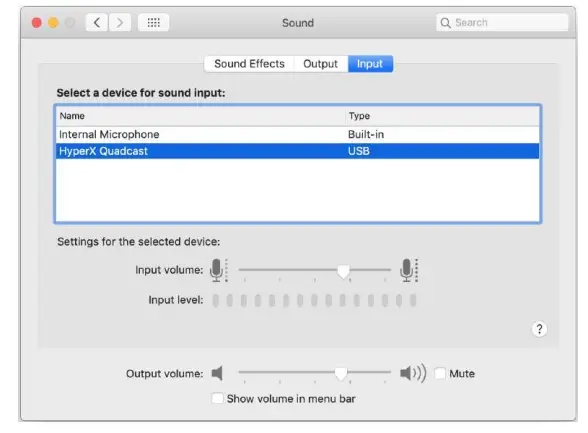
- On the Input tab, select HyperX QuadCast.
Using with PS4™
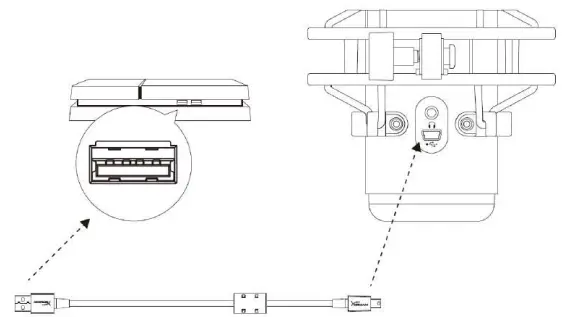
Connect the microphone to a USB port on the PS4 with the included USB cable.
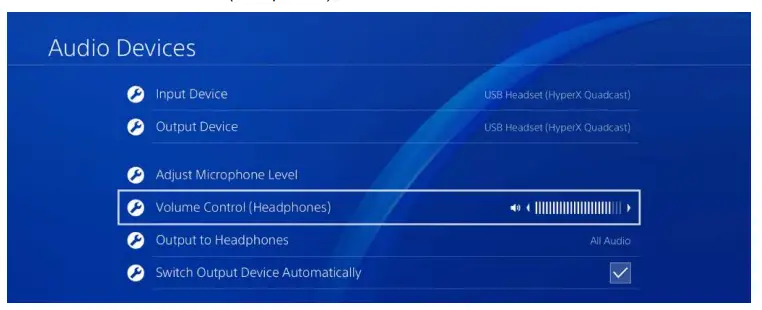
To ensure the microphone is configured with the most optimal settings on the PS4, follow the steps below:
- From the PS4 main menu, go to Settings > Devices > Audio Devices
- Set Input Device to USB Headset (HyperX QuadCast)
- Set Output Device to USB Headset (HyperX QuadCast)
- Set Output to Headphones to All Audio
- Set Volume Control (Headphones) to desired volume

Connecting Headphones
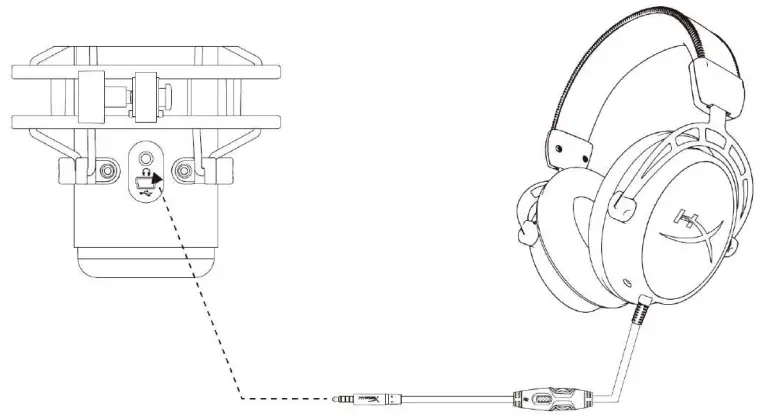
Connect headphones to the headphone jack on the microphone for microphone monitoring and playback audio.
Controlling Microphone Monitoring
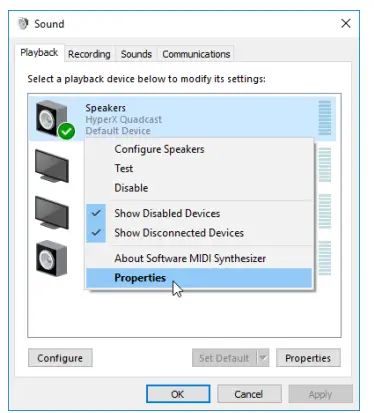
PC
- From the Sound control panel, on the Playback tab, right-click on Speakers HyperX QuadCast and select Properties.

- On the Levels tab, adjust the Microphone volume slider to adjust the level of microphone monitoring.

macOS
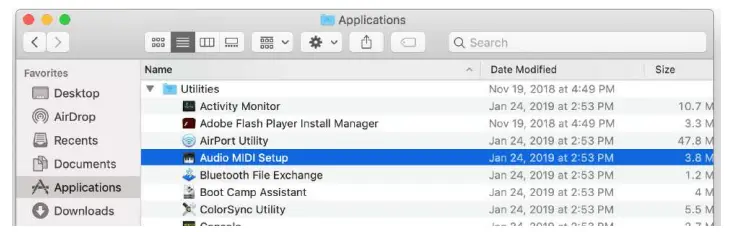
- Open the Finder app and go to Applications > Utilities > Audio MIDI Setup

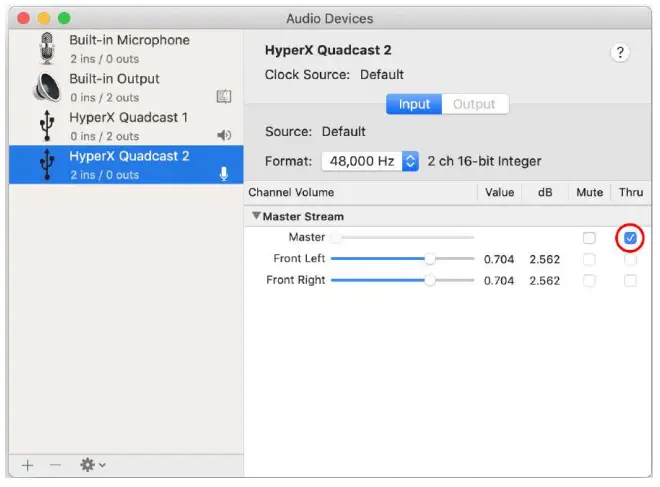
- Click on HyperX QuadCast 2 and click on the checkbox under the Thru column to toggle microphone monitoring on or off.

PS4
Microphone monitoring level cannot be directly controlled on PS4.
Installing the Mount Adapter
- Secure the included mount adapter onto a microphone boom arm. The mount adapter supports 3/8” and 5/8” thread sizes.
- Remove both the thumb screw and nut from the microphone stand.
- Remove the microphone stand from the microphone.
- Align the mount adapter with the microphone mount holes and secure the adapter with the thumb screw and nut.
Questions or Setup Issues?
Contact the HyperX support team at: hyperxgaming.com/support/