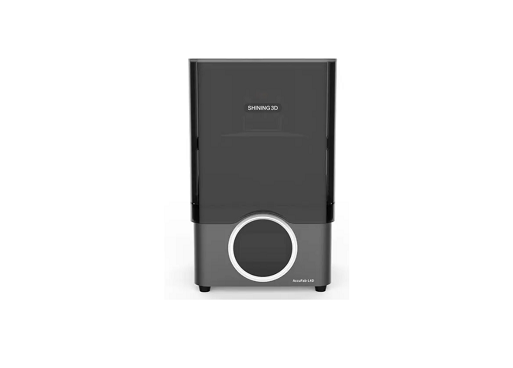
SHINING 3D AccuFab L4D 3D Printer

Unpacking
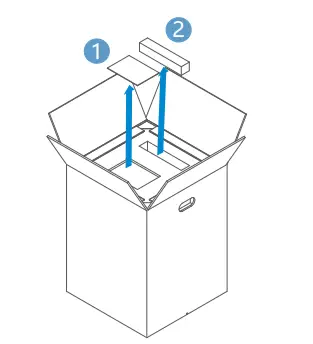
- Open the package and take out the “product certificate” , “installation guide” a 11 nd power cable . 2

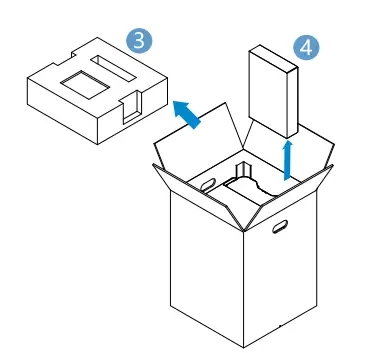
- Remove foam ,take out the spare resin tank from the back of the printer.

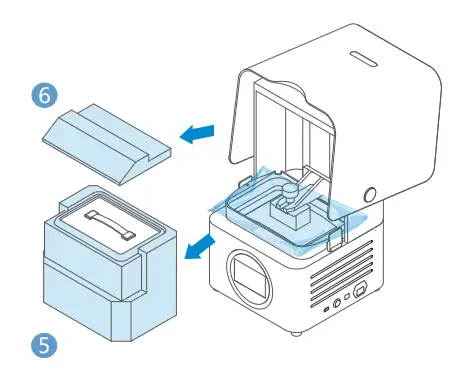
- Remove the package, place the printer on the table,and open the printer chamber door. Remove fixing foam & inside the printer.

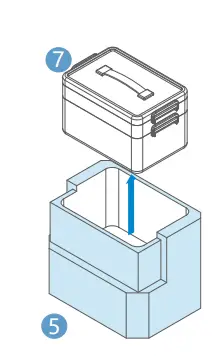
- Take out accessory box from fixing foam.

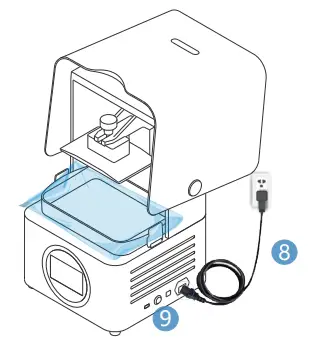
- Connect the power supply and press the power button on right side of the printer. During printer initialization. Platform will go to the top position.

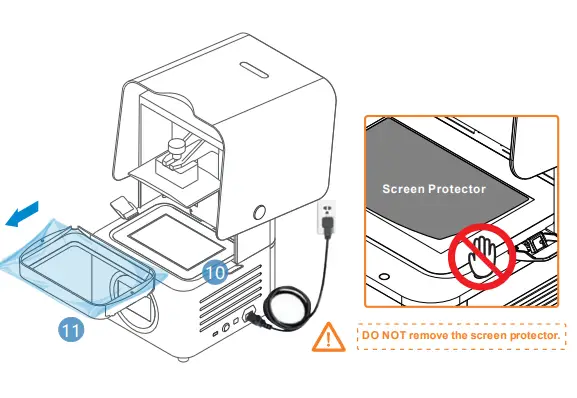
- Wait for the printer stop moving, open the buckles and take out the resin tank .Remove the protect film around the resin tank.

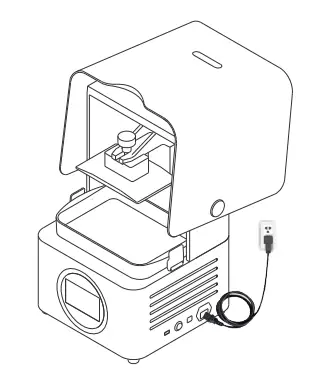
- Put clean resin tank into the position. Lock the buckles for resin tank.

- As the following picture shows, installation is completed.


Add Material
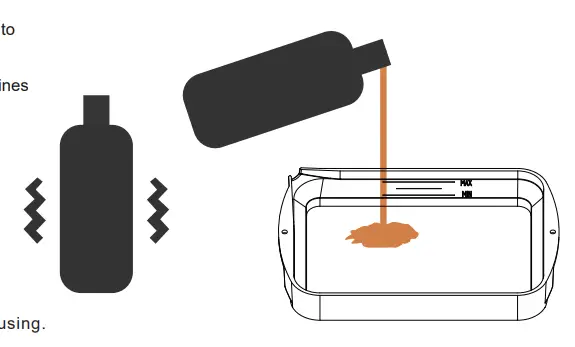
Shake for 2 mins before pouring material into the resin tank to avoid sediment
Note: that the resin level of minimum and maximum.
Note: You can also add resin during printing without pausing.
First Print
Please refer to the “AccuFab-L4D Quick Start Guide” in the flash drive. The flash drive can be used for data transmission later on.
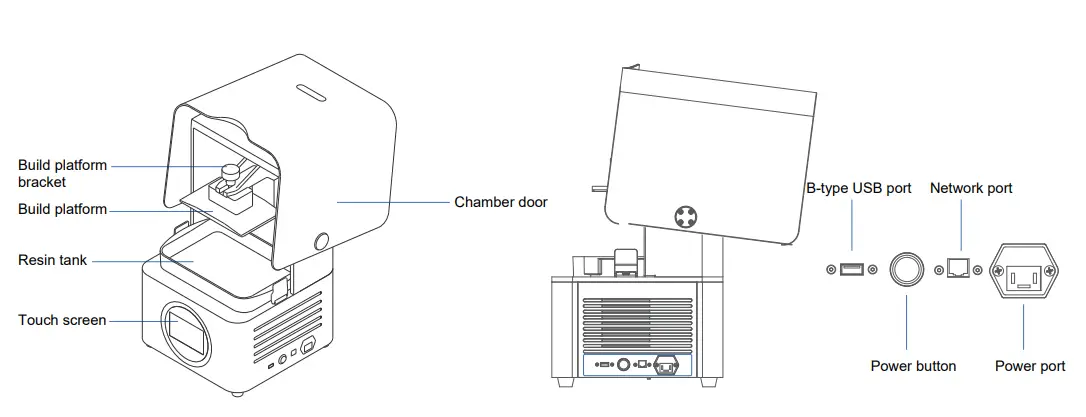
Product Preview
Part List
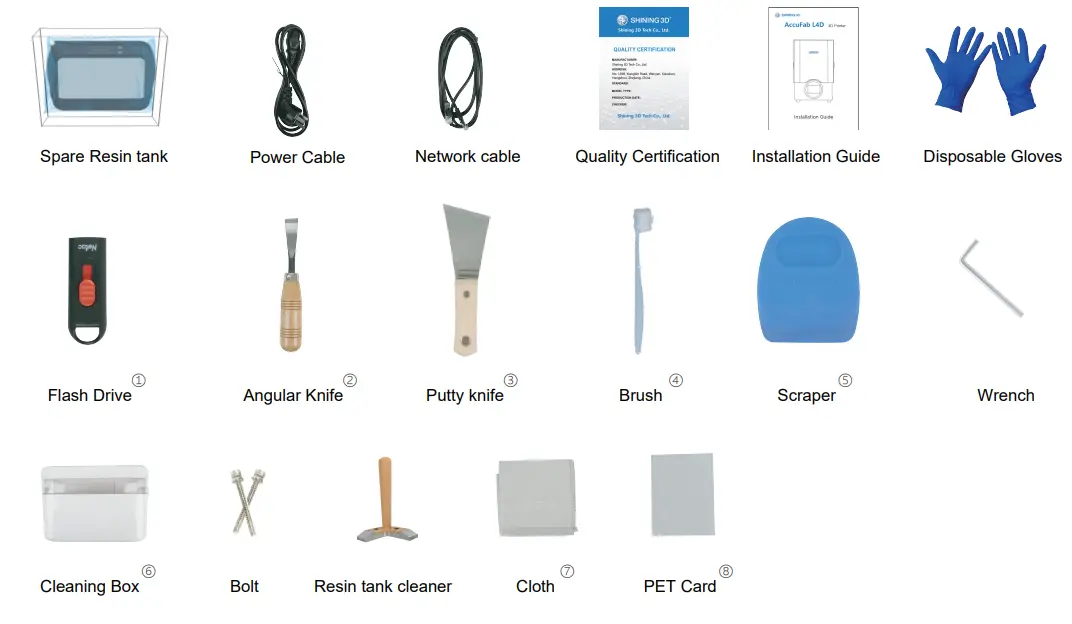
- Flash Drive: Flash drive contains Installer of AccuWare, Printer profile “*.sndev” , User Manual, Quick Start Guide, and “Factory test reports”
- Angular Knife: Used to remove models from the platform after printing is finished.
- Putty Knife: Used to remove models from the platform after printing is finished.
- Brush: Used to clean extra resin on the model.
- Scraper: Used to stir resin in the tank to avoid sediment.
- Cleaning Box: Used to store parts or alcohol.
- Cloth: Used to clean optical path including projector lens, protection glass and resin tank glass.
- PET Card: Used to level the platform and remove the cured layer.


