SKYZONE Steady View X 5.8GHz Ground Station FPV Rx Module User Manual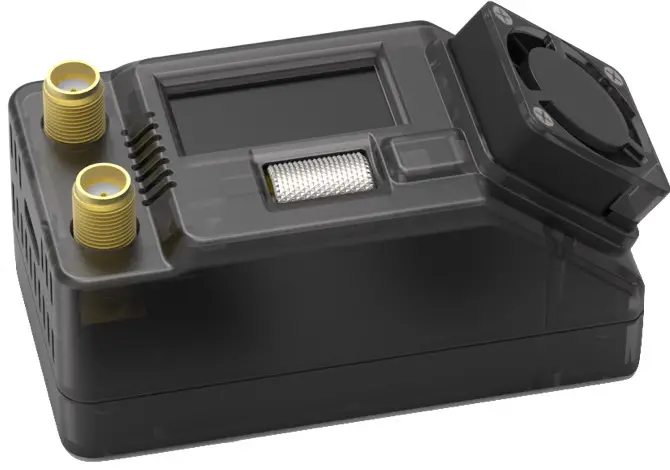
Specification
| Display | |
| Screen | 0.96″Color LCD |
| Viewing direction | ALL View |
| Receiver | |
| Frequency | 5.3-6GHz, 6Band x 8Channels |
| Sensitivity | -98dBm±1dBm |
| Narrow-Band Filter | Yes |
| Antenna Connectors | 2x Standard SMA-K,50ohm |
| Mode | Mix1,Mix2,Mix3, Diversity, Single RX |
| Video output | 1.0Vp-p Typ. / 75ohm |
| Audio output | No audio output |
| Power | |
| Voltage | 6.5-26V |
| Consumptio | 12V input@240mA Normal, 180mA Single RX |
| Interface | |
| DC IN | Φ[email protected] |
| A/V output | Φ3.5mm |
| USB | Type-C, Firmware Update |
| Dimensions | 65(L)X32(W)X32(H) |
| Weight | 49g |
BAND/CH Table
| BAND/CH | CH 1 | CH2 | CH3 | CH4 | CH5 | CH6 | CH7 | CH8 |
| A | 5865M | 5845M | 5825M | 5805M | 5785M | 5765M | 5745M | 5725M |
| B | 5733M | 5752M | 5771M | 5790M | 5809M | 5828M | 5847M | 5866M |
| E | 5705M | 5685M | 5665M | 5645M | 5885M | 5905M | 5925M | 5945M |
| F | 5740M | 5760M | 5780M | 5800M | 5820M | 5840M | 5860M | 5880M |
| R | 5658M | 5695M | 5732M | 5769M | 5806M | 5843M | 5880M | 5917M |
| L | 5362M | 5399M | 5436M | 5473M | 5510M | 5547M | 5584M | 5621M |
| sensitivity | -98dBm±1dBm | |||||||
| antenna | 2 X SMA-K,50ohm | |||||||
Package include
- Steady View X Receiver*1
- Patch Antenna*1
- Omni Antenna*1
- SKYZONE SKY04X Module Cover*1
- FATSHARK Module Cover*1
- XT60-DC Cable 5.5*2.1 *1
- 3.5mm Video Cable*1 1.2m
- USB-C Cable*1
- User Manual*1
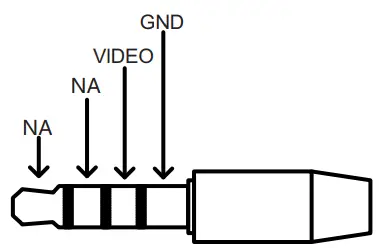
IO Port
- 3.5mm Video port Pin out
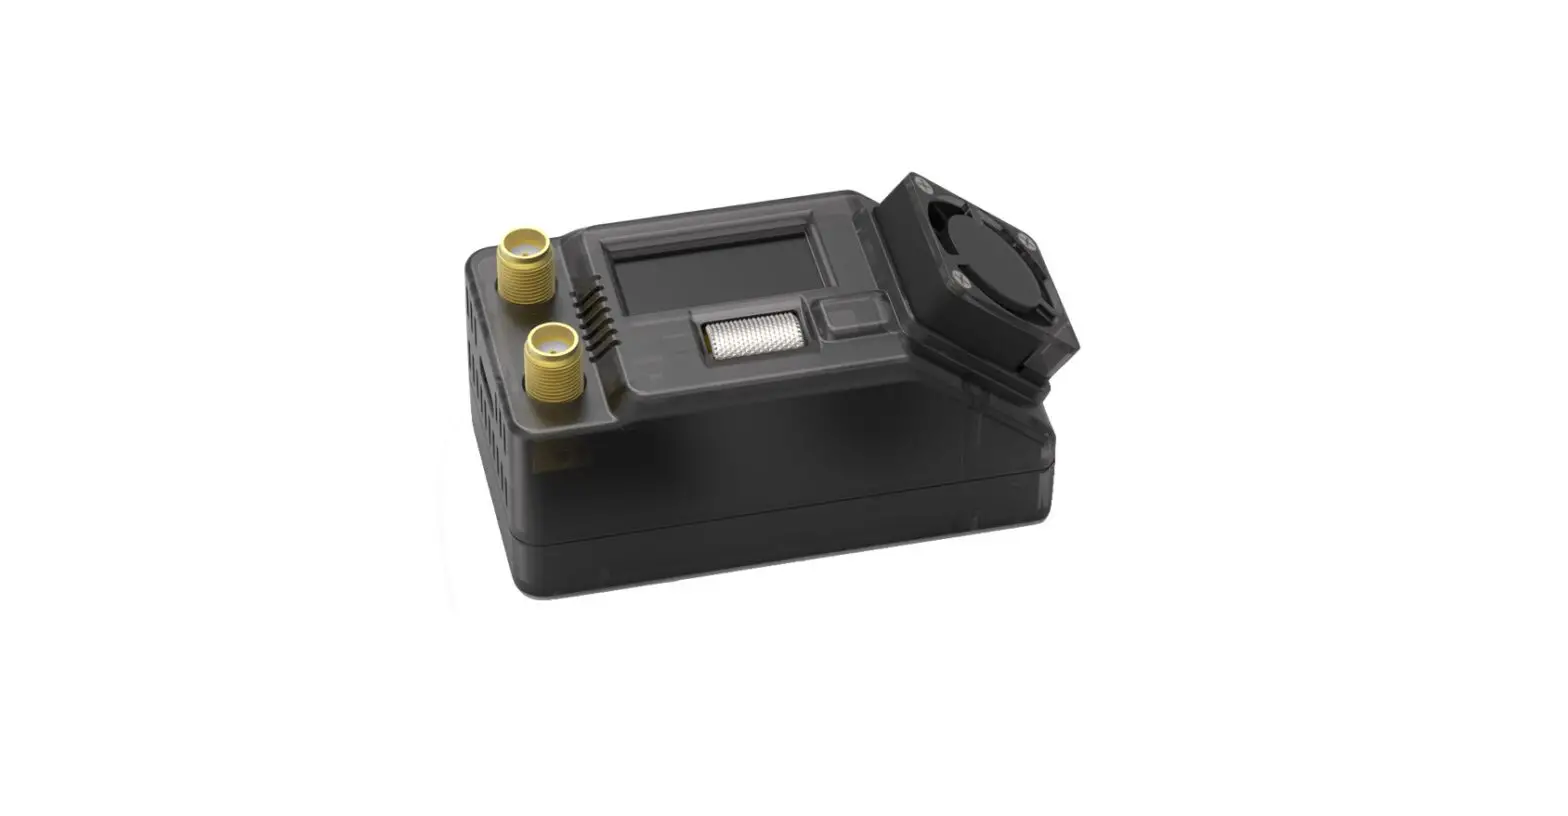
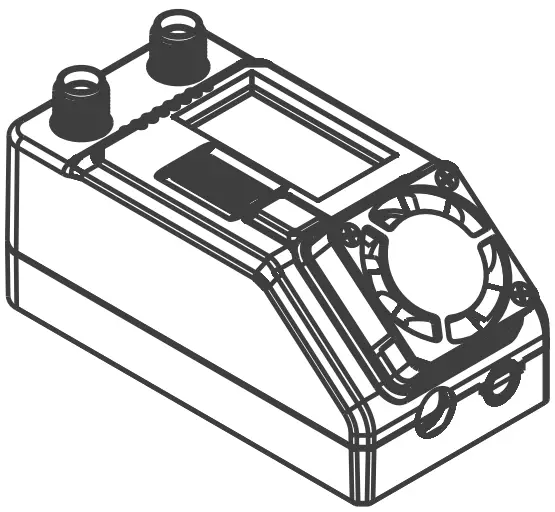
Introduction
Steadyview X receiver is high performance receiver, unlike traditional diversity receiver, the Steadyview X have unique fusion technology and low band Filter hardware, also unique image reconstruction algorithm, the receiver merge two signals to one, avoid image tearing and rolling, make image more stable and clear in challenging condition. The receiver come with ground station kit and 3 module bay cover, use can use the receiver on SKYZONE 04 series or fatshark goggles, also on SKYZONE Cobra goggles, user can use the receiver on any goggles or monitors which have AV INPUT port.
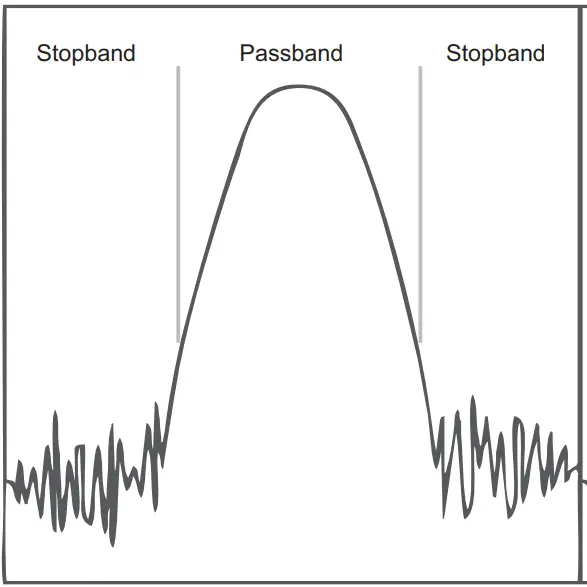
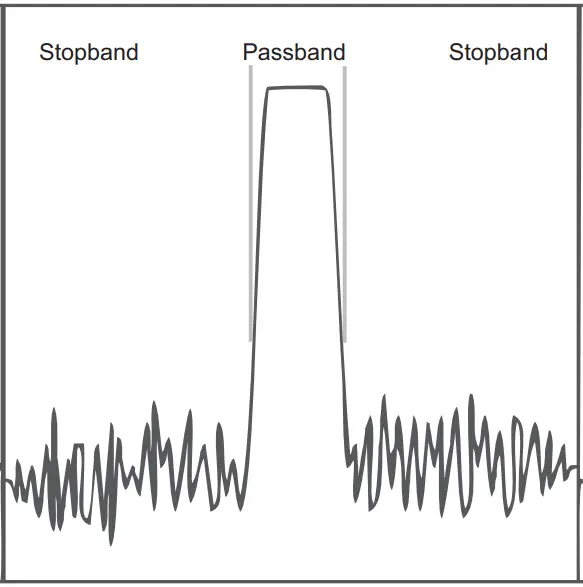
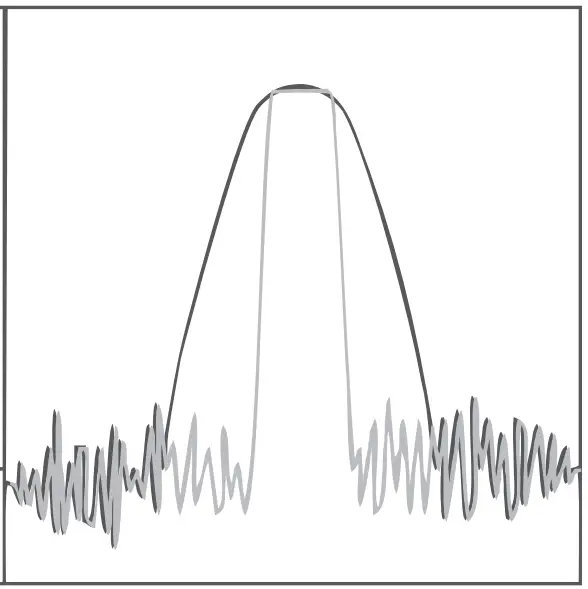
Narrow-Band Filter features
The Narrow-Band Filter avid noise interference, made the receiver reception is clean in open area and complex electromagnetic environment.
- Normal 5.8GHz receiver
- Steady View X
- Comparison
Quick Start
BAND/CH setting
- In preview mode, press the wheel to enable CH setting, roll the wheel to change Channel, press the wheel again to enable BAND setting, roll the wheel the change the BAND.
- No movement for 3 seconds, the receiver will back to preview mode.
- The front with switch from big front and small front in preview mode.
Auto Search
- Hold the wheel to pop out search menu, press the wheel to enable search, the receiver will start search, after search, the receiver will change to strongest RSSI CH.
- After search, the screen will show all rssi bar, use can roll the wheel to manually adjust the CH.
- Press the wheel during the search to quit search.
Sometime the auto search is not accurate, user need manually adjust the CH.
Receiver Mode
- Some camera on market didnt follow standard NTSC/PAL signal, cause the receiver confusing in M ix mode, It will cause image getting dark, color distortion, r olling image, user can switch to diversity mode to solve this is sue. user can use these mode to get solve these issue
- Mix1 :this is basic mix mode, this mode provides basic fusion processing to reduce excessive interference of the circuit on the image.
- Mix2:this mode i improves synchronization stability, especially in weak signals to maximize synchronization and lock video.
- Mix3:Enhance the synchronization signal on the basis of Mix2, maximize the stability of the video , and maximize the compatibility with camera. In this mode, The brightness of the signal will be reduced
- Mix Off: the receiver will turn o ffthe MIX feature, the receiver will work in traditional diversity mode receiver or signal receiver mode.
Antenna Select
In this menu, user can choose Diversity、 A、B. Diversity; in this mode, the two receiver will work same time, will choose the strongest signal to output. A,B: this mode, there is only one receiver is working to save the power
Stabilize Time
The parameter is only valid in the MIX mode. You can set the stable time after the receiver loses the synchronization signal. The default is 8 seconds. Mix1 is recommended to be set to 5 seconds or 8 seconds. The longer the setting, the longer the stabilization time, but Since the sync signal has been lost, black bars may appear on the left or right side of the video, This is because the synchronization signal generated by the receiver and the VTX transmission the video synchronization signal sent is not synchronized, and the error is getting bigger and bigger. Once the signal is restored to sufficient strength, it will be synchronized immediately. If the time is still not synchronized, the receiver signal loses lock and automatically works in diversity or single receiving mode.
OSD Mode
USER can choose the OSD style in the Video. the OSD is on the top left of the image.
- Lock Icon Freq: Lock Statues, formation of signal, RSSI bar, frequency.
- Lock Icon: Lock Statues, formation of signal, RSSI bar.
- Lock Freq: Lock Statues, formation of signal, frequency.
- Lock: Lock statues and Formation of Video Signal
- OFF: OSD Turn o ffthe OSD in the video.
MENU Style
User can change the menu style in this mode。
- Style1: White on a blue background
- Style2: Blue on a yellow background
- Style3: White on a black background
Calibration
- Calibrating the RSSI helps the receiver to work better and show the RSSI strength more accurately.
- The calibration consists of two steps, both of which must be executed correctly to complete the calibration.
- to calibrate the low rssi: make sure the receiver and VTX are working normal and matched , turn off the VTX power, calibrate the low rs si in the menu, when is done, turn on the power of VTX, then calibrate the high RSSI of receiver, when its done, user can quit the calibration menu.
ELRS
The Steadyview x have ELRS VRX backpack build in, user can synchronize the VRX and VTX with TX backpack
- ,under ELRS menu, user can choose turn on or turn off the ELRS backpack.
- If ELRS is turn on, user need go to bind mode under ELRS menu to bind the backpack to TX backpack. need Lua Script to bind the backpack, screen will show binding success after binding is done.
- Upgrade the firmware, user can upgrade the VRX backpack firmware with ELRS configrator, plug the receiver to PC, and select upgrade under ELRS menu, then the ELRS will goto boot mode, go to ELRS configrator choose backpack, select the VRX backpack, target is Steady view+ ELRS, then choose the correct com port and start build and flash, also user can add binding phrase if the TX backpack already have binding phrase.
Update Firmware
- Hold the wheel when connect the receiver to the computer.
- Computer will automatically install the driver , computer will show a new removable storage .
- Copy the steady view x Firmware File to the folder, receiver will installing the update at the same time. when the copying is done, the firmware update is done.