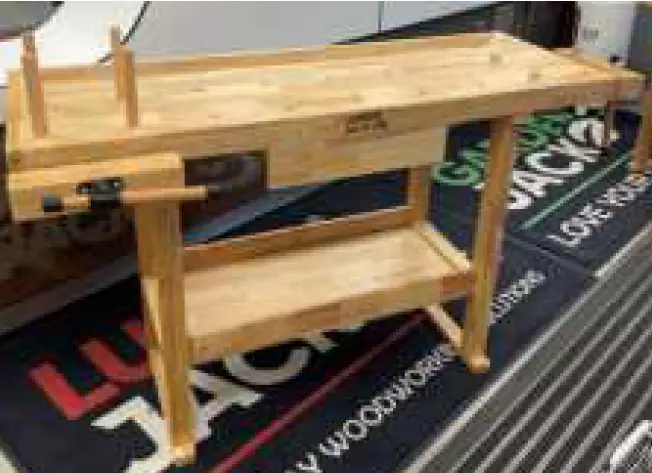
Lumberjack JACK WB1520D1 Heavy Duty Solid Wooden Woodworking Work Bench Drawer 2 Vic
Specifications:
- Vice Capacity: 7″ Inch
- Top Shelf Weight Capacity: 113kg
- Drawer Weight Capacity: 11kg
- Bottom Shelf Capacity: 90kg
- Dimensions (Including Vice): L) 1520mm x W) 620mm x H) 850mm
- Drawer Inside Dimensions (x4): L) 325mm x W) 320mm x H) 70mm
Parts List
| Part No | Description | Qty |
| 1 | Side Legs | 2 |
| 2 | Lower Support Brackets | 2 |
| 3 | Bottom Shelf | 1 |
| 4 | Table Top | 1 |
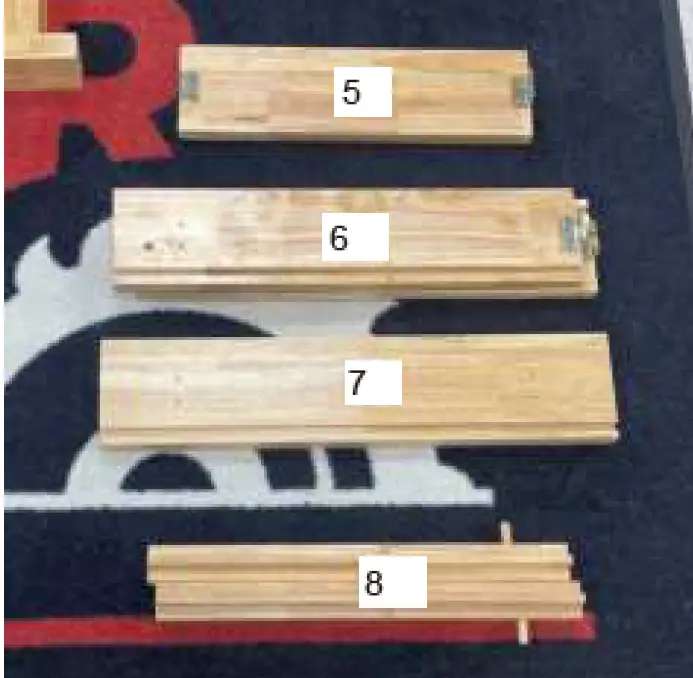
| 5 | Drawer Back | 1 |
| 6 | Drawer Side | 2 |
| 7 | Drawer Front | 1 |
| 8 | Upper Support Brackets | 2 |
| 9 | Drawer Bottom | 1 |
| 10 | Vice | 2 |
| 11 | Wooden Dogs | 4 |
| 12 | Metal Dogs | 4 |
You will also need a cross head screwdriver & 13mm spanner to build this bench


Fixings
| Part No | Description | Qty |
| A | Allen Key | 1 |
| B | Dowel Nuts | 4 |
| C | Long Bolts | 4 |
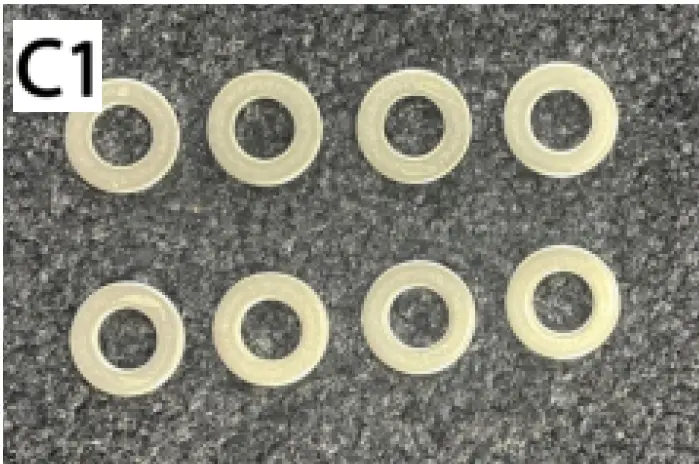
| C1 | Washers | 8 |
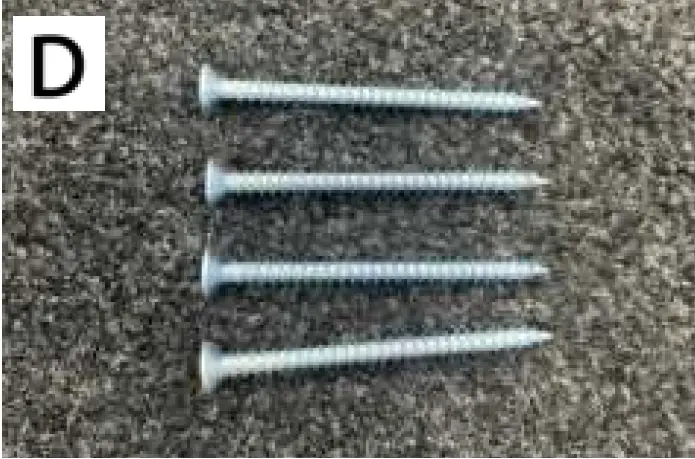
| D | Blue Long Screws | 4 |
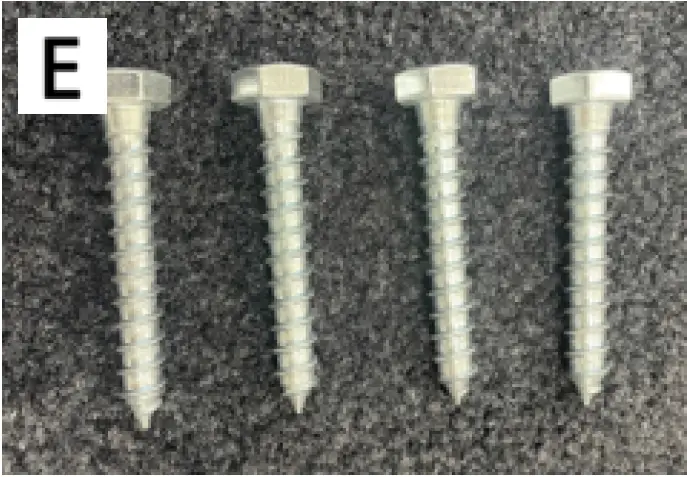
| E | Heavy Duty Screws | 4 |
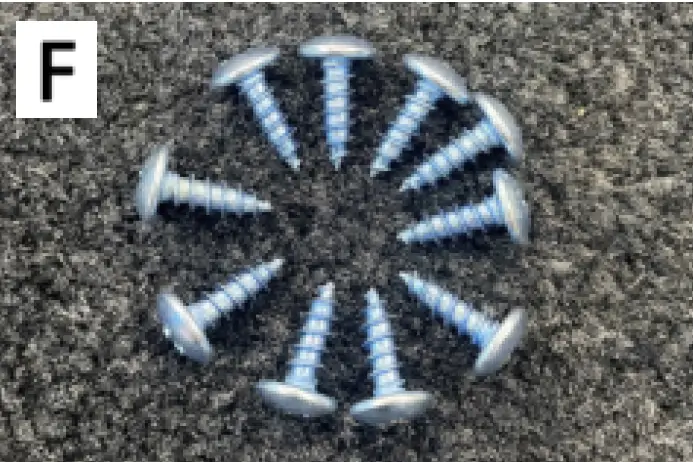
| F | Blue Small Screws | 10 |

ASSEMBLY INSTRUCTIONS
Assembly of work bench frame.
Parts required for this section: A) x1, B) x4, C) x4, C1) x4, 1) x2, 2) x2 & 3) x1 Place the washer (C1) over bolt (C) and insert through the side leg (1) to attach the lower support bracket (2). Place the dowel nut into the pre cut hole on the support bracket (2) and tighten using the allen key (A)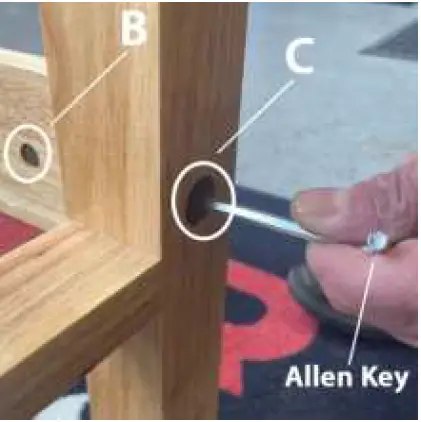 Repeat this process again for the second side leg (1) for the bench to then look like the below image.
 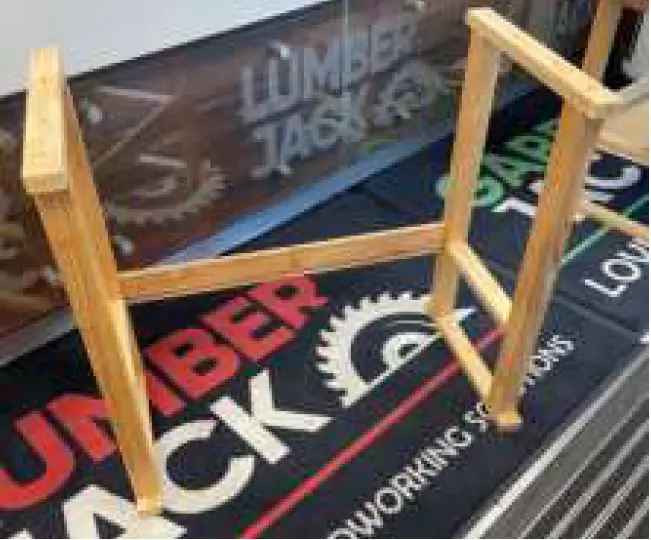 Insert bottom shelf (3) by sliding into the recess of the support bracket (2). Then attach the second support bracket (2) to the side legs (1) using bolt (C), washer (C1) & dowel nut (B)
 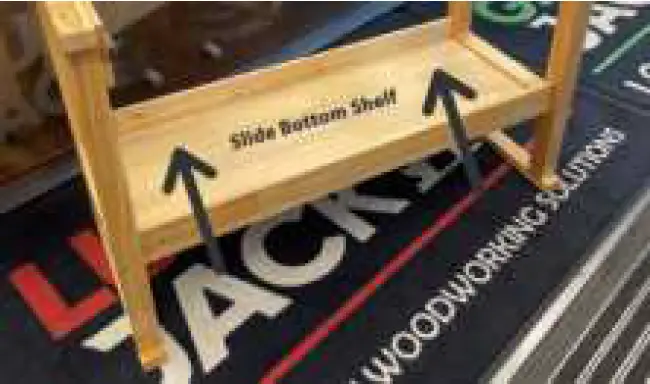 Congratulations stage one is now complete.
Your bench should now look like the image below. 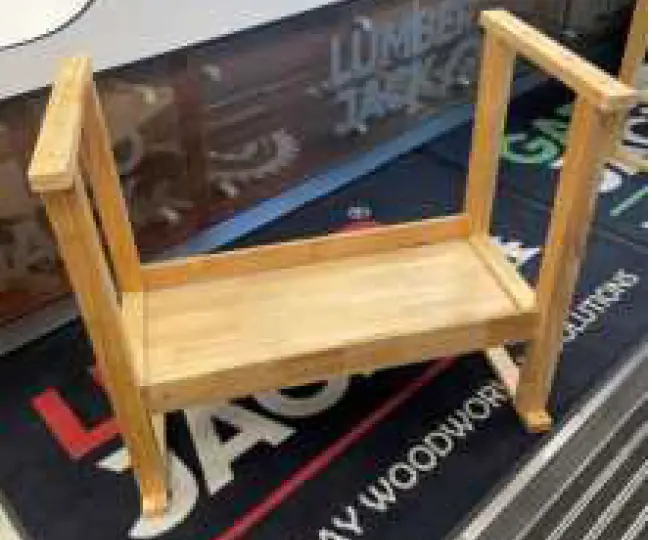 Attaching the Table top.
Parts required for this section: D) x4, 4) x1, 8) x2, 10) x1 C1) x4 & E) x4 (You will also require a cross headed screwdriver & a 13mm spanner) Attach upper support brackets (8) to the table top (4) using screws (D)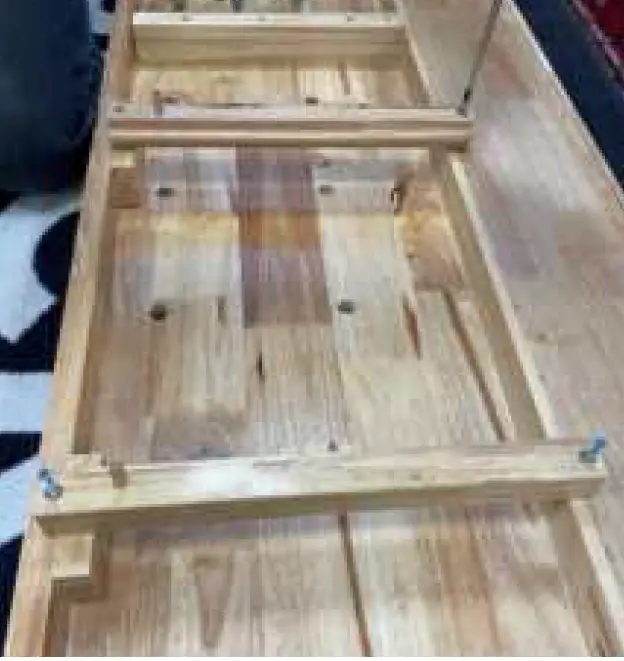 Attach the table top (4), using screws (E) & washers (C1). Insert the screws from underneath the table top (4) to secure the bench frame.
  Once you have secured the table top (4) with all four screws (E) & washers (C1) Your bench should then look like the image below.
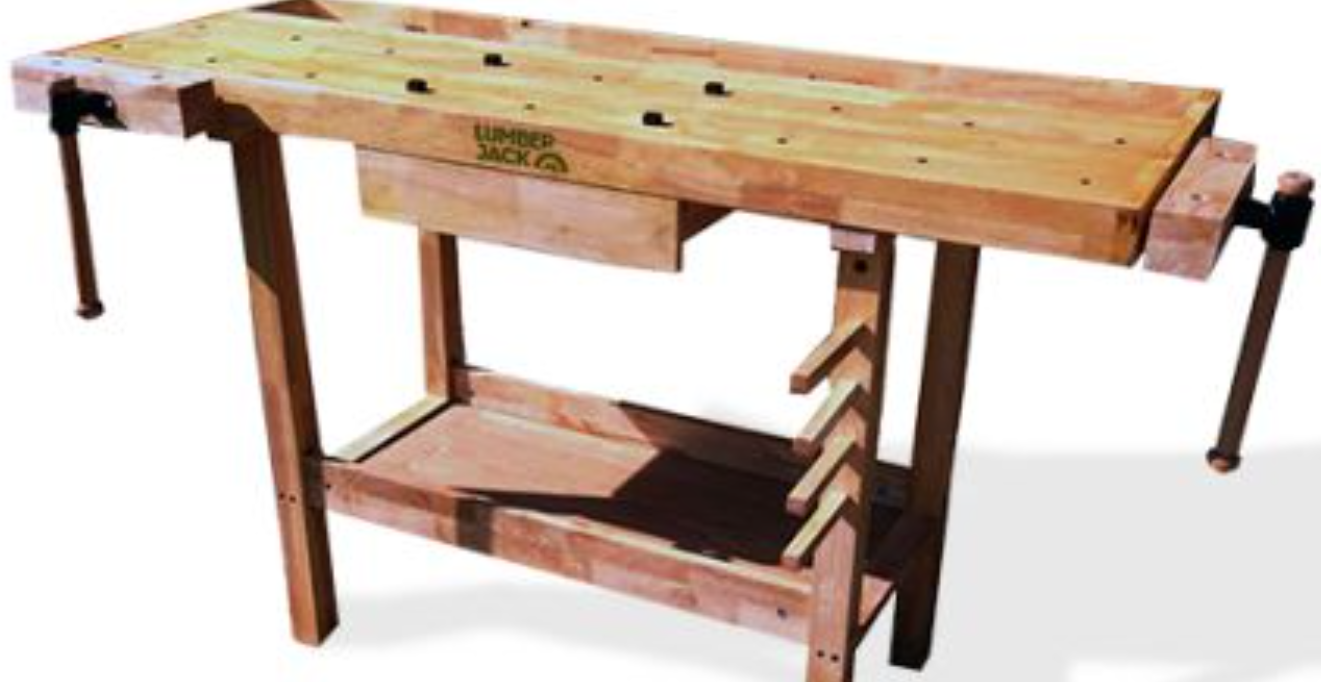
 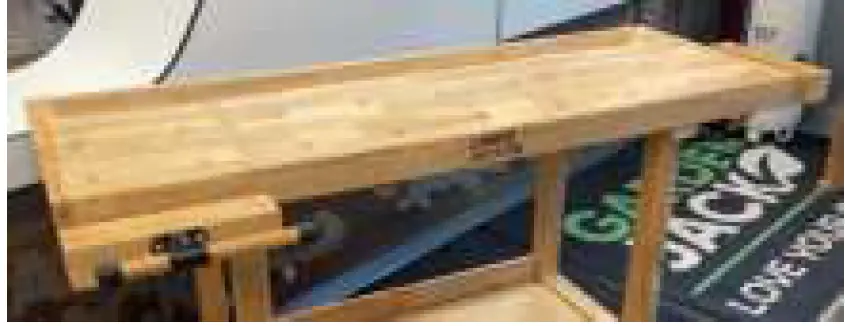 Finally, attach the vice (10) to the front of the table top (4) into the pre drilled holes on the left.
 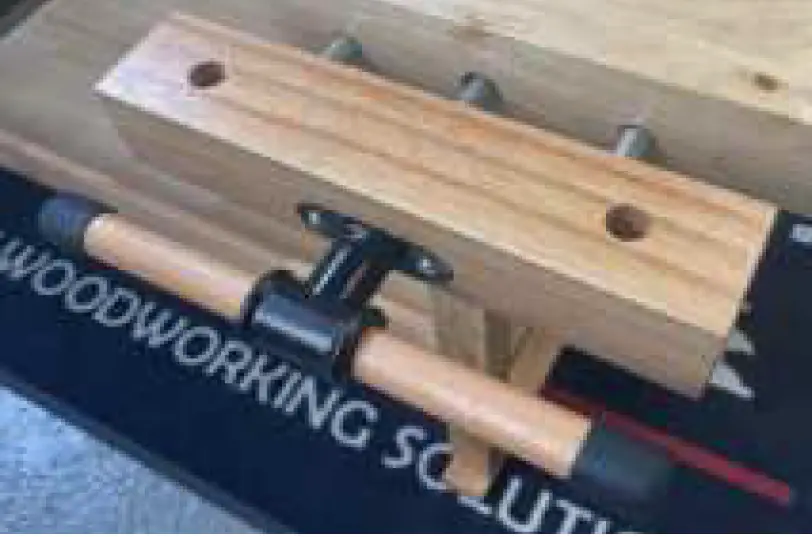 Congratulations stage two is now complete. Your bench should now look like the image below.
 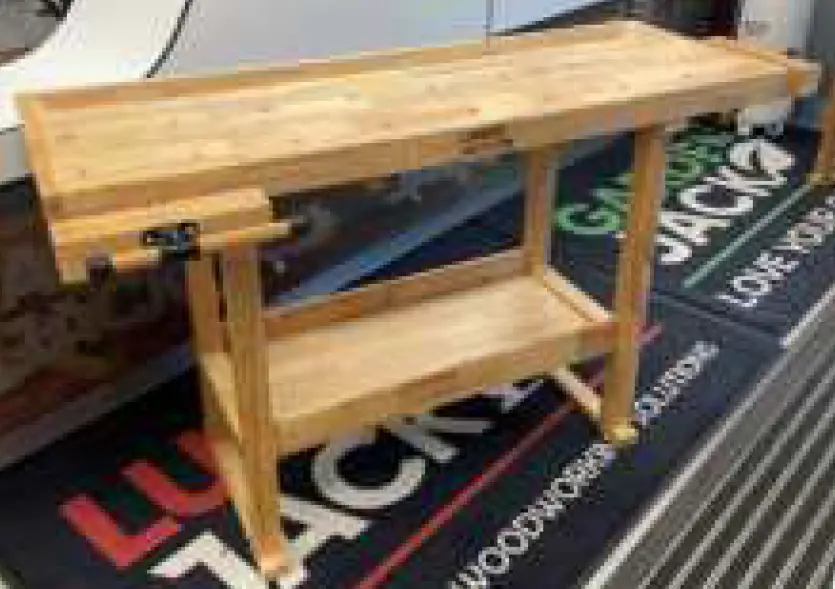 Assembly of the drawers.
Parts required for this section: 7) x1, 6) x2, 5) x1, 9) x1 & F) x8 (You will also require a cross headed screwdriver) To assemble the drawer take both sides (6) & back (5). Screw together using screws (F)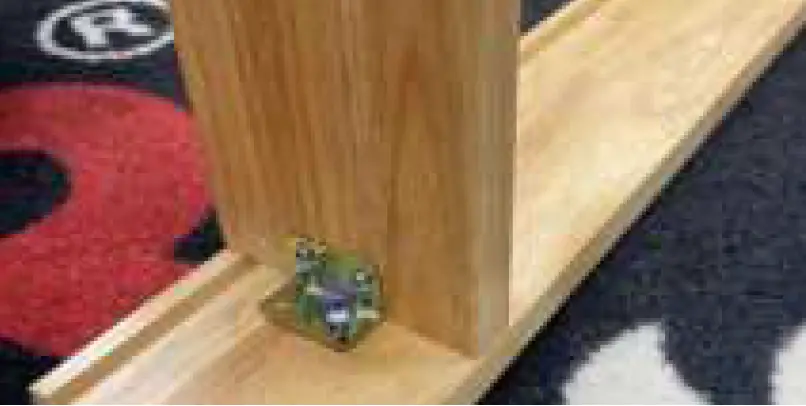 Once you have screwed the back (5) to the sides (6) your drawer should look like this below.
 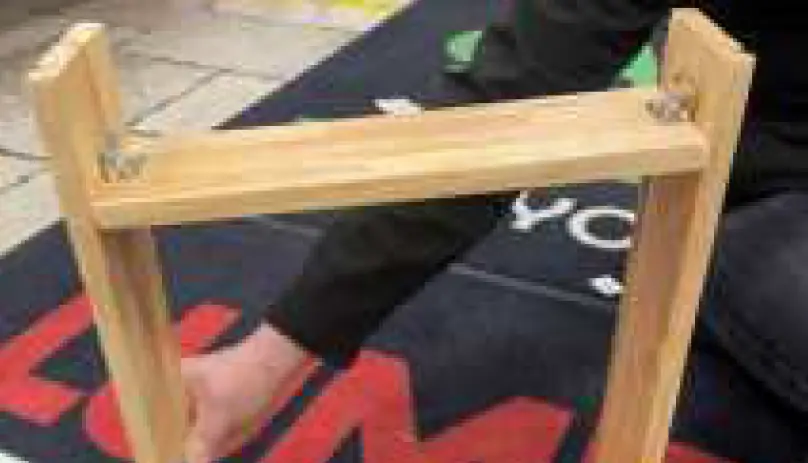 Next take the drawer bottom (9) and slide into the recess of the sides (6)
  Last to do is add the front (7) and secure tight with screws (F) Then slide the completed drawer into the recess of the upper support brackets (8) on the wood bench.
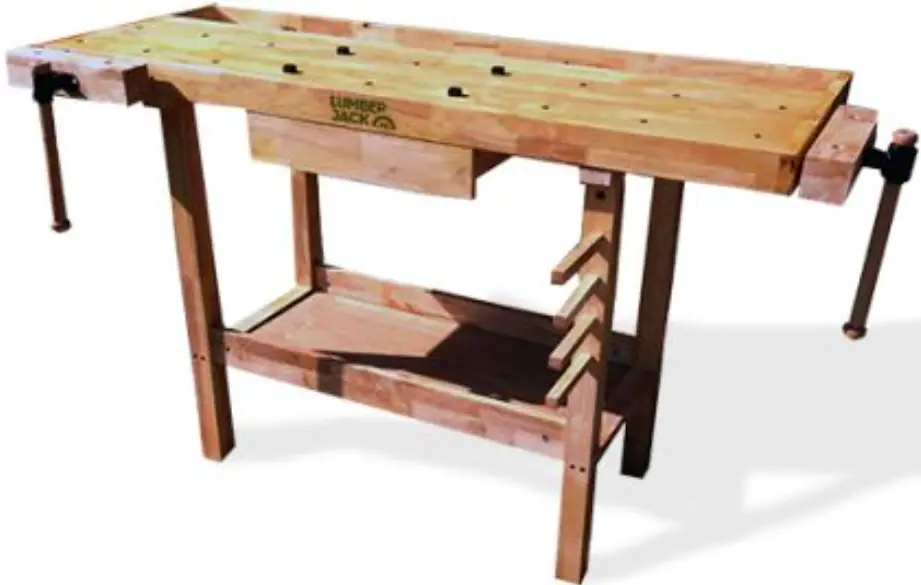
 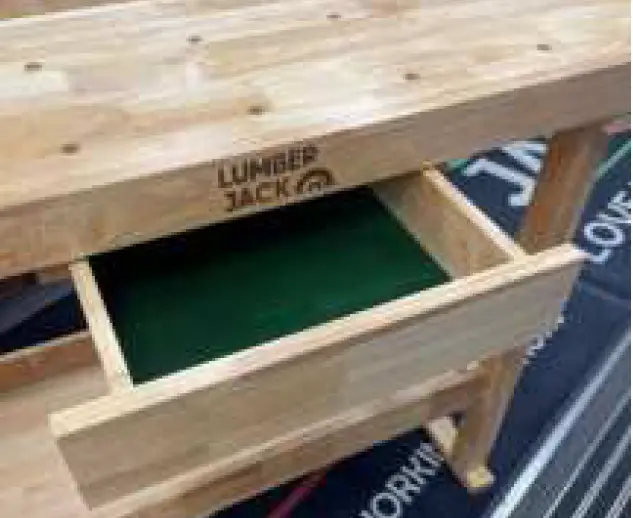 Congratulations stage three is now complete. Your bench is now ready to use.