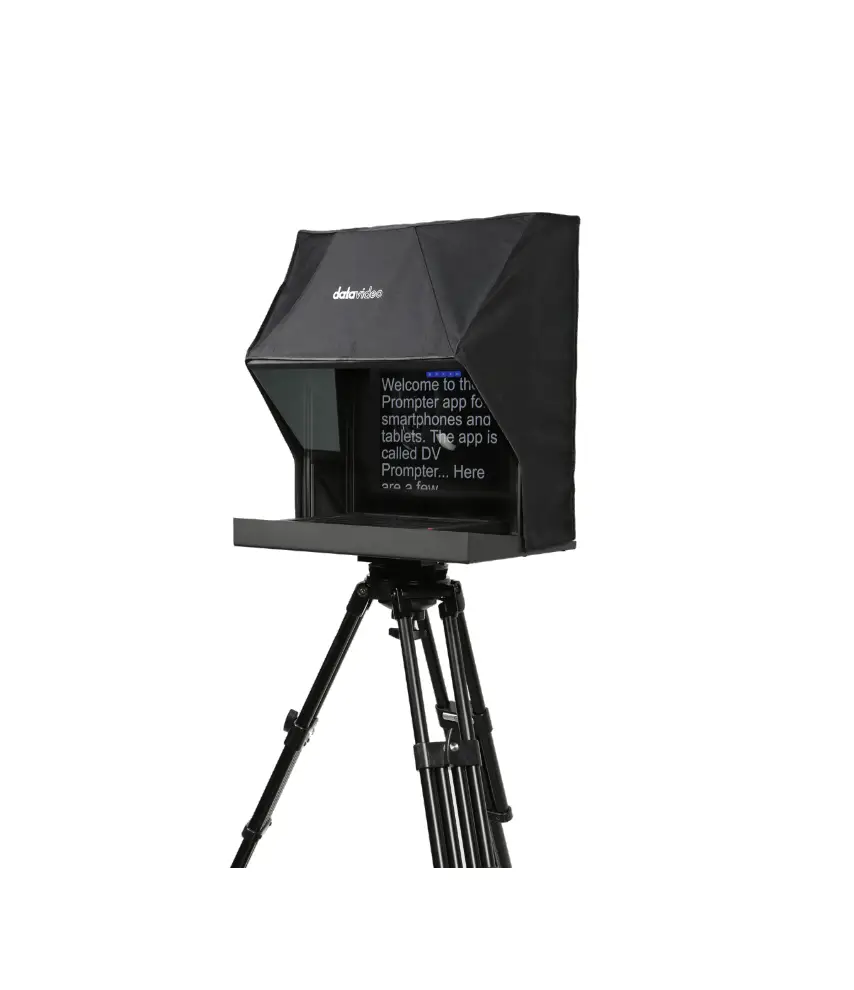
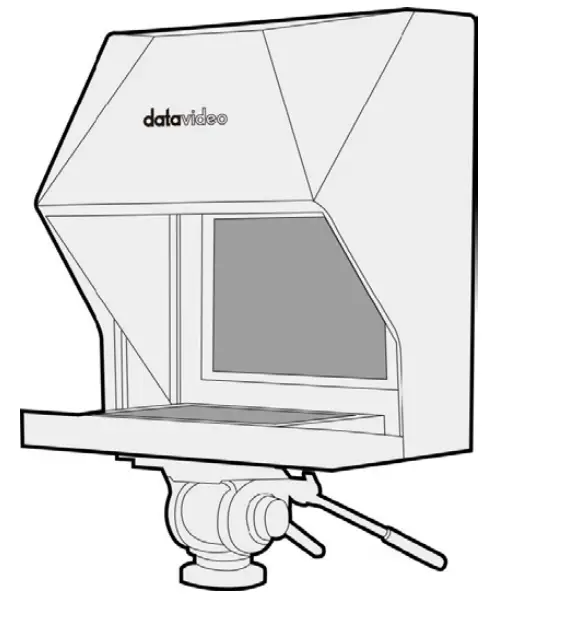
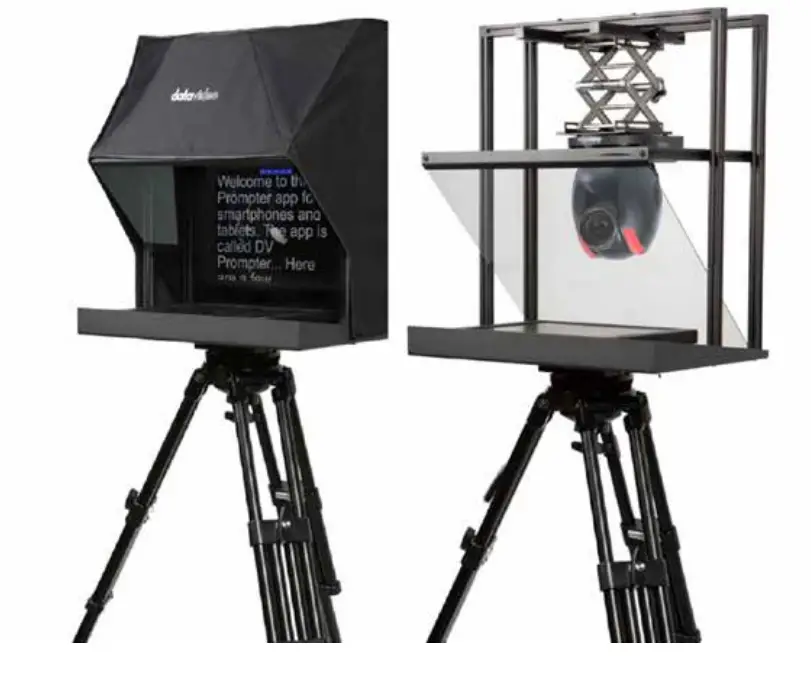
datavideo TP-900 PTZ Presentation Prompter
PARTS
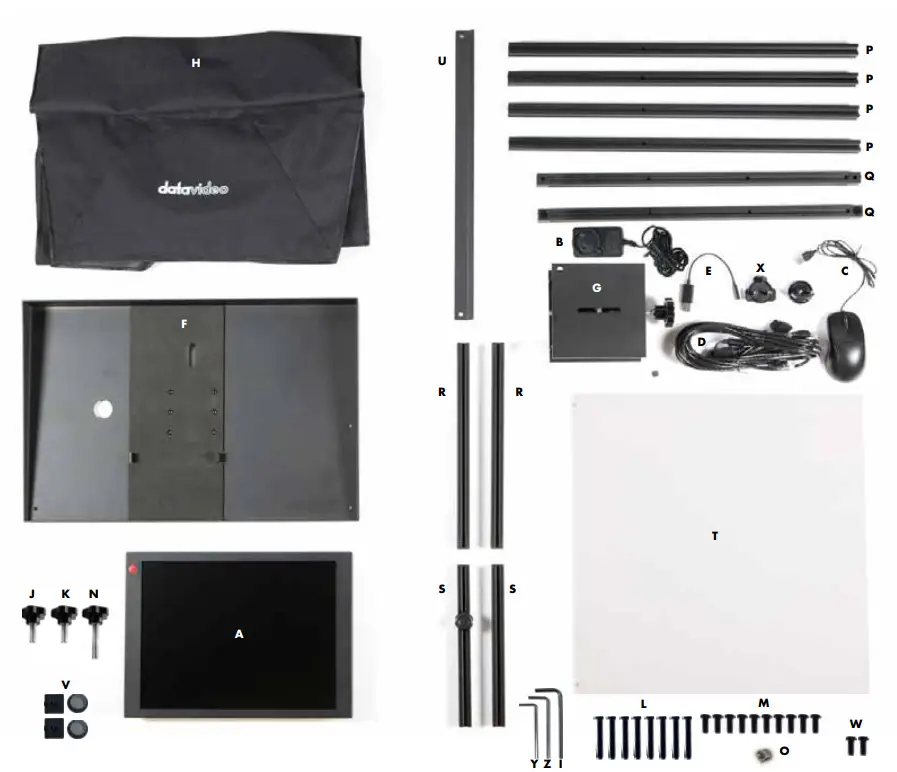
| Item | Description | Quantity |
| A | 15” LCD Control Unit | 1 |
| B | 12V universal Mains PSU | 1 |
| C | USB Mouse | 1 |
| D | 5m Ethernet Cable | 1 |
| E | 3.5mm input adapter for WR-500 remote control | 1 |
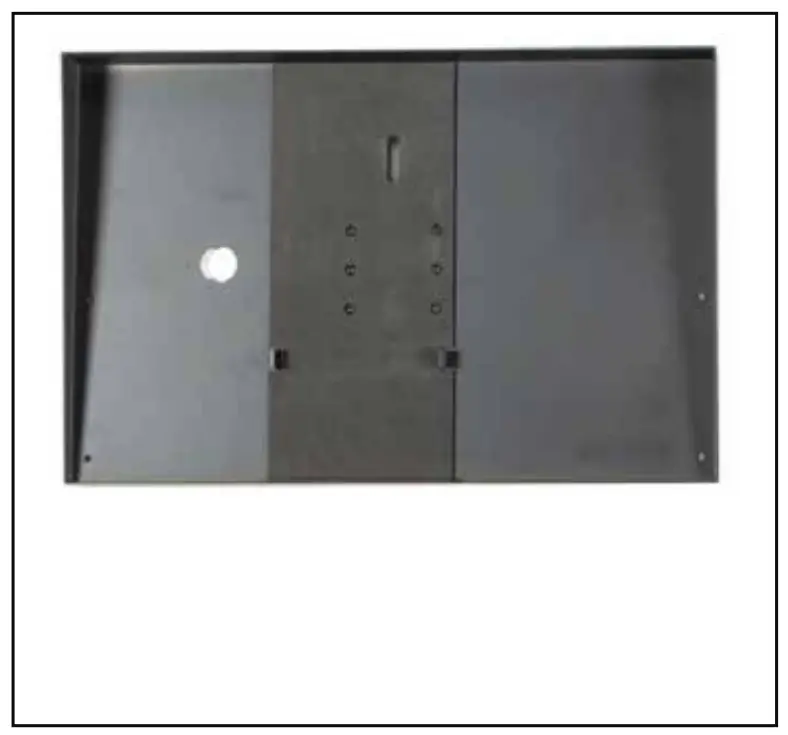
| F | TP-900 metal base tray with tripod plate | 1 |
| G | 150 x 150 PTZ Scissor Lift | 1 |
| H | Cloth Hood | 1 |
| I | M4 CRV hex tool | 1 |
| J | 9mm long ¼ thumb screw with red dot | 1 |
| K | 9mm long ¼ thumb screw with washers | 1 |
| L | M6*40mm screws | 8 |
| M | M6*14mm screws | 10 |
| N | 16mm long screw | 1 |
| O | 3/8 to ¼ adapter | 1 |
| P | 565mm Vertical extrusions | 4 |
| Q | 475mm horizontal extrusions with 90 degree joining blocks | 2 |
| R | 325mm glass support extrusions with single end caps | 2 |
| S | 250mm PTZ lift extrusions with both end caps | 2 |
| T | 70/30 mirror glass | 1 |
| U | Glass support bar | 1 |
| V | Spare black extrusion end caps | 2 |
| W | Spare M6*14mm screws | 2 |
| X | 12V regulated DTap cable | 2 |
| Y | Small CRV hex tool to remove the tripod plate from item F | 1 |
| Z | Medium CRV hex tool to remove 90 degree joining blocks from item Q | 1 |
ASSEMBLY INSTRUCTIONS
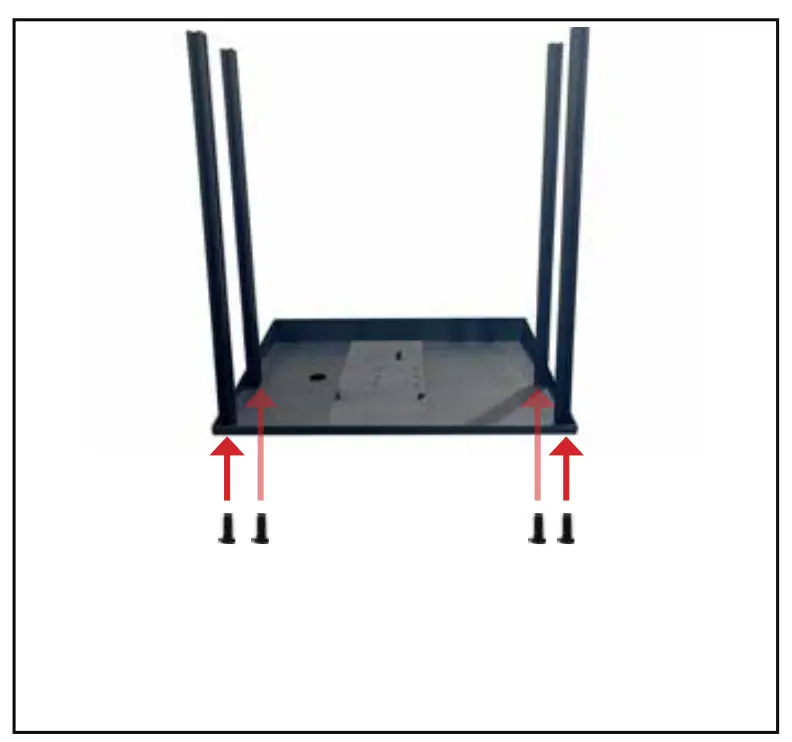
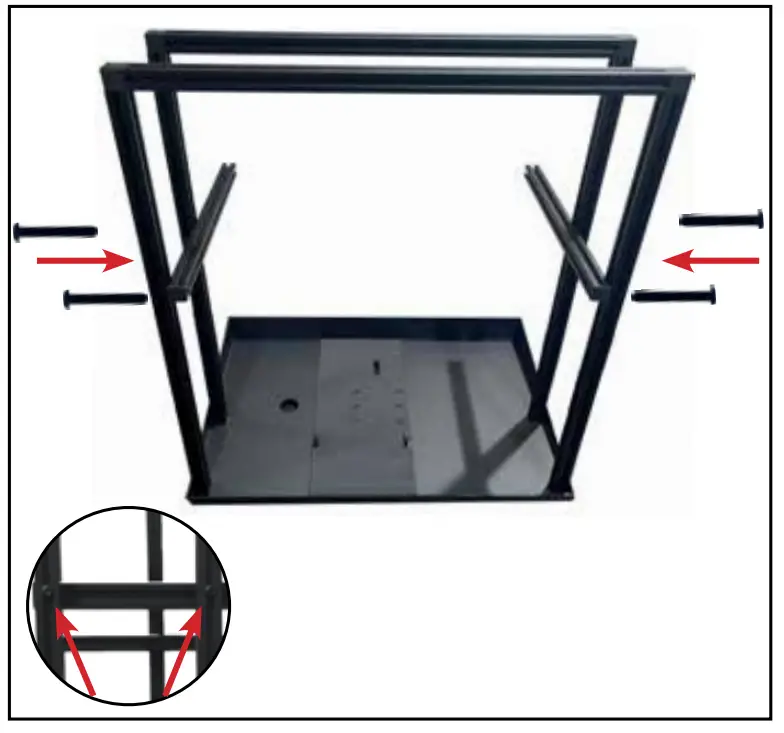
- Grab TP-900 metal base tray (Item F) and lay flat on surface such as a table.

- Grab 4x 565mm vertical extrusions (Item P) and 4x M6 14mm screws (Item M)
NOTE: Make sure screw opening closest to the end is facing away from metal base tray (Item
- Attach the four 565mm vertical extrusions (Item P) to metal base tray (Item F) using the M6 14mm screws (Item M)
Use M4 CRV hex tool (Item I) for this.
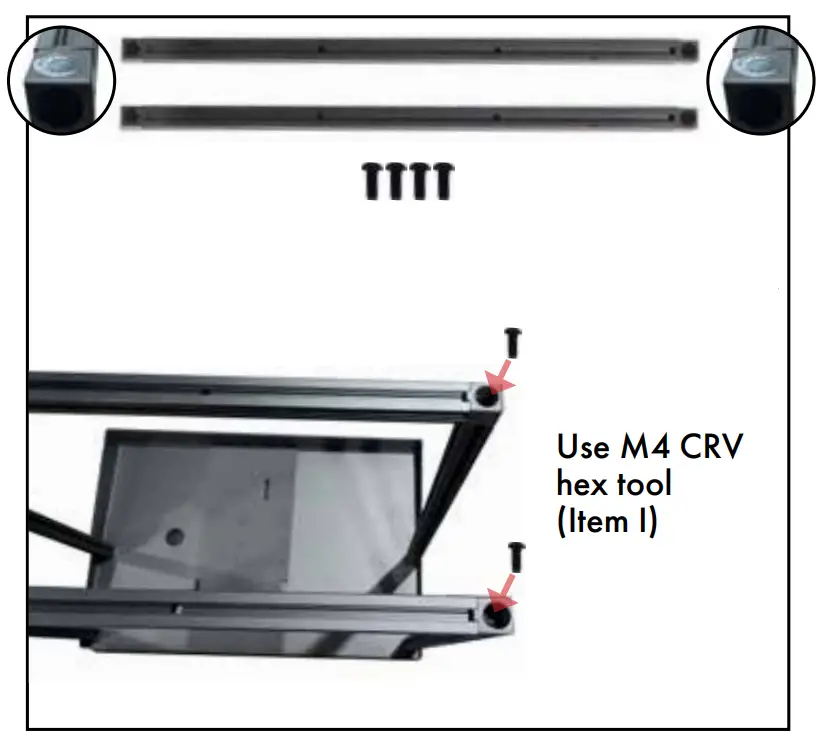
- Grab 2x 475mm Horizontal extrusions (Item Q) & 4x M6 s 14mm screws (Item M). Remove circular cover caps and place aside.

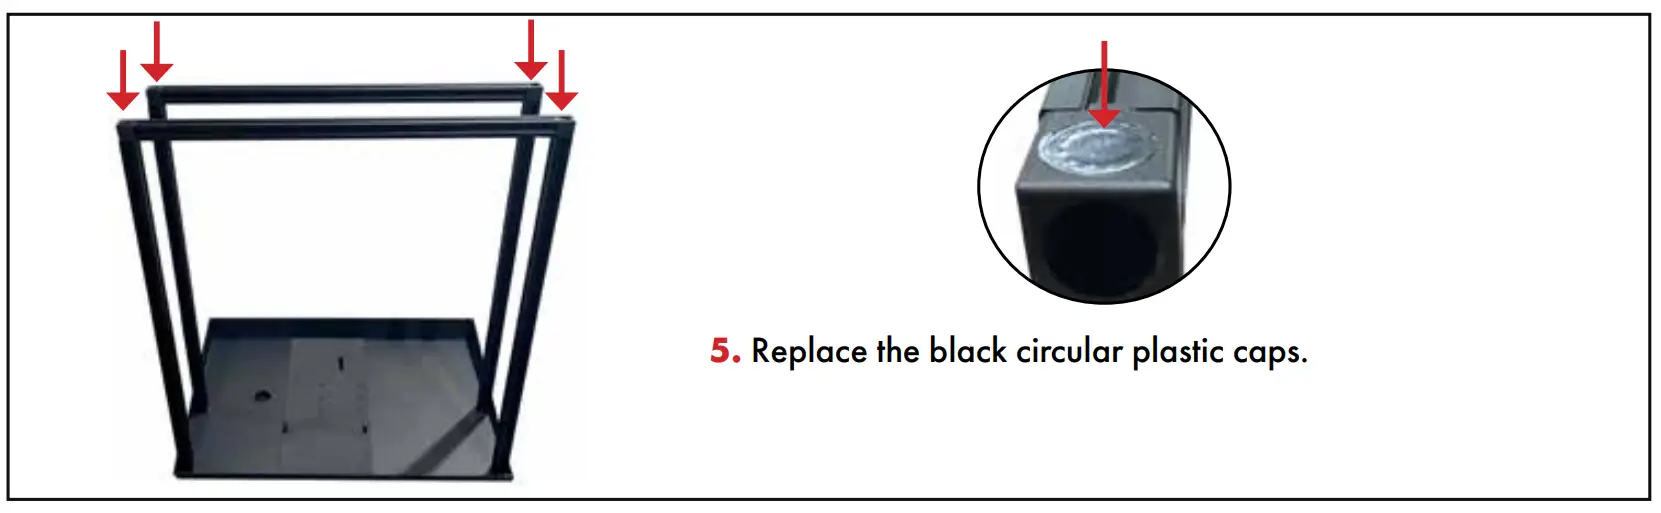
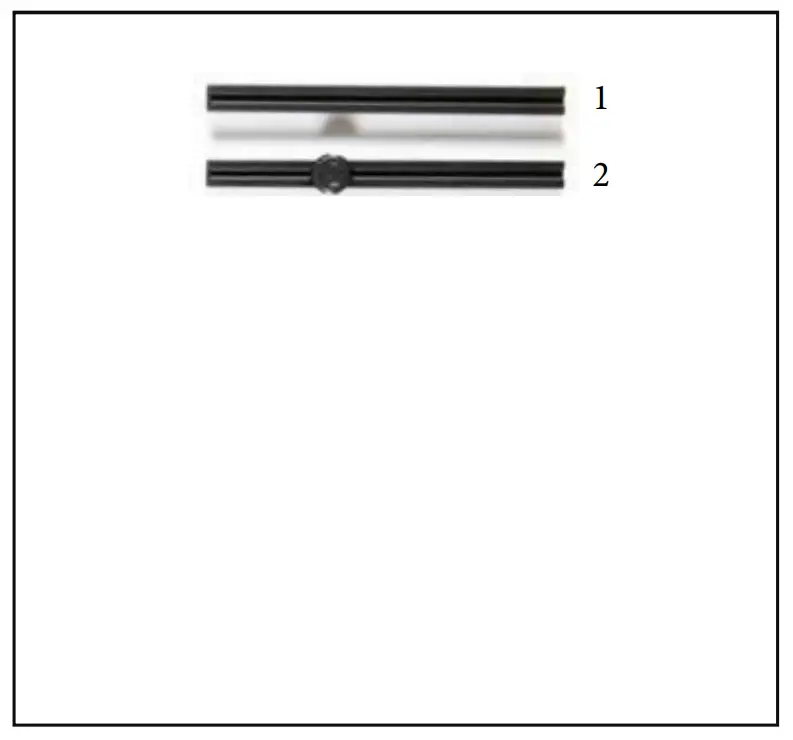
- Replace the black circular plastic caps

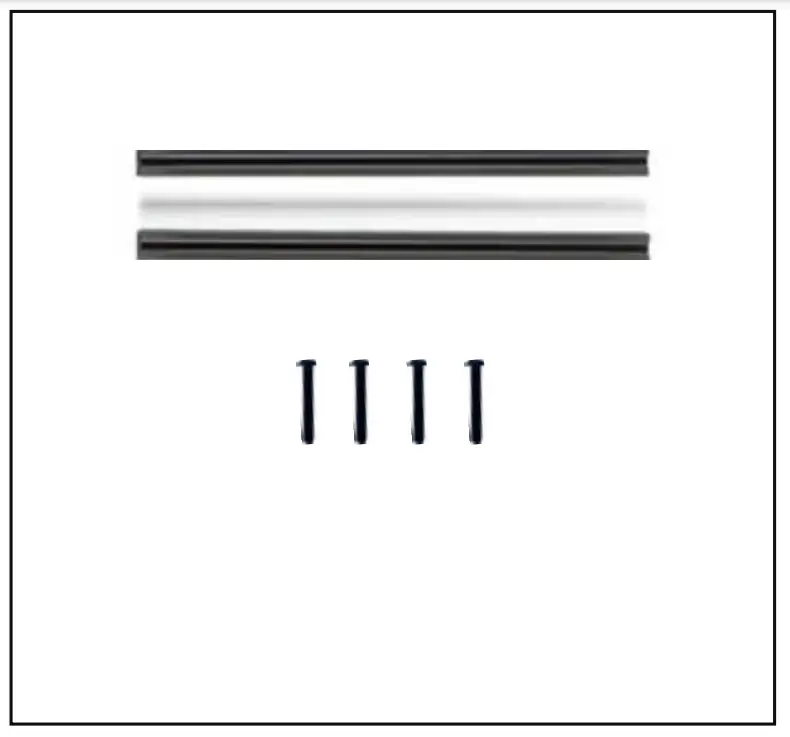
- Grab 2x 325mm glass support extrusions with sing end caps (Item R) and 4x M6 40mm screws (Item L)

- Use M4 CRV hex tool (Item I) to attach screws to thevertical extrusions

- Grab 2x 325mm glass support extrusions (Item R) and 4x M6 14mm screws (Item M)

- Use M4 CRV hex tool (Item I) to attach screws to the vertical extrusions

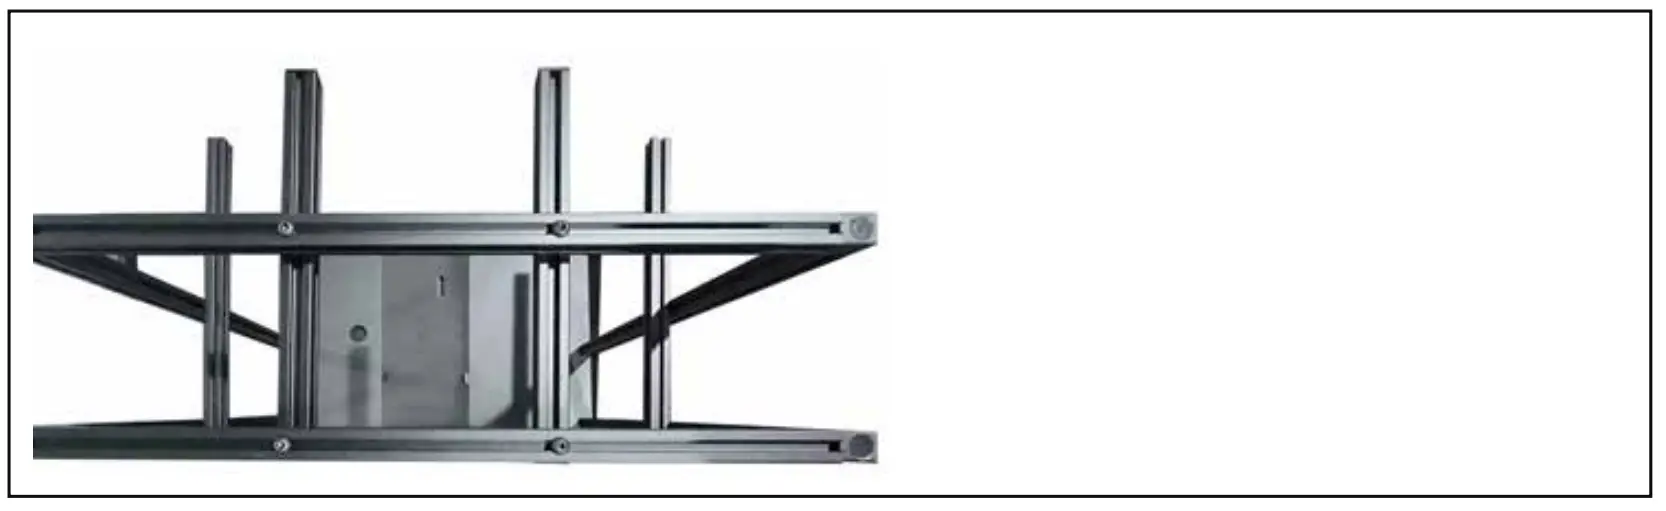
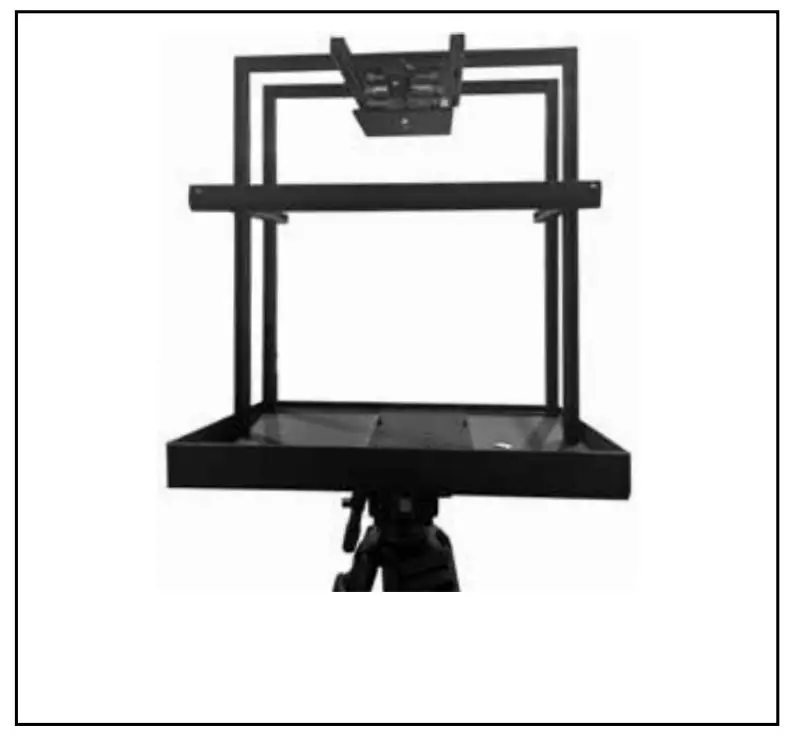
- Top view should look like this.

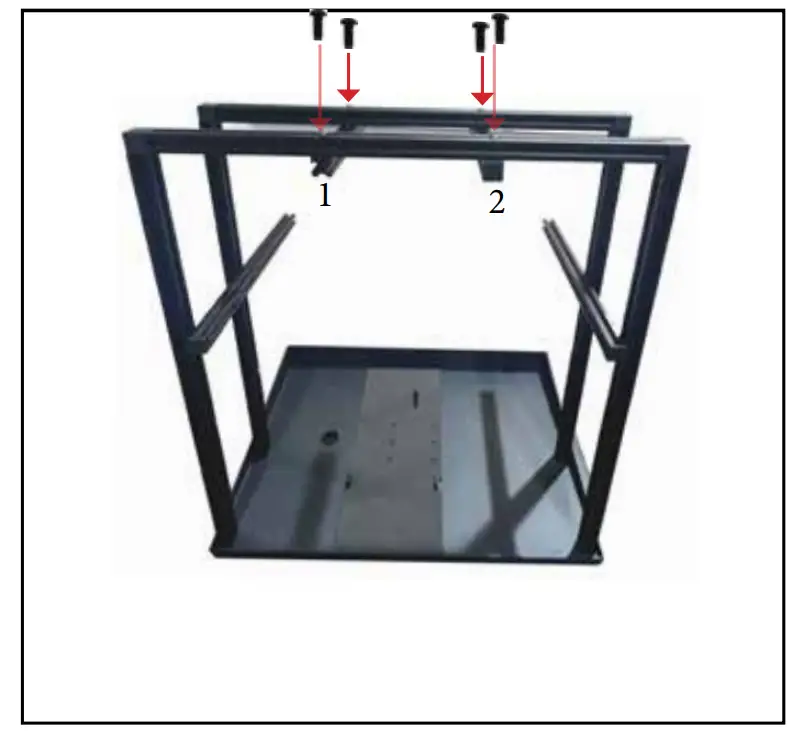
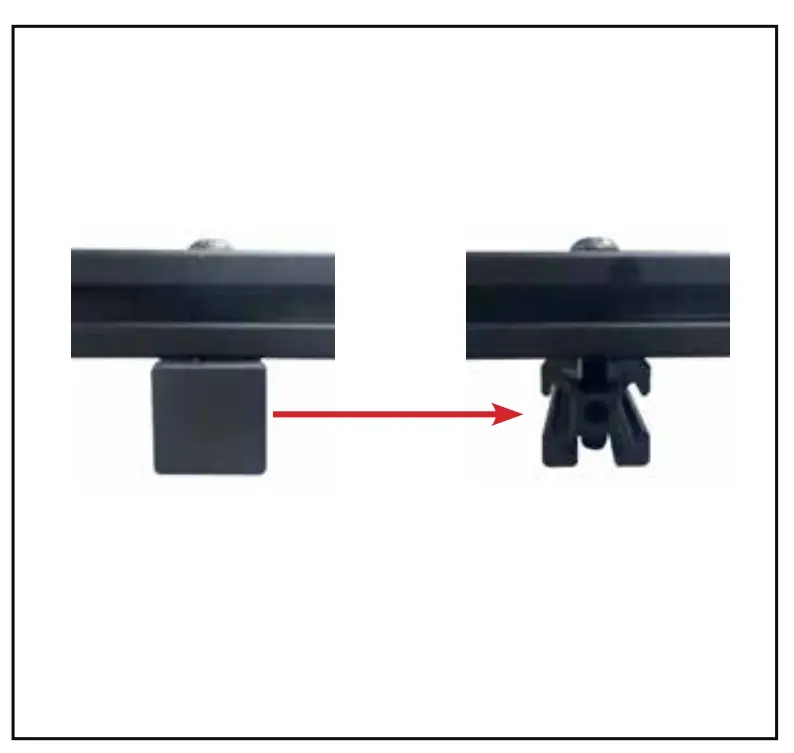
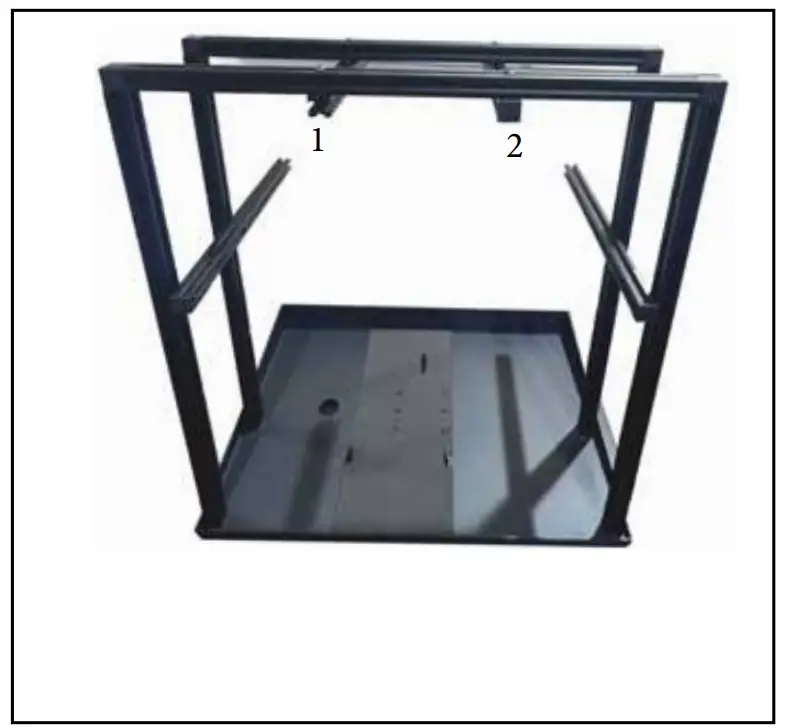
- Remove squared black plastic end caps from 1 & 2 extrusion

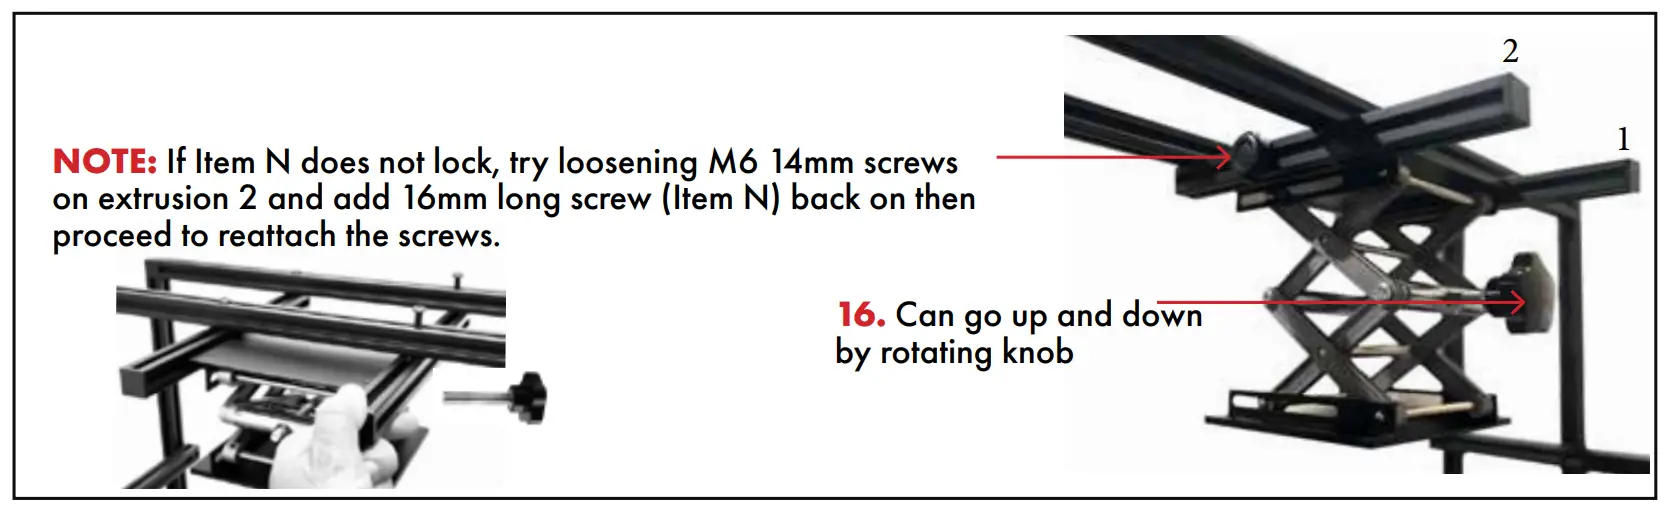
- . Remove squared black plastic cap from 1 & 2 extrusion for PTZ

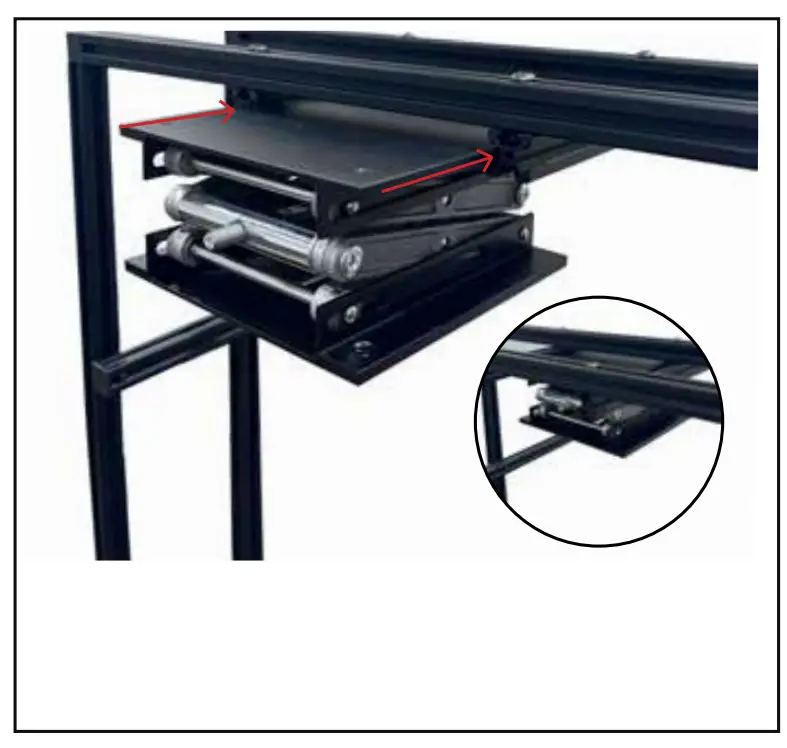
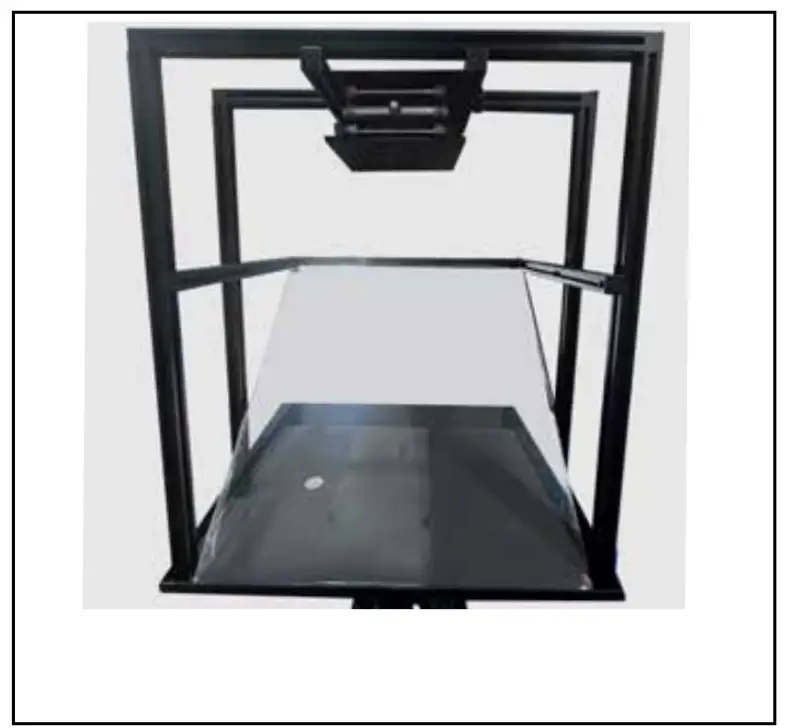
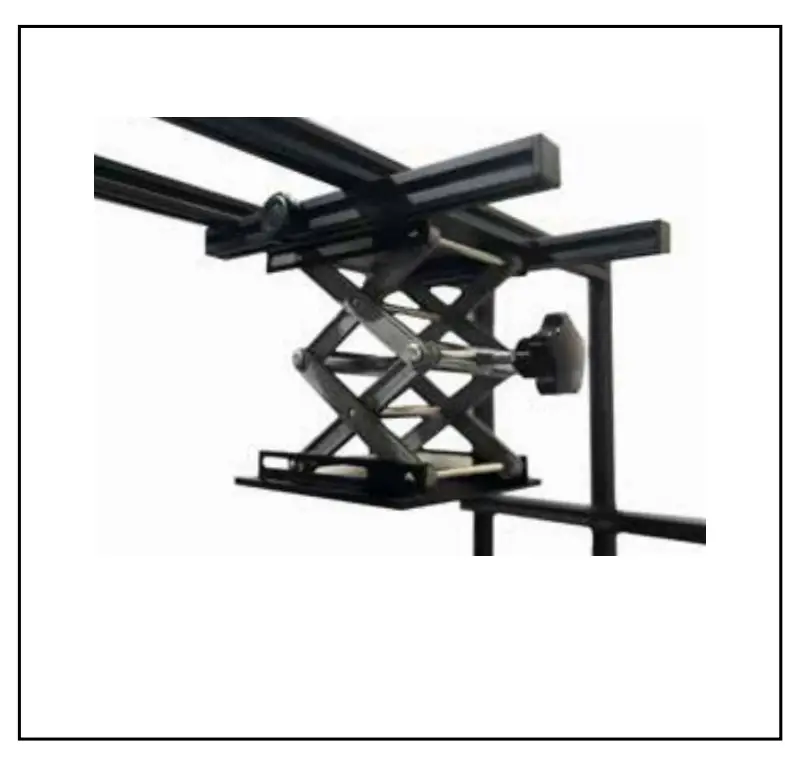
- Insert the 150 x 150 PTZ scissor lift (Item G) in between the extrusion (1 & 2) as shown above.

- Ensure that adjustment knob is facing the rear of the teleprompter as shown.

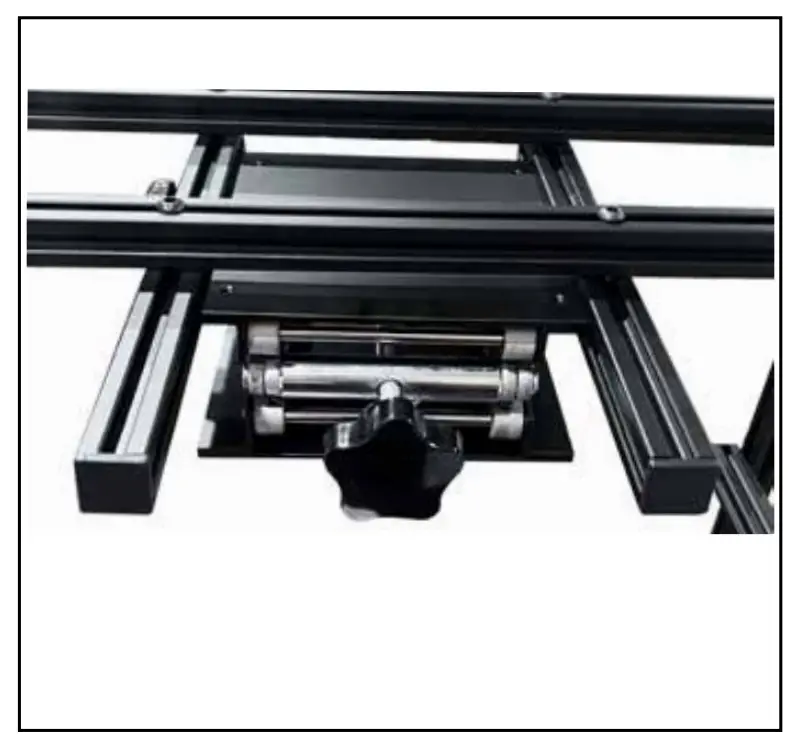
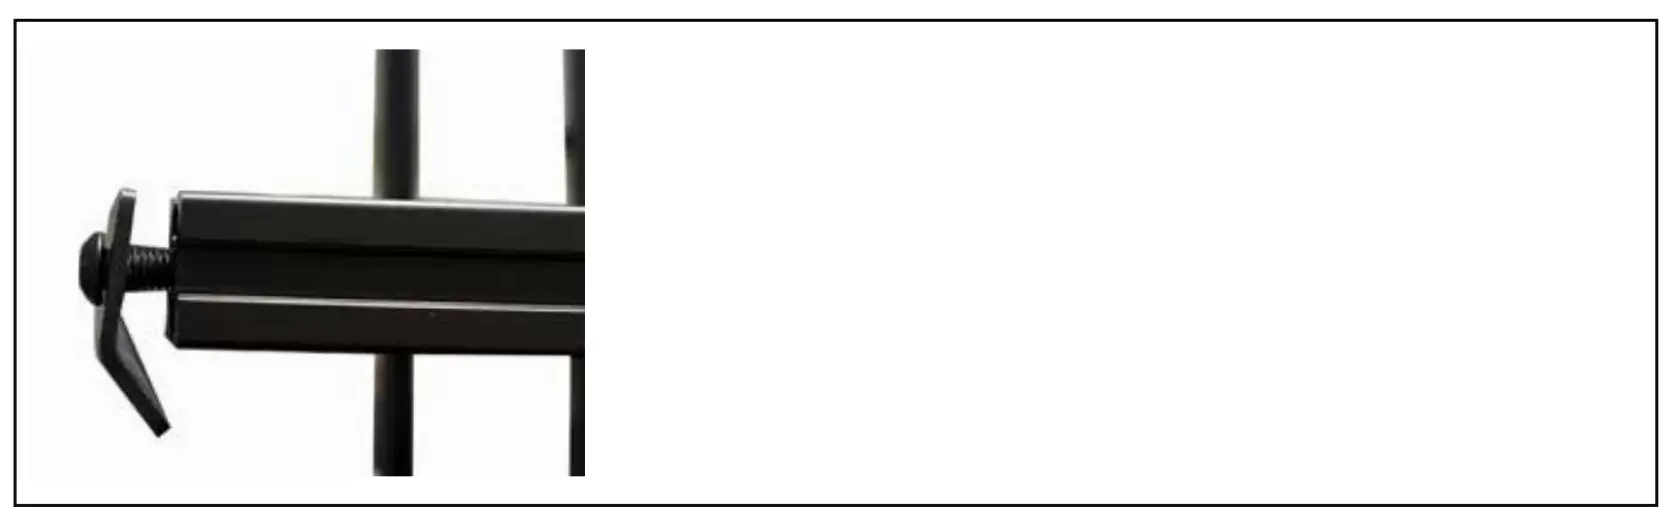
- Lock the position of the 150 x 150 PTZ Scissor Lift, (Item G) with the 16mm long screw (Item N)

- Can go up and down by rotating knob
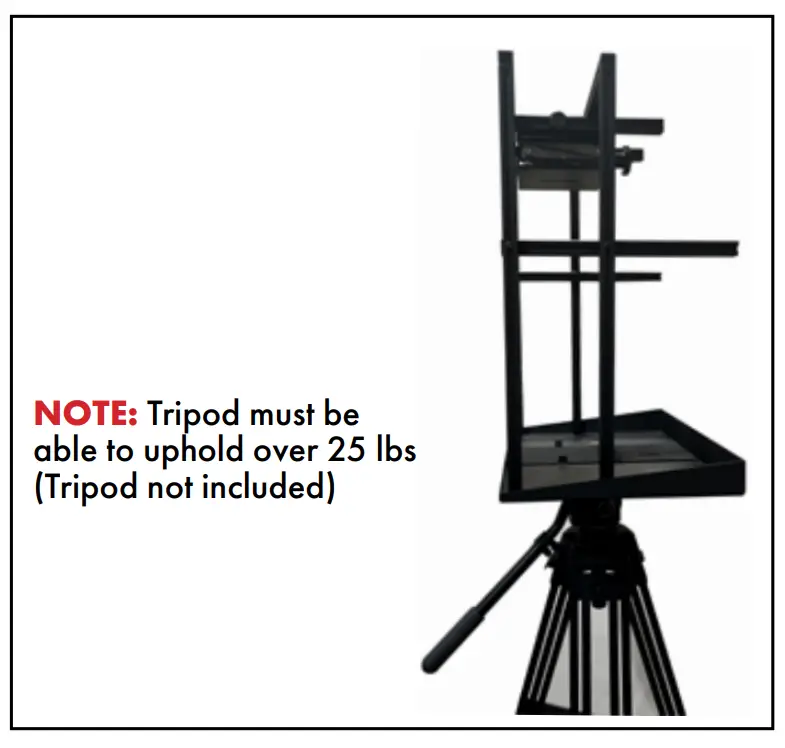
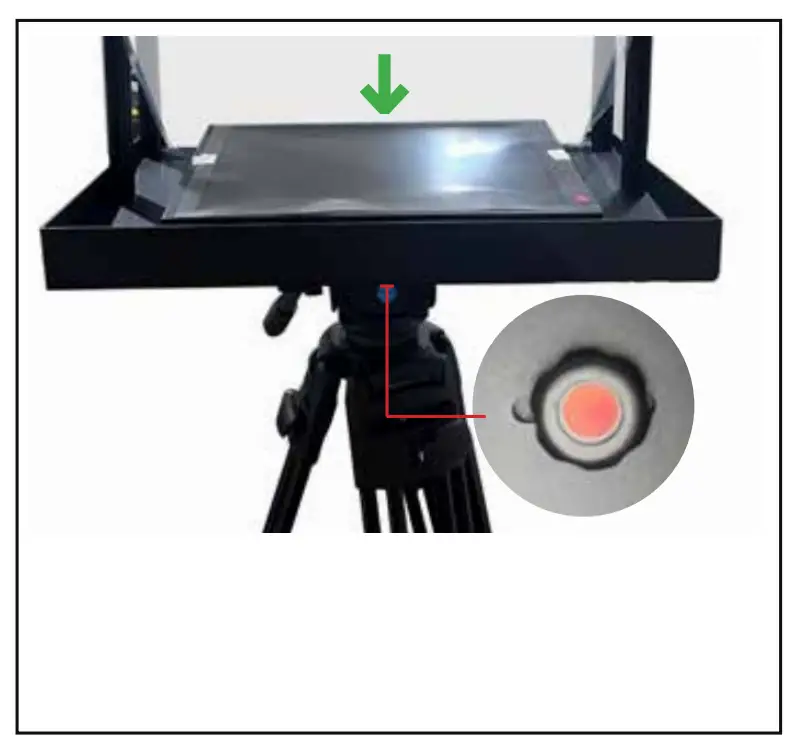
- With the PTZ Scissor Lift locked, now lay on flat table. Attach / screw quick release plate of your tripod to on to the bottom of the TP-900 metal base plate (Item F)

- Once installed, mount onto your tripod.

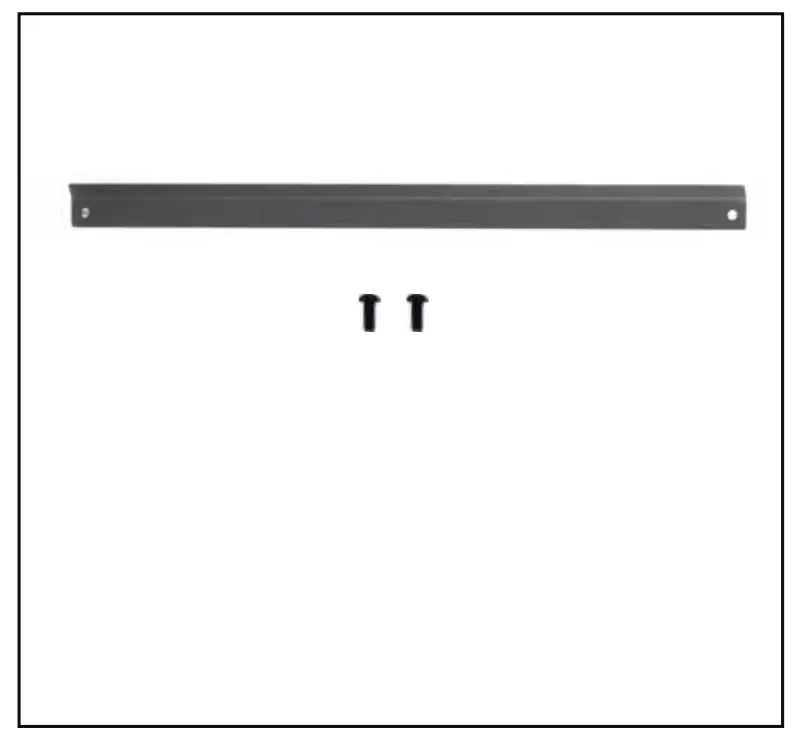
- Grab glass support bar (Item U) and 2x M6 14mm screws (Item M)

- Use M4 CRV hex tool (Item I) to attach screws to the vertical extrusions
- Leave about a quart or an inch of space between glass support bar (Item U) and glass support extrusion (Item R)

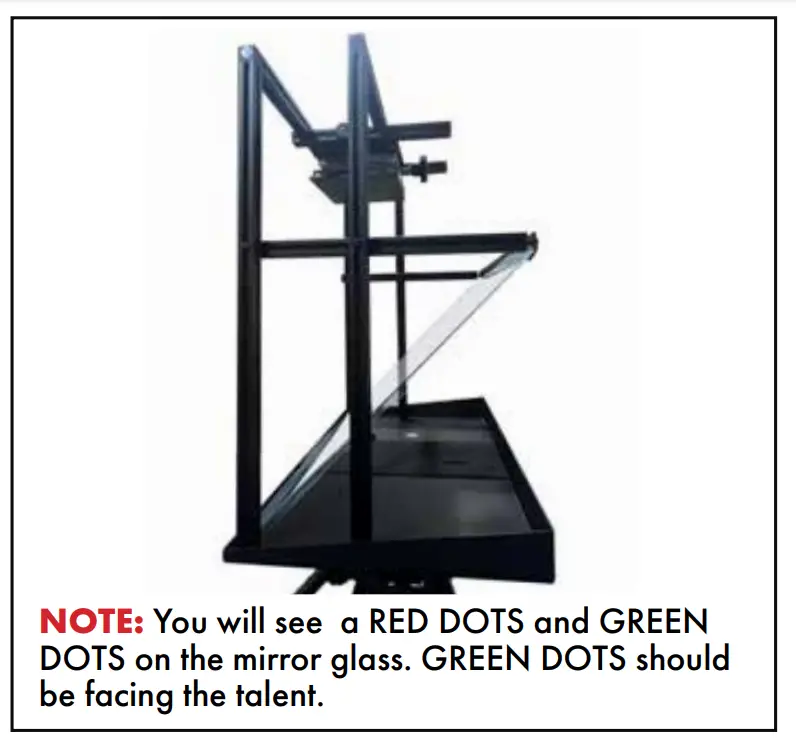
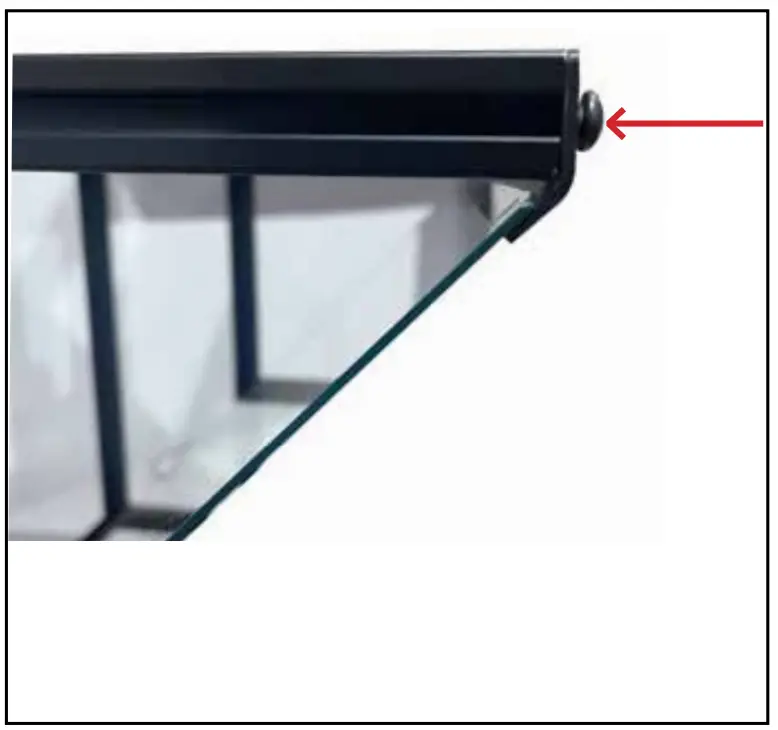
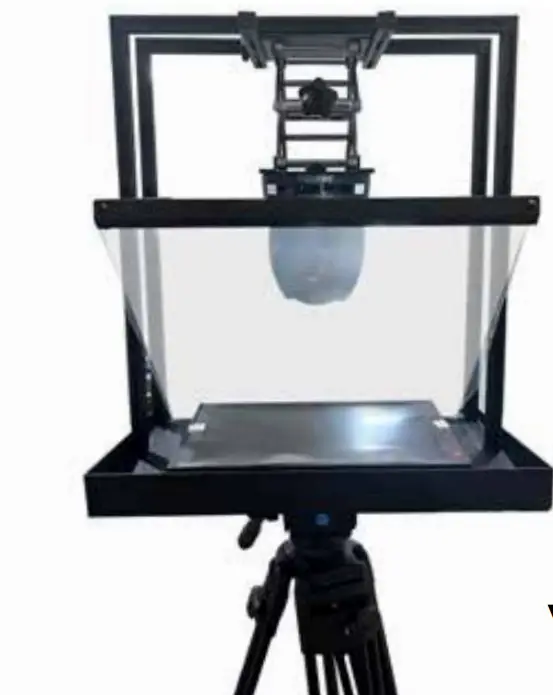
- Grab 70/30 mirror glass (Item T). Carefully remove plastic covering.

- Place mirror glass carefully in the center.


- Fasten the space between glass support bar (Item U) and glass support extrusion (Item R) with the M4 CRV hex tool (Item I).

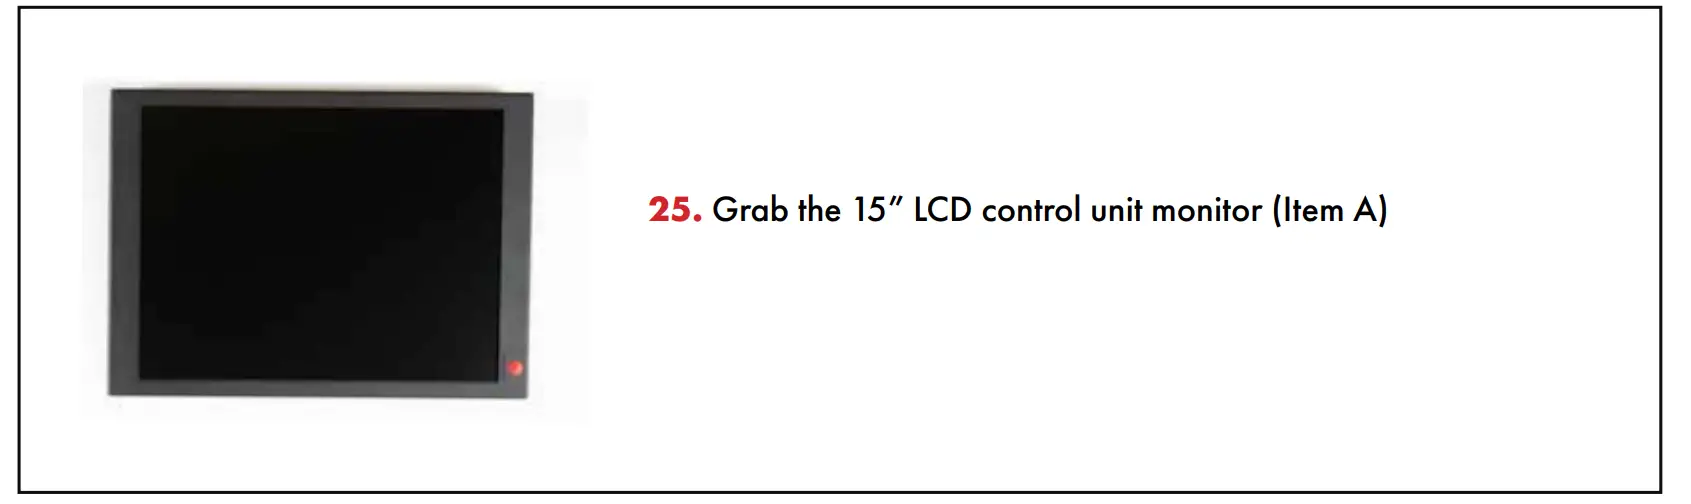
- Grab the 15” LCD control unit monitor (Item A)

- Install the 15” LCD Control Unit (Item A) by inserting the 9mm long ¼ thumb screw with red dot (Item J) through the slot in the TP-900 metal base tray with tripod plate(Item F).

- Now bring the PTZ scissor lift down (Item G)

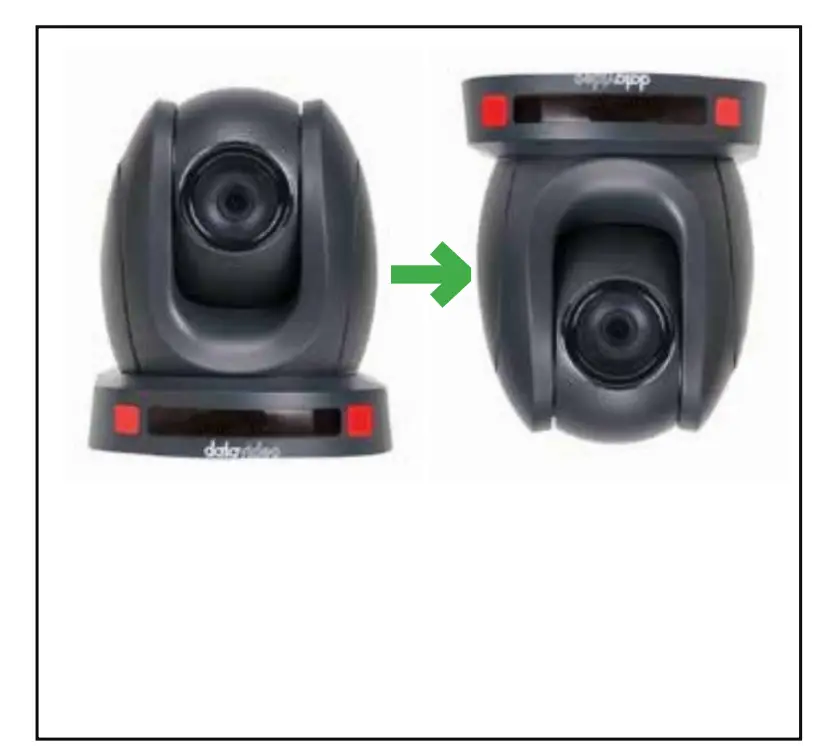
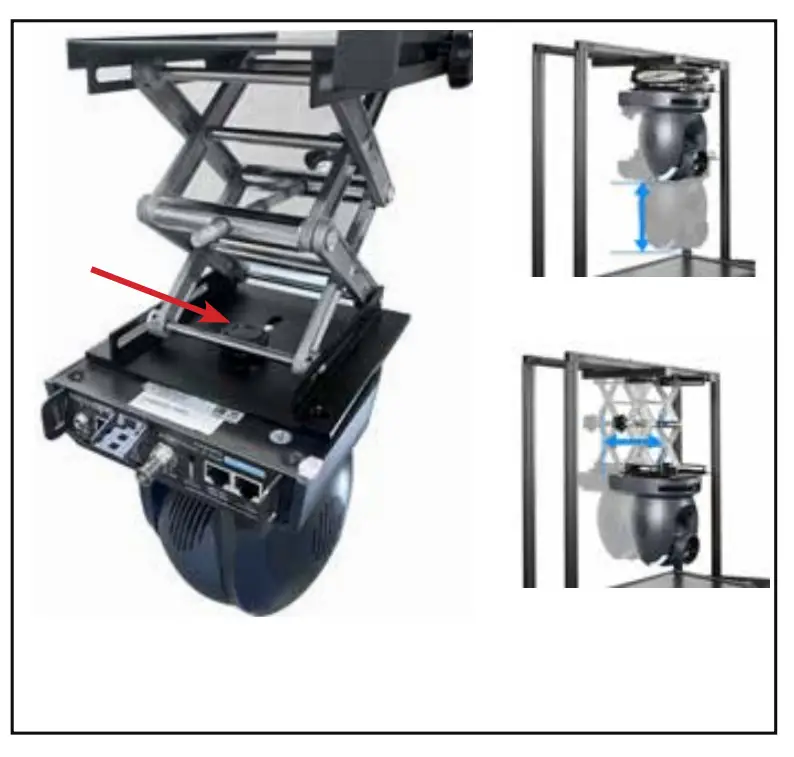
- Grab your PTZ camera. (camera not included) and turn upside down to install onto the PTZ scissor lift (Item G).

- Install your PTZ camera onto PTZ scissor lift (Item G) with thumb screw (Item K)

- Adjust the position of the 150 x 150 PTZ Scissor Lift (Item G) as required.
Tip: Position the PTZ lens as close to the 70/30 mirror glass as possible to achieve the best range of pan.
- Grab cloth cover (Item H)

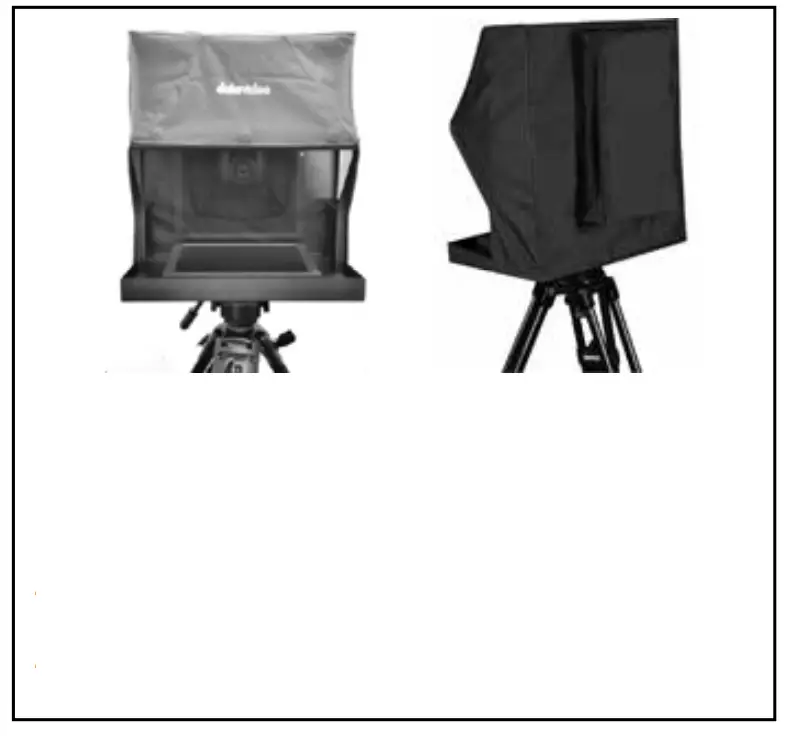
- Install the Cloth Hood, Item H. The hood is secured to the inside of the TP-900 metal base tray with tripod plate, Item F and Glass support bar, Item U via integral magnets.
The rear of the hood can be expanded if the PTZ camera or cables protrude past the rear of the TP-900 frame.


https://datavideo.com/product/TP-900