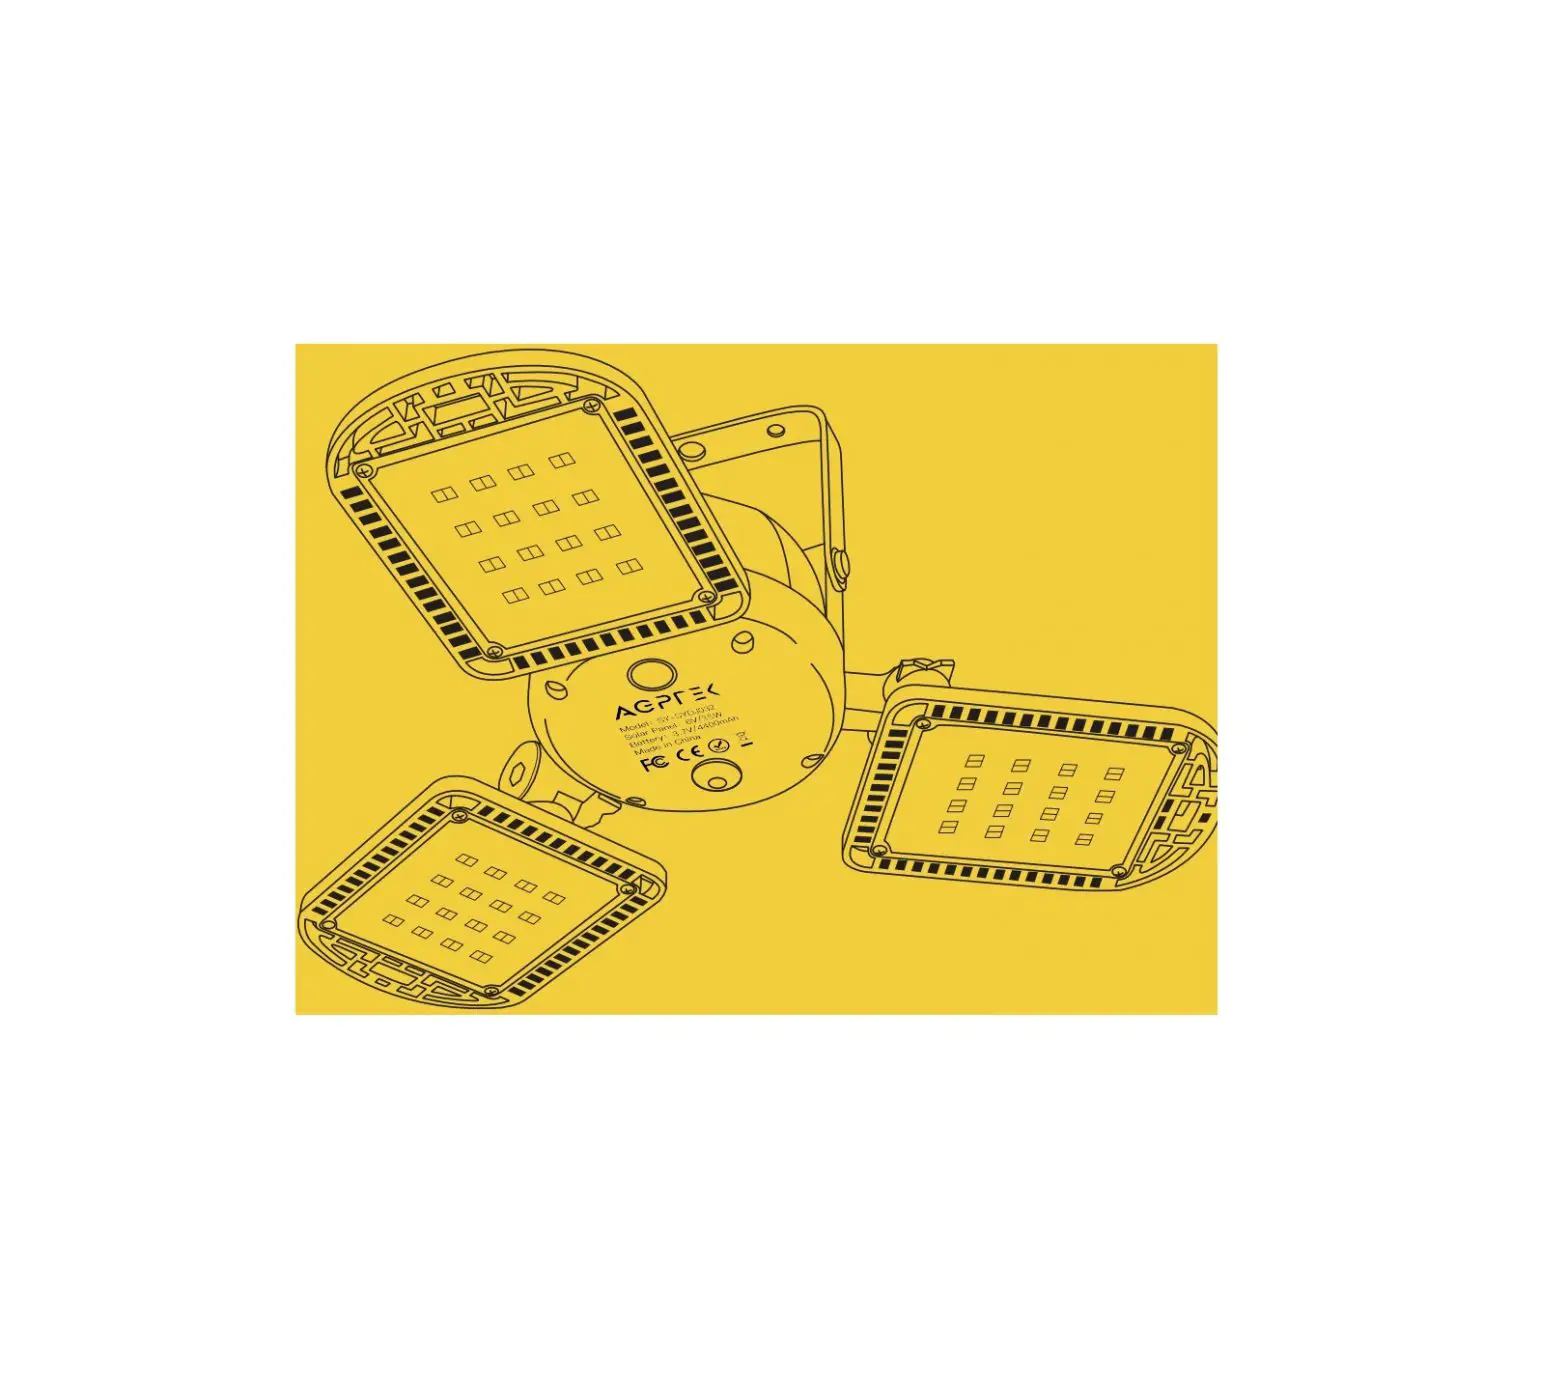
AEPREK Solar Garage Light User Manual
Recommendations
- Please charge the light for 4—5 hours before the first
- This product has a battery, please keep away from the fire source to avoid explosion
- It is not allowed to disassemble solar panels and batteries without
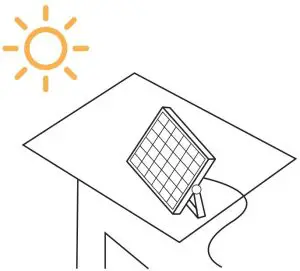
- Solar panels should be placed in a place exposed to sunlight, and the angle should be adjusted to get enough
- Please keep the surface of solar panel clean. It is recommended to clean it every 2 months to make charging Master and stronger.
Product Features
- This light is an energy—saving portable solar charging and lighting product. It is easy to install, free of wiring and zero electricity cost
- This product can be widely used in rural roads, trails courtyards, garages, barns, gardens, orchards, fishing grounds and other places where it is not convenient to use.
- After fully charged, the light can be used separately, suitable to be used as camping and emergency.
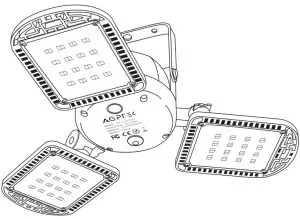
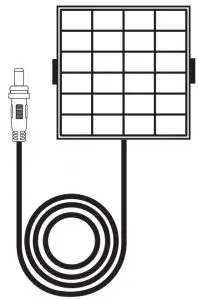
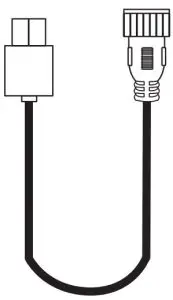
Package Contact

Warm Tip
Please check the package when receiving the goods. If any missing or defective parts are found, please contact us for help.
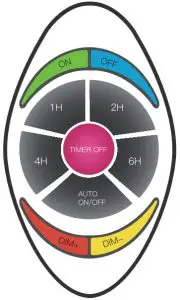
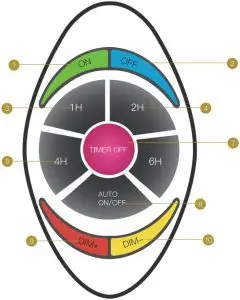
Remote Controller Introduction
- Power ON
- Power OFF
- 1 Hour Lighting
- 2 Hours Lighting
- 4 Hours Lighting
- 6 Hours Lighting TIMER OFF
- TIMER OFF
- .Auto ON/OFF
- Dimming+
- Dimming

Function Introduction
Switch On & Off
ON: Power on button. Press it and the light is on.
OFF: Power off button. Press it and can turn off the light under both 2 modes
Timing Function
1H/2H/4H/6H: Timing button. After pressing the corresponding number button, the light flashes once and keeps on for a specific period of time.
TIMER OFF: Turn off regularly, and the light flashes twice, indicating that it is canceled regularly.
Note:
- The timing function will only work on the first time, not for the second time and after. For example, i1′ the timing is pressed 1’or 1H frost, pressing 1 H or 2H/3H/4H again will not work when the middle button is not pressed to cancel the timing closure, and the timing will be calculated as 1H for the first time. To reset the timing, press to cancel the timing before setting the timing.
- In the light control mode, the timer function starts counting down when it lights up. 24—hour cycle timing in no light control mode.)
Brightness Adjustment
DIM+/DIM —: Dimming button. You can adjust the brightness of the light according to your needs. There are 4 levels: 25%, 50%, 75%, 100%.
Working Mode Selection
AUTO ON/OFF: Switch button for light—sensitive automatic control mode and manual control mode. Press the AUTO button to turn on the light—sensitive control mode: during the day, the light will be off and the system will automatically charge. At night, the light will light up automatically; Press the AUTO button again. After the light flashes 3 times, the light is on. At this time, the light—sensitive control mode is turned off and the normal mode is switched.
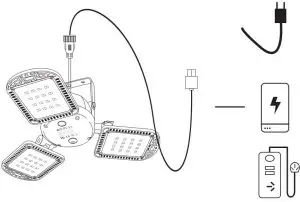
Charging Methods
- Solar powered: install the solar panel in the direct sunlight place to charge the battery(6—8 hours, it will take longer in rainy days).

- USB charging: use 5V/1—3.6A charging devices to charge the light (3.5—4 hours).

Specifications
| LED Quantity | 96pcs highlight LED lamp bead |
| Lumens | 800Im |
| LED Light | 3.7V/7W |
| LED Light Material | PC+ABS |
| 4 Brightness Level | 100% \ 75% \ 50% \ 25% |
| 5 Lighting Modes | 1H/2H/4H/6H + Constant light |
| Remote Distance | 8—1 0 meters |
| Waterproof Level | IP65 |
| Solar Panel | 6V/3.5W |
| Solar Panel Material | Monocrystal line Silicon |
| Color Temperature | SSOOK |
| Battery Capacity | 4400mAh |
| Battery Quantity | 2pcs(2200mAh*2) |
| Battery Type | 18650 Lithium Battery |
| Battery Power | 3.7V/16W |
| Charging Time | Solar Powered: 6—8h USB Cha rging: 3.5—4h |
| Working Time | 15—30h ( 1 00% brightness: 6—8h 75% brightness: 8—1 2h 50% brightness: 1 2—15 h 25% brightness: 30h) |
| Cable Length | Connection cord: 5M/16.5ft; |
| USB cable | 30 cm |
| 2 Control Mode | Light Sensor/Switch Control |
| 2 Charging Methods | Solar Powered/USB Charging |
| Working Temperature | —31 °F +11 3°F/—35°C +45°C |
Troubleshooting
| Trouble | Reason Analysis | Solution |
| The light doesn’t work |
| |
| In light sensor control mode, the light is in bright place |
| |
| The remote controller has no response | Remote control distance is too far |
|
| The remote controller runs out of power |
| |
| Fail to charge | Defective solar panel/ battery |
|
| The solar panel gets dirty |
| |
| Battery life gets shorter and shorter | Solar panels don’t get enough sunlight to charge |
|
| Defective battery |
| |
| The light keeps flashing | The light—sensitive system cannot tell whether it is day or night
|
|
| IC problem |
| |
| Turn on the light and only for a while at a time, then stop lighting | Battery protection |
|
| Unavailable after a period of time | The battery has not been charged for a long time, and it needs to be reactivated |
|


