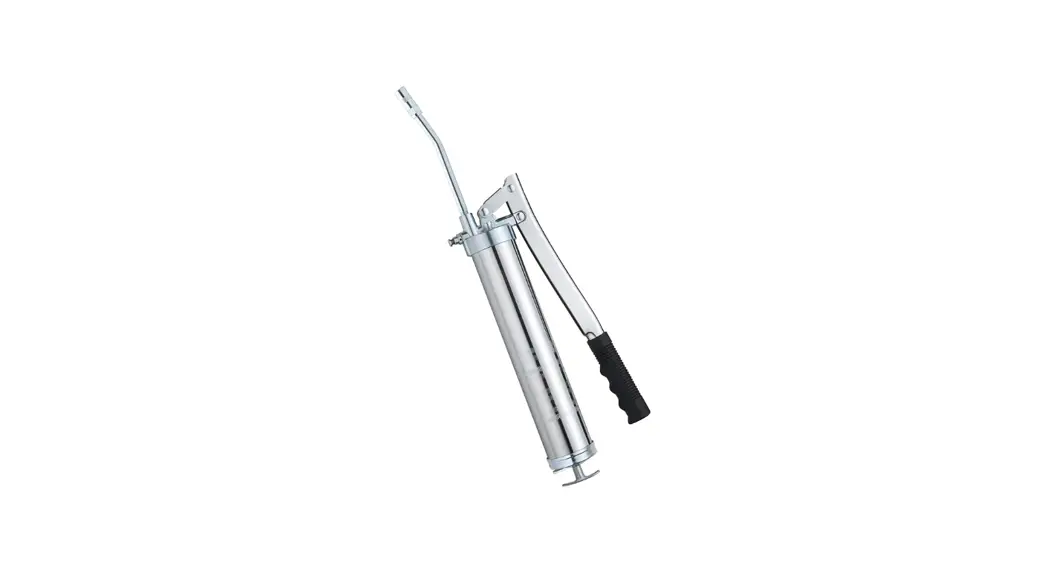
![]() A-318N Lever and Pistol Grease Guns
A-318N Lever and Pistol Grease Guns
Instruction Manual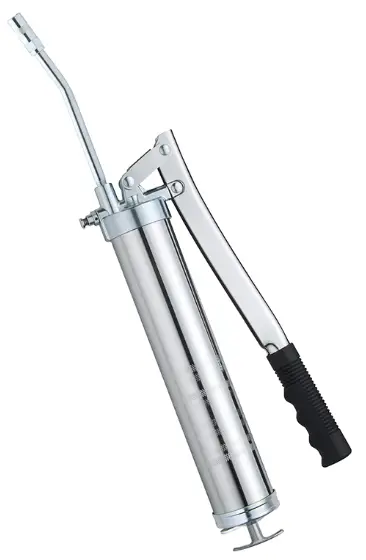
![]() SERVICE INSTRUCTIONS MANUAL
SERVICE INSTRUCTIONS MANUAL![]()
FOR LEVER & PISTOL GREASE GUNS
A-318N Lever and Pistol Grease Guns
![]() IMPORTANT INFORMATION
IMPORTANT INFORMATION
This service instruction sheet contains important warnings and other information. READ & KEEP FOR REFERENCE
This manual is a general instruction sheet for Grease Guns. It covers a variety of grease gun types and models. However, each Grease Gun may have features specific to it. Product packaging / distributor catalogue must be referred to for determining features / configurations specific to your Grease Gun.
The information in this manual has been carefully checked and is believed to be entirely reliable and consistent with the product described. However, no responsibility is assumed for inaccuracies, or for liability arising out of the application and use of the equipment described.
Should the equipment be used in a manner not specified, the protection provided by the equipment may be impaired and the warranty voided.
GENERAL SAFETY INFORMATION
Always wear safety glasses when using a grease gun. Keep work area clean & remove excess grease from tools, hands & clothing after use. Do not use grease gun hose for other applications or at pressure levels above rated pressures.![]() CAUTION
CAUTION
Excess grease, if left on floors, tools or equipment can create surfaces that become slippery.
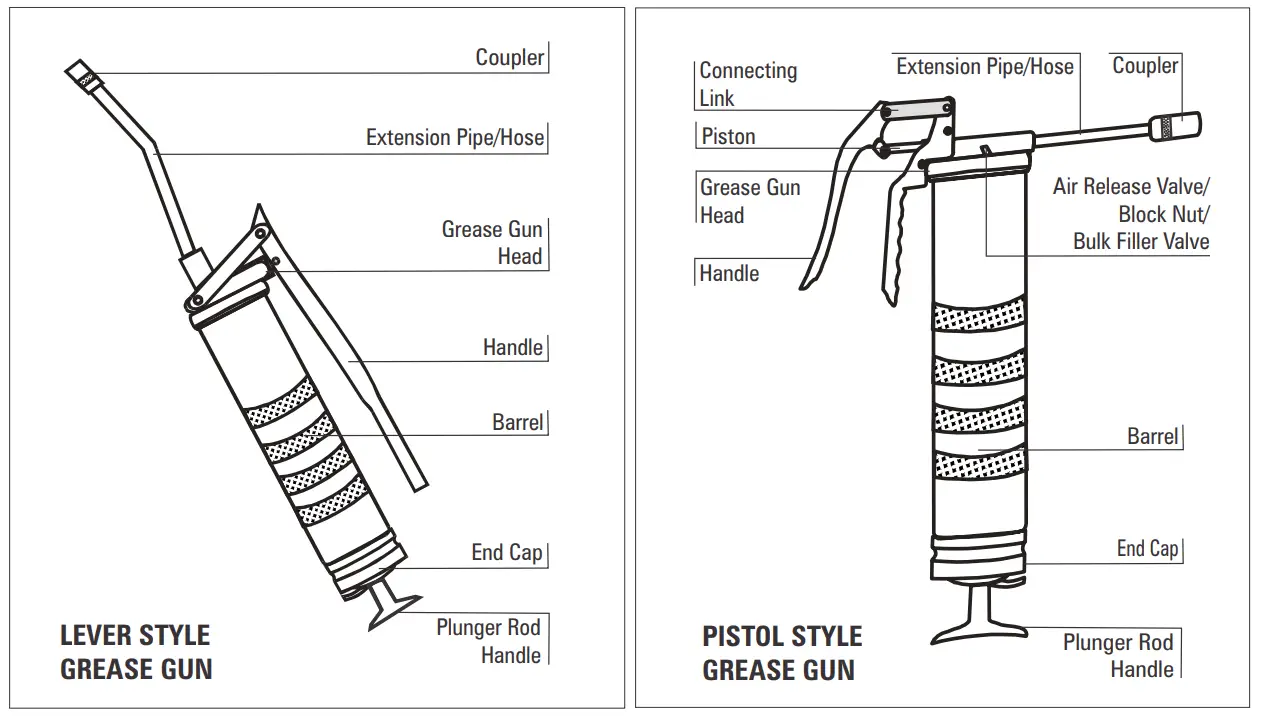
GREASE GUN NOMENCLATURE
GREASE GUN LOADING
Grease guns have multiple loading options:
- Cartridge Loading: Paper or plastic cartridge
- Bulk Loading
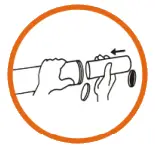
- Suction Loading
- Filler Pump Loading (only on Grease Gun models fitted with bulk loader valve
![]() CAUTION
CAUTION
Grease or an empty cartridge in barrel is under pressure from the internal spring, use caution when removing either end of the barrel
Follow the steps below for the appropriate loading option
 Cartridge Loading Cartridge Loading |  Bulk Loading Bulk Loading | 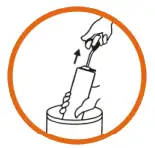 Suction Loading Suction Loading | 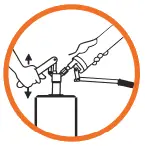 Filler Pump Loading Filler Pump Loading |
| 1. Unscrew Grease Gun Head from the Barrel counter-clockwise | 1. Connect the bulk loader valve with the filler pump outlet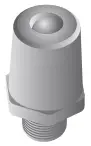 | ||
| 2. Pull back the Plunger Rod Handle all the way back & lock it with the End Cap | 2. Insert the open end of the Barrel into the Grease bucket to about 2”(50 mm) deep. | 2. Pull back the Plunger Rod Handle all the way back & lock it with the End Cap. Screw back the Grease Gun Head tightly onto the Barrel | |
| 3. Remove the plastic cap from the open end of the Grease Cartridge & fully insert into the empty Grease Gun Barrel. Make sure the rim of the Cartridge is seated on the rim of the Barrel | 3. Scoop out clean Grease from the Bulk Grease Container into the empty Grease Gun Barrel. | 3. Now, slowly pull back the Plunger Rod Handle all the way back, to draw in grease into the empty Barrel. Lock the Plunger Rod with the End Cap | 3. Check compatibility of Bulk Filler Valve on your grease gun with your Filler Pump, to make sure they are compatible. Wipe the Bulk Filler Nipple clean of any dirt before starting. |
| 4. Remove the metal Pull tab seal from the Grease Cartridge | 4. Once the Barrel is full, shake the Barrel to allow grease to settle down. Fill in more grease if additional space is created in the Barrel, to completely fill it | 4. Shake the Grease Gun Barrel to allow the Grease to settle down | 4. Insert the Bulk Filler Valve onto the Female Loader Valve of the Grease Filler Pump. Start operating the Filler Pump, keeping your hand on the Grease Gun, lightly pushing it down onto the Filler Pump. Once the Grease Gun Barrel is filled, pumping would get very hard. Stop at this time. |
| Cartridge Loading | Bulk Loading | Suction Loading | Filler Pump Loading |
| 5. Screw back the Grease gun Head onto the Barrel, making sure to tighten only half-way, leaving 2-3 turns before the Head is fully tight | 5. Disengage the Grease Filler Valve from the Female Loader Valve of Grease Filler Pump. Unscrew Grease Gun Head from the Barrel by a few turns, such that it is about 2-3 turns loose | ||
| 6. Disconnect the Plunger Rod from the End Cap | |||
| 7. Force the Plunger Rod in & out a few times in order to compress the grease and force out trapped air in the grease to come out from the loose connection between the Grease Gun Barrel and the Grease Gun Head | |||
| 8. Hand tighten the Grease gun Head fully onto the Barrel | |||
| 9. Start operating the Grease Gun Handle till grease starts flowing out continuously. (Note that the first discharge of grease may have some air bubbles). If grease is accompanied with air bubbles, repeat steps 5, 6, 7 & 8 to Prime** the Grease Gun | |||
| 10. Once all air bubbles are removed, fully tighten the Grease Gun Head onto the Barrel. (Note that when the Grease Gun is in continuous use, pressing the Air Release Valve* helps force out trapped air). Now, connect Grease Gun extension and Coupler onto the Grease Gun Outlet using a thread sealant such as Teflon, to make a seal-proof connection. (DO NOT over tighten as this may fracture the Grease Gun Outlet) 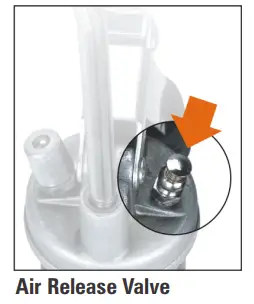 | |||
| 11. Start operating the grease gun. Grease will begin to flow out from the coupler. Keep running it, till a bubble free clear stream of grease flows out. If this does not happen, then there is still some trapped air in the grease. Repeat steps 5, 6, 7 & 8 to Prime* the Grease Gun | |||
*On Grease Gun models fitted with Air Release Valve
** PRIMING GREASE GUNS
A common occurrence with all grease equipment is trapped air pockets in grease. Trapped air causes zero or reduced grease discharge. Removing Air Pockets from Grease is referred to as Priming or Air Bleeding.
It is highly recommended to prime the Grease gun, before it’s used for the first time. Also, anytime in operation, if grease stops coming out, the most probable cause is trapped air in grease. Refer to steps 5-9 for Priming of Grease Gun.
If the Grease Gun has been in regular use, Priming can be done without having to remove the Grease Gun Extension & Coupler from the Grease Gun Head.
GREASING A GREASE FITTING / GREASE NIPPLE
The grease coupler provided at the end of the grease gun extension has a jaw type construction. The coupler jaws will snap on to a grease fitting and maintain a tight fit.
When connecting the coupler to the grease fitting, press the coupler straight onto the grease fitting to form a snug fit. Start operating the grease gun with the coupler as square to the grease fitting as possible.
Once greasing is completed, slightly tilt the coupler, twist and pull back. The tilt and twist action will allow easy removal of the coupler from the grease fitting.
![]() WARNING
WARNING
Never try to dis-engage the coupler by pulling it out straight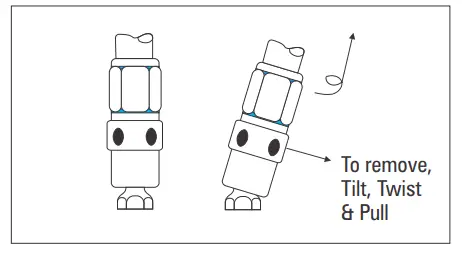
TROUBLESHOOTING
| Problem | Cause | Remedy |
| 1. Grease gun pumps little or no grease | a. Trapped air pockets in grease b. Thick Grease or Frozen Grease | a. Prime Grease Gun b. Use a lower viscosity Grease / add some oil to grease to make it more viscous /heat the Grease Gun Barrel to unfreeze the grease c. Remove Grease Gun Extension. If Grease gun pumps grease without the extension, then the problem is with the extension, which should be cleaned / replaced d. Dis-assemble the Grease Gun Head to check for any contaminants blocking the passage of grease. Clean & Re-assemble the Grease Gun Head |
| c. Blocked Grease Gun Extension | ||
| d. Blocked Grease Gun Head | ||
| 2. Excessive Grease leaks out from the back side of the Grease Gun – around the Plunger Rod | a. Damaged Grease Gun Rubber Follower | a. Change Follower |
| 3. Grease leaks from the connection between the Grease Gun Head & the Extension / Extension & Coupler | a. Loose Connection | a. Tighten the connection using Teflon or any other Thread Sealant |
| 4. Grease leaks from the Coupler body joint or from in-between the Coupler Jaws & Grease Nipple | a. Damaged Grease Coupler | a. Change Coupler |
![]()


