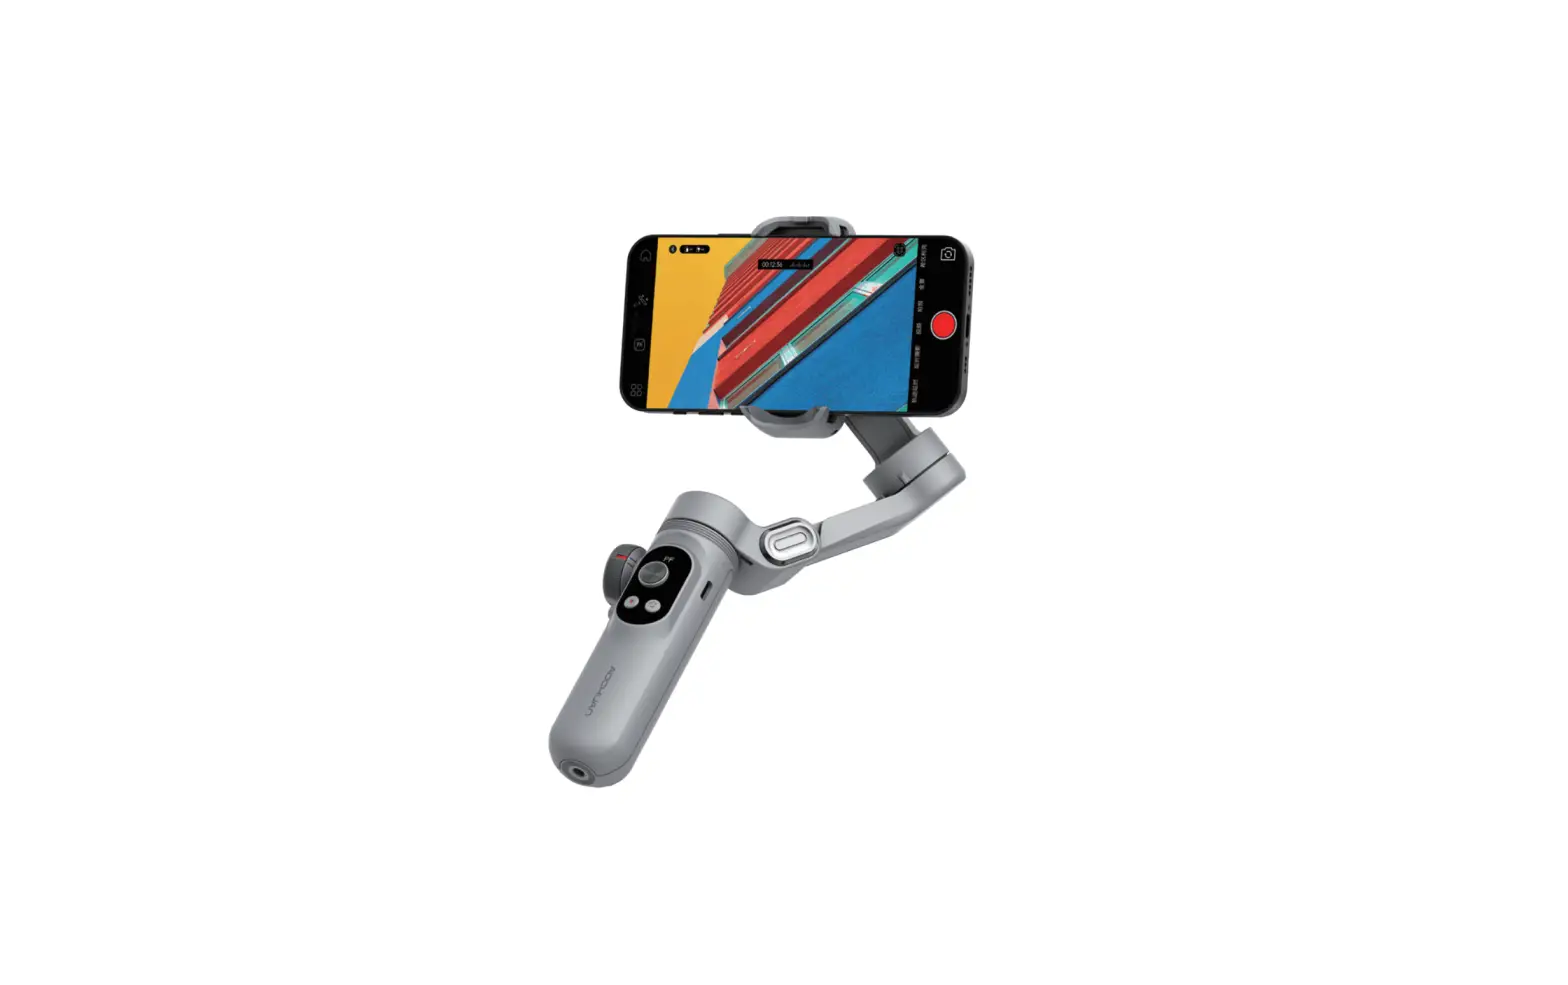
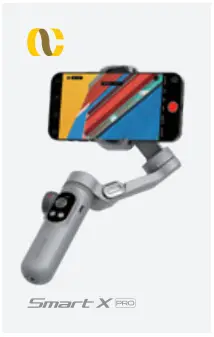
AOCHUAN Smart X Pro 3-Axis Smartphone Stabilizer User Guide
Product List
Before use, please check the package carefully as per the product list. In case of missing, please contact the customer service or your agent.
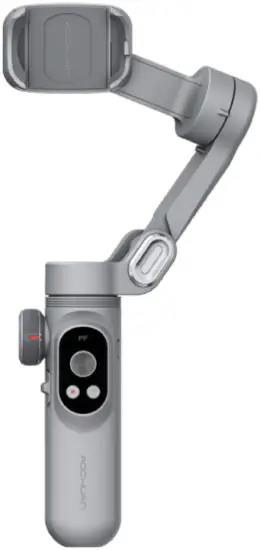
- Phone Stabilizer *1

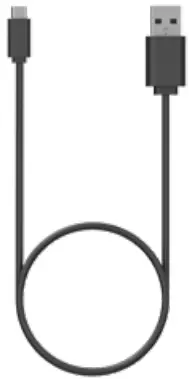
- Type-C Cable *1

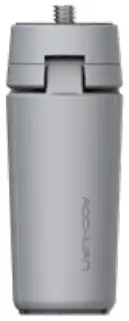
- Tripod *1

- User Manual *1

App and Tutorial
Download App
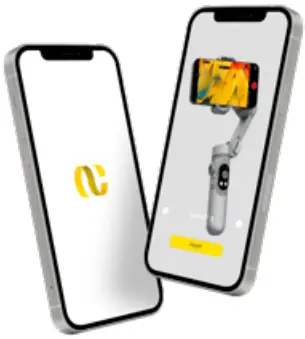
Please download our official APP for gimbal stabilizer by scanning below QR code or searching “AOCHUAN” onyour mobile app store.
The APP is available for both IOS and Android system.

Watch tutorial video

Youtube/Facebook/Instagram: Search and follow”AOCHUANGimbal”, get product tutorials, and explore the creative world together.
Unfold and fold the gimbal stabilizer
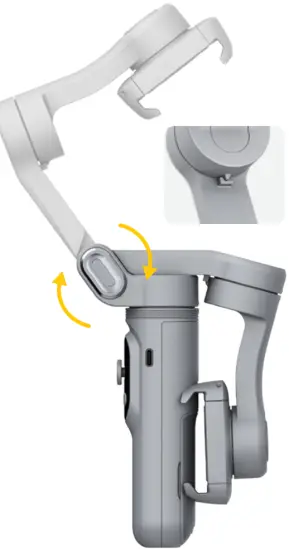
- Unfold the gimbal stabilizer
Firstly unfold the arm of SMART X gimbal, then fit your mobile on the clip, next adjust it level. No need to unlock, easy to use. - Fold the gimbal stabilizer
Unfold the gimbal as per the yellow arrow. Firstly adjust the arm of gimbal in parallel with the LED display panel, then rotate the mobile clip until it can be buckled in the hole.
Introduction of SMART X
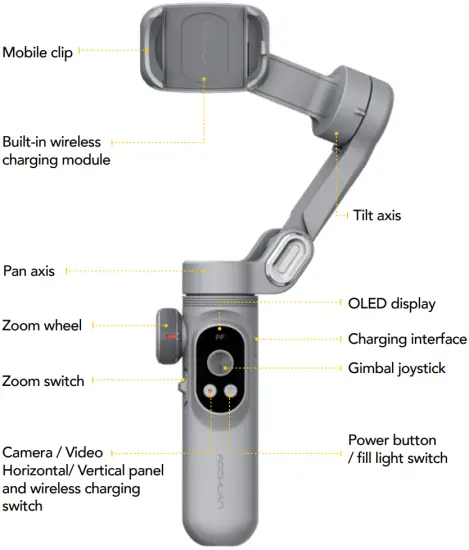
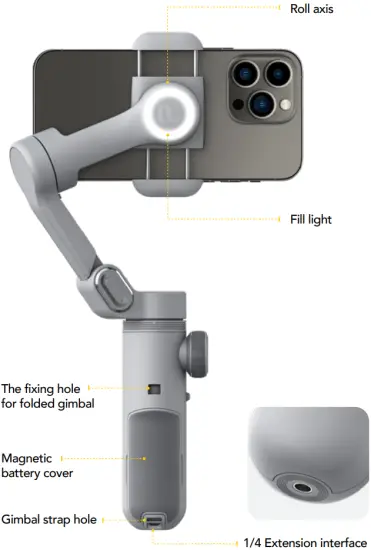
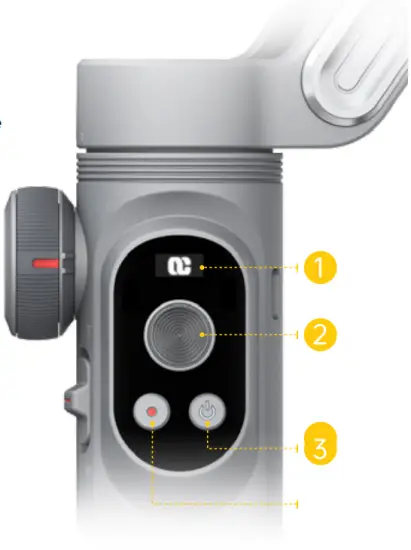
Introduction of the operation panel
- Instruction of OLED display modes
 Full lock mode
- Semi-follow mode
- Full follow mode
- Selfie mode
- Inception mode
- LOGO
- Bluetooth mode
- Firmware update
 Joystick: move up and down, left and right
Single click: switch to PF/F/L/POV mode
Double click: return to the center position
Triple click: inception- Hold down: power on/off
Single click: switch to fill-light of stage 1/2/3/off successively
Double click: check the battery life - Single click: camera / video
Double click: switch to horizontal / vertical panel
Hold down: switch on/off wireless charging function
Battery charging and replacement
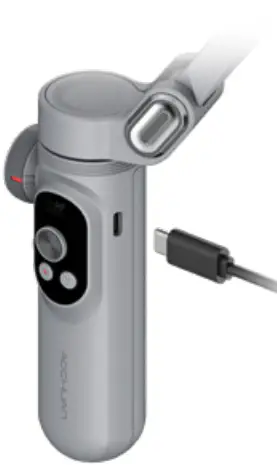
- Battery charging
Connect the equipped Type-C cable with power adapter via USB port and with gimbal stabilizer via Type-C port. When the LED display is lit up, it indicates charging status. When [ ] symbol appears on the LED display, it indicates full battery.
- Battery replacement
The SMART X gimbal uses magnetic battery cover. To replace Li-battery, please open the magnetic cover and remove the used battery.
18650 Li-battery can be purchased on AOCHUAN official store.
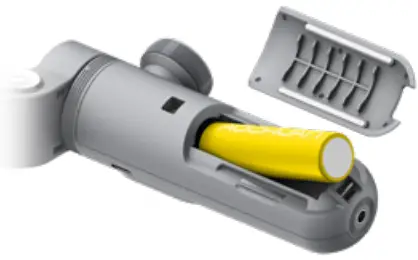
SMART X Pro is equipped with original AOCHUAN battery. For first use, please activate the battery by fully charging it, so as to ensure its normal use.
Parameters
Product Size | 268*125*65mm (unfolded size) |
158*108*55mm (folded size) | |
Product weight | 310g |
Maximum carrying weight | ≤250g |
| Working hours | 7-10 hours (when wireless charging function is off) |
Charging time | About 2.5 hours |
| Operation voltage | 3.7V |
Power input | 5V/2A |
| Wireless charging output | 5V/0.4A |
Operation temperature | 0℃~45℃ |
| Li-battery | 3.7V/3200mAh |
Matched phone size | 55-90mm |
| Angle precision | 0.1° |
Mechanical pan angle | 310° |
| Mechanical roll angle | 330° |
Mechanical tilt angle | 345° |
| Controllable pan angle | 310° |
Controllable roll angle | 330° |
| Controllable tilt angle | 76° |
FCC Requirement
Any changes or modifications not expressly approved by the party responsible for compliance could void the users authority to operate the equipment. This device complies with Part 15 of the FCC Rules. Operation is subject to the following two conditions:
- this device may not cause harmful interference, and
- this device must accept any interference received, including interference that may cause undesired operation.
Note: This equipment has been tested and found to comply with the limits for a Class B digital device, pursuant to Part 15 of the FCC Rules. These limits are designed to provide reasonable protection against harmful interference in a residential installation. This equipment generates, uses, and can radiate radio frequency energy, and if not installed and used in accordance with the instructions, may cause harmful interference to radio communications. However, there is no guarantee that interference will not occur in a particular installation. If this equipment does cause harmful interference to radio or television reception, which can be determined by turning the equipment off and on, the user is encouraged to try to correct the interference by one or more of the following measures:
- Reorient or relocate the receiving antenna.
- Increase the separation between the equipment and receiver.
- Connect the equipment into an outlet on a circuit different from that to which the receiver is connected.
- Consult the dealer or an experienced radio/TV technician for help.
RF Exposure Information
The device has been evaluated to meet general RF exposure requirement. The device can be used in portable exposure condition without restriction.
Customer Support
Zhongshan Yang Guo Electronic Technology Co., Ltd.
Address: NO.9 Huayuan Road, Xiaolan Town, Zhongshan City, Guangdong, China.
Tel: 400-609-8883
Website: www.yg-free.com
![]()


