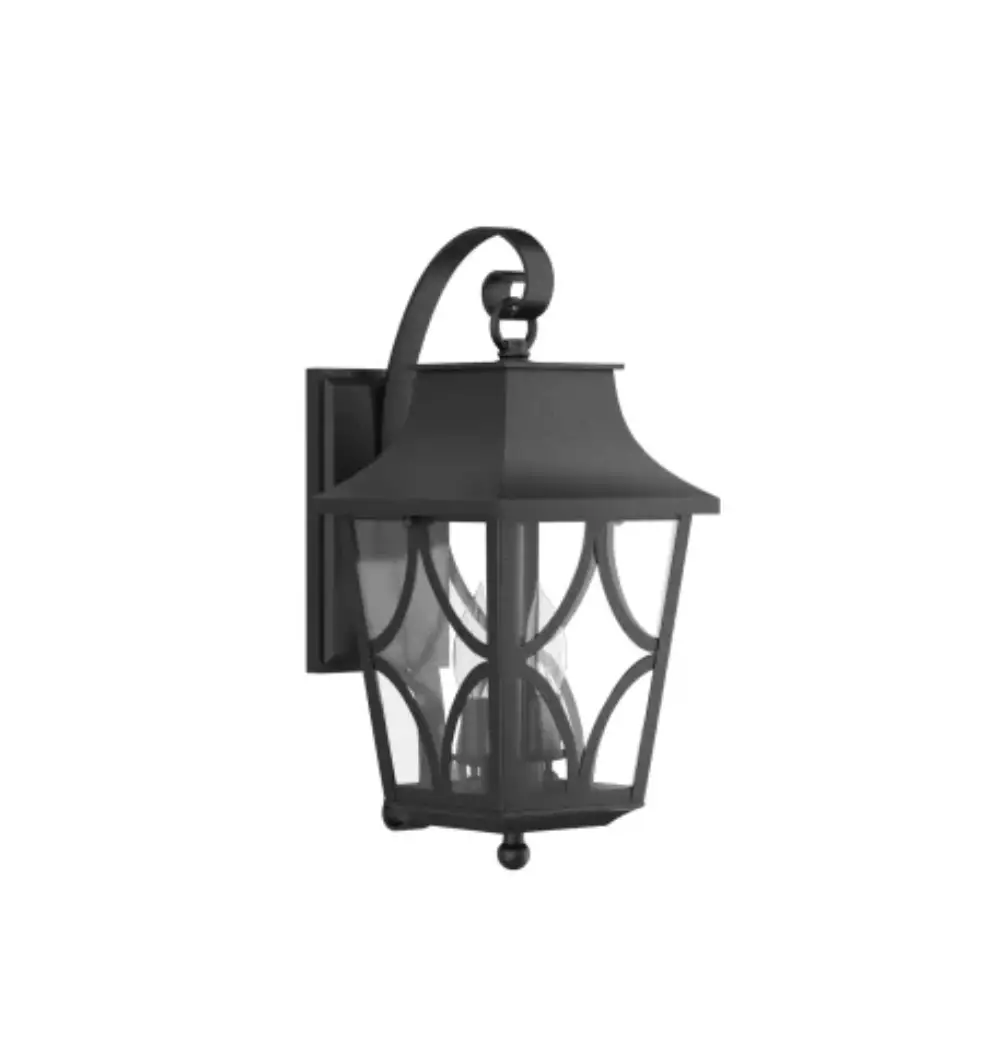
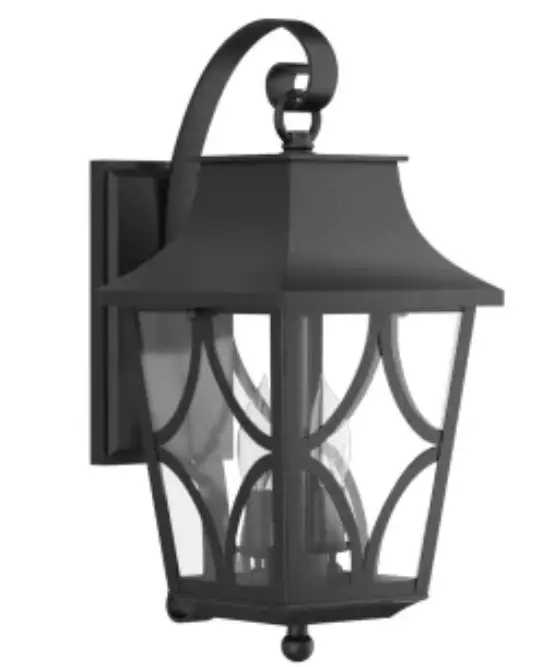
SIGNATURE HARDWARE 434323 Altimeter Candelabra Outdoor Wall Sconce
BEFORE YOU BEGIN
We recommend consulting a professional if you are unfamiliar with installing electric fixtures. Signature Hardware accepts no liability for any damage to the faucet, plumbing, sink, counter top, or for personalinjury during installation. Observe all local plumbing and building codes. Unpack and inspect the product for shipping damage. If any damage is found, contact our Customer Relations team via live chat at www.signaturehardware.com or by emailing [email protected]
GETTING STARTED
Ensure that you have gathered all the required materials that are needed for the installation.
ADDITIONAL QUESTIONS?
Still need help? Check out our Help Center at www.signaturehardware.com for product and warranty information, or contact us through live chat or by emailing [email protected].
CARE AND MAINTENANCE
To clean, wipe with damp cloth. Do not use abrasive cleaners or cleaners that contain alcohol.
RECOMMENDED TOOLS AND ACCESSORIES
- Wire Connectors (3pcs)

- Cap Nuts (2pcs)

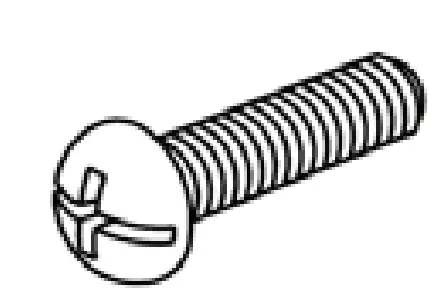
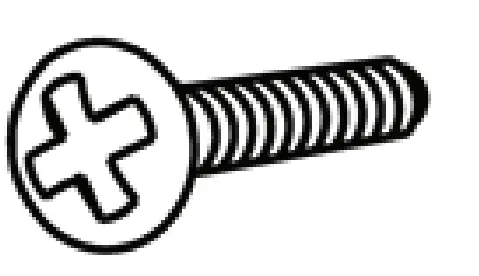
- Mounting Screws (2pcs)

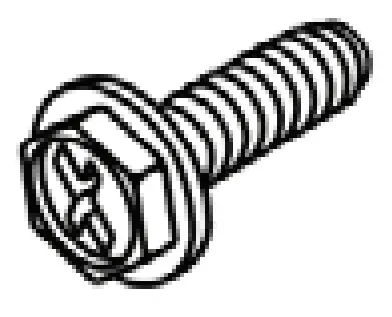
- Ground Screw (1pc)

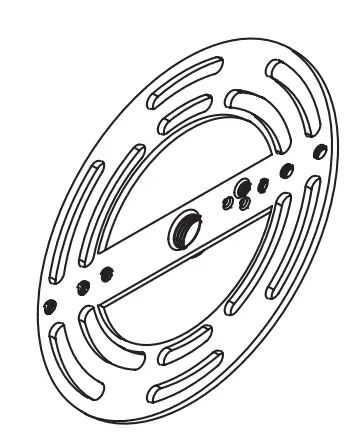
- Mounting plate (1pc)

- Outlet Box Screws (2pcs)


SAVE THIS MANUAL: RETAIN FOR CONSUMER’S USE. READ THESE INSTRUCTIONS COMPLETELY BEFORE INSTALLING THE PRODUCT: FOR PRODUCT OR INSTALLATIO QUESTIONS PLEASE CALL CUSTOMER. SERVICE AT 1‐800‐221‐3379.
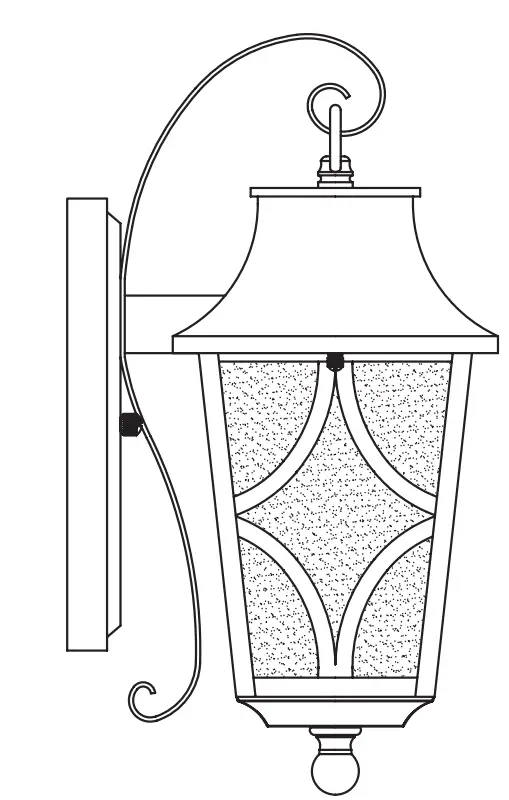
INSTALLATION (FIG 1)
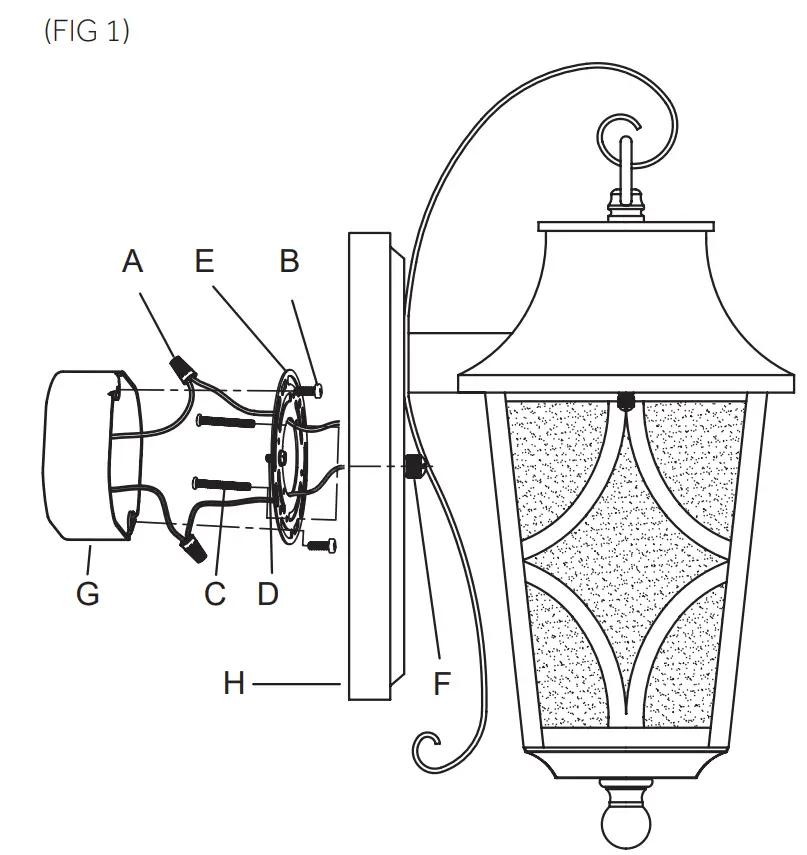
- Shut off the power at the circuit breaker and remove old fixture, including the crossbar
- Carefully unpack your new fixture and lay out all the parts on a clear area. Take care not to lose any small parts necessary for installation.
- Thread the 2 Mounting Screws (C) to the Mounting plate (E). (You can adjust the length of the screws if necessary.)
- Attach the Mounting plate(E)to the Outlet Box (G) (not supplied) by using 2 Outlet Box Screws (B).
- Now connect the electrical wires as follows: Connect the black wire from the fixture to the black house (hot) wire. Connect the white wire from the fixture to the white (neutral) house wire. Make sure all wire nuts are secured. You may wrap the connections with electrical tape. If your outlet has a ground wire (green or bare copper), connect fixture’s ground wire to it. Otherwise, connect fixture’s ground wire directly to the mounting plate using the green screw provided. Tuck the wire connections neatly into the junction box.
- Attach the Fixture (H) to the Mounting Plate by inserting the 2 Mounting Screws (C),and then secure with the 2 Cap Nuts (F).
- To prevent moisture from entering the outlet box and causing a short, use clear caulking (ie. Indoor/Outdoor Silicone Sealant) to outline the outside of fixture backplate where it meets the wall leaving a space at bottom to allow moisture a means to escape.
CUSTOMER SUPPORT
1.855.715.1800
signaturehardware.com


