![]() Ripped Soccer Cleat Repair Technique
Ripped Soccer Cleat Repair Technique
This guide will teach people how to repair their ripped soccer cleats so they don’t have to buy or break in a new pair.
Written By: Devan Talley
Ripped Soccer Cleat Repair Technique
INTRODUCTION
Ripped soccer cleats are a very common issue and many people think that once ripped, the cleats are unusable. This FastFix guide will demonstrate exactly how to repair your ripped soccer cleats with step-by-step instructions using photos to help you. Fix your ripped cleats with assurance without buying or breaking in a new pair.
![]() TOOLS:
TOOLS:
- Toothbrush (1)
- Shoe Goo (1)
- Paintbrush (1)
- Hair Dryer (1)
- Painter’s Tape (1)
- Newspaper (1)
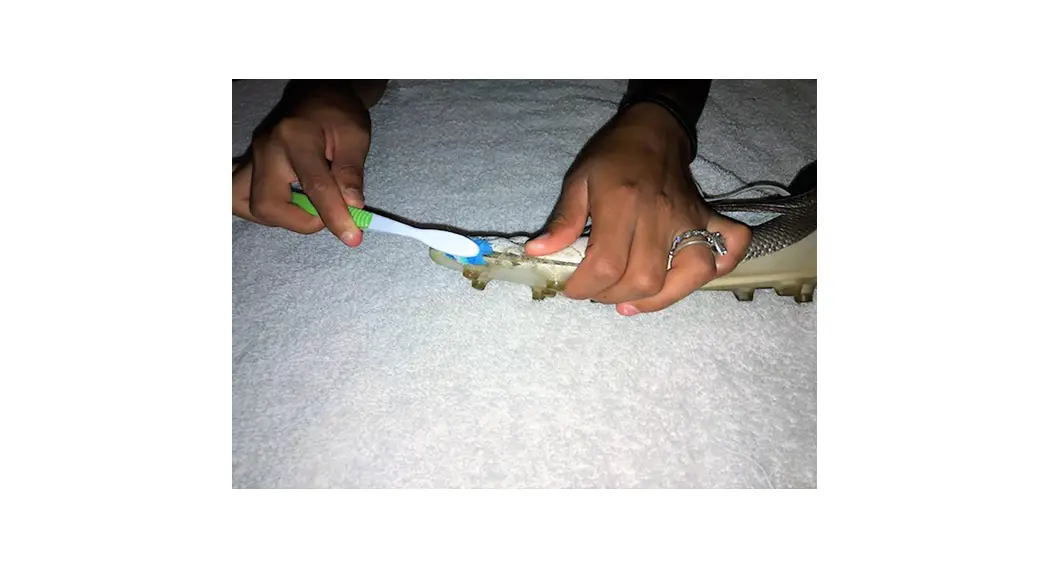
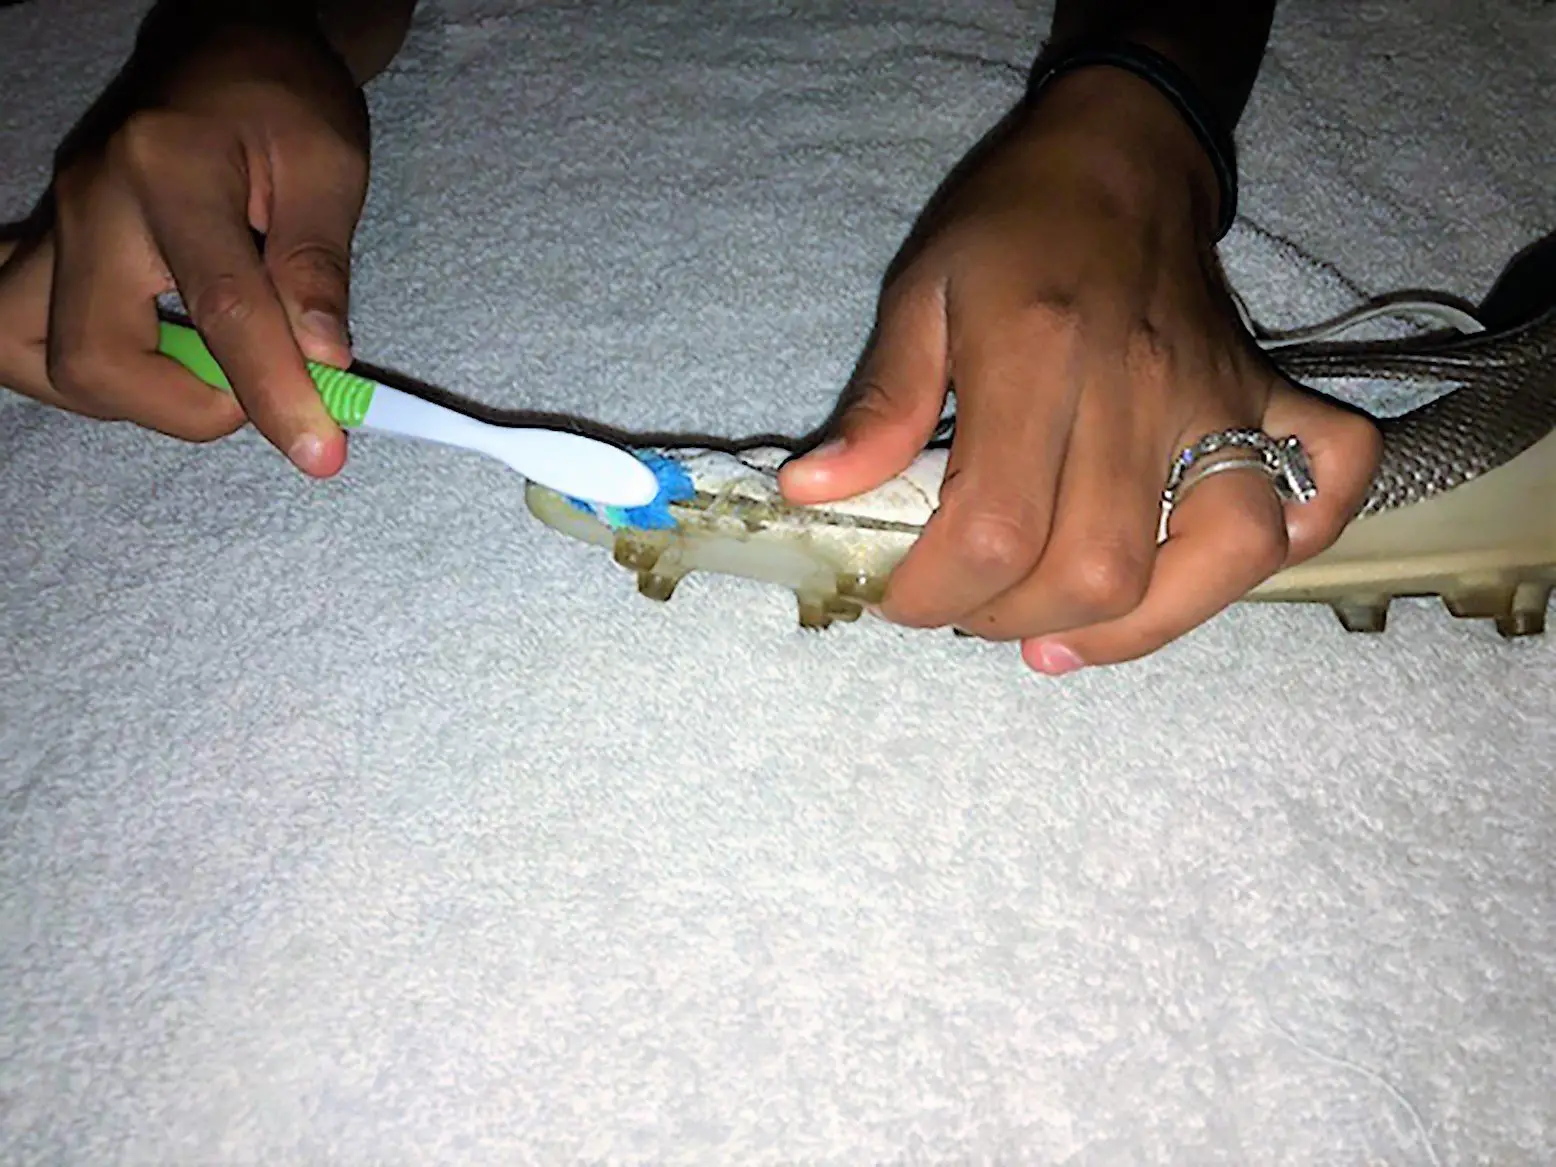
Step 1 — Ripped Soccer Cleat
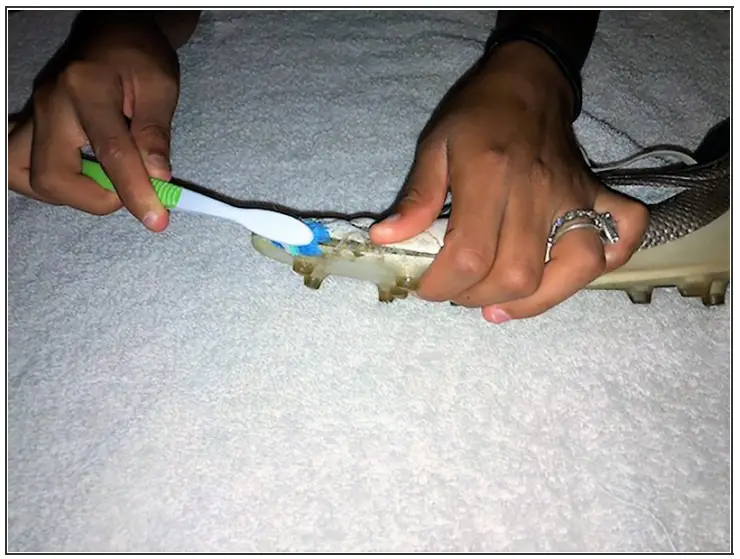
- Using a toothbrush, clean the entire cleat, especially where the shoe is ripped.
 The toothbrush will help get any excess dirt or turf out from under the ripped area.
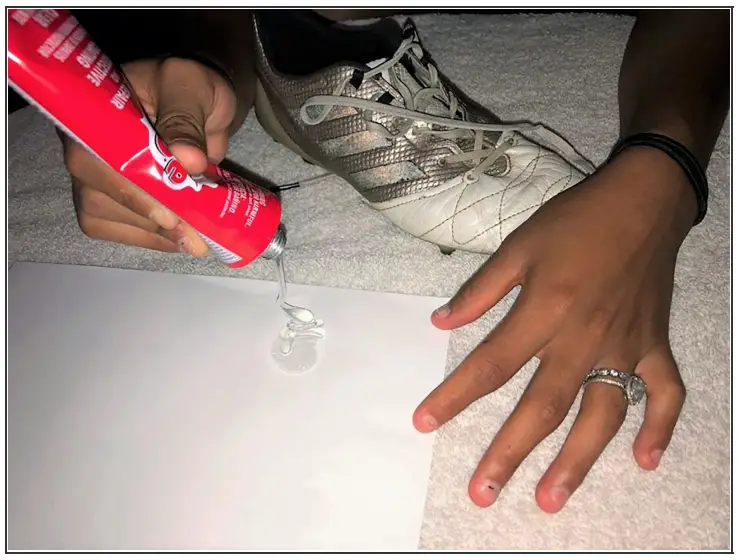
Step 2
- Squeeze out a good amount of the Shoe Goo onto the piece of printer paper. Shoe Goo will help adhere the sole of the cleat to the leather.
 Be sure to have a clean air source in the room, as this glue has strong fumes.
Step 3
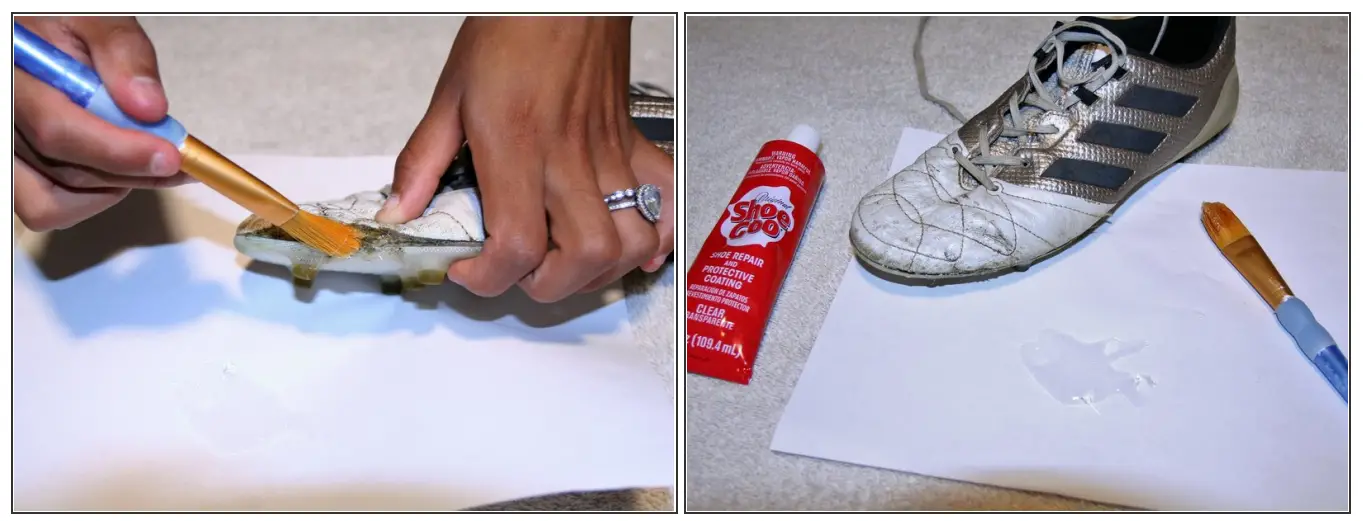
- Using the paintbrush, paint the glue in the opening of the ripped cleat and between the leather and the sole of the cleat. The glue is very sticky and dries fast. Make sure to paint it inside the rip as soon as you squeeze the glue out onto the paper.Let dry for 3 minutes and repeat the step again.
Step 4
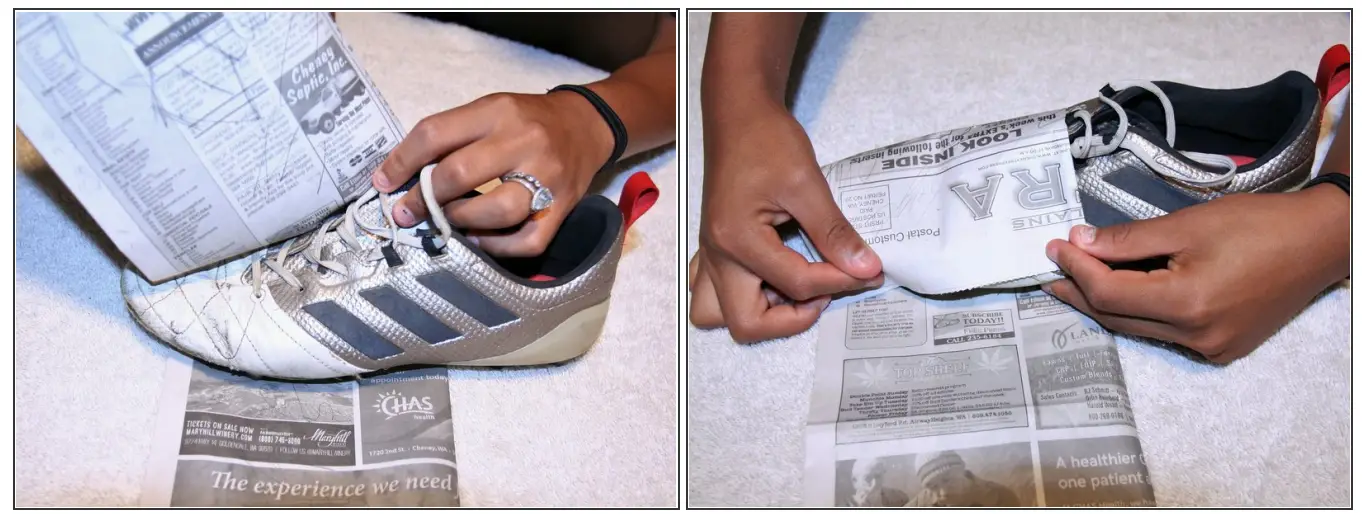
- Press the cleat together firmly and wrap a few pieces of newspaper around the sole of the shoe. The newspaper helps the glue not get stuck to anything.
Step 5
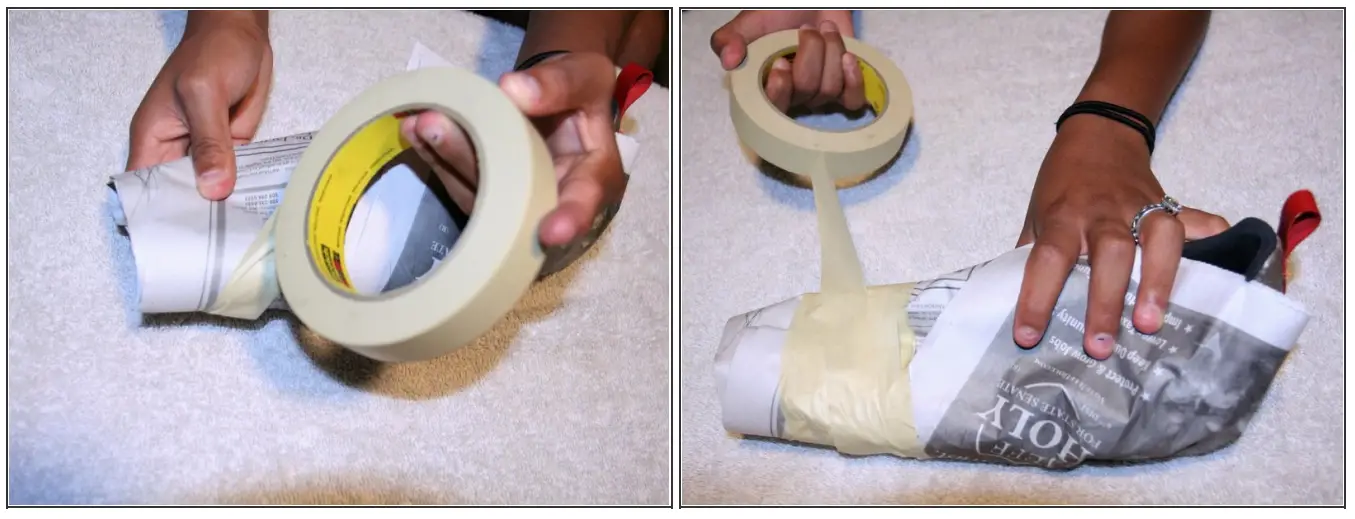
- Wrap the adhesive tape around the newspaper tightly to keep pressure on the tear until the glue dries. The adhesive tape keeps pressure on the tear while it dries.
Step 6
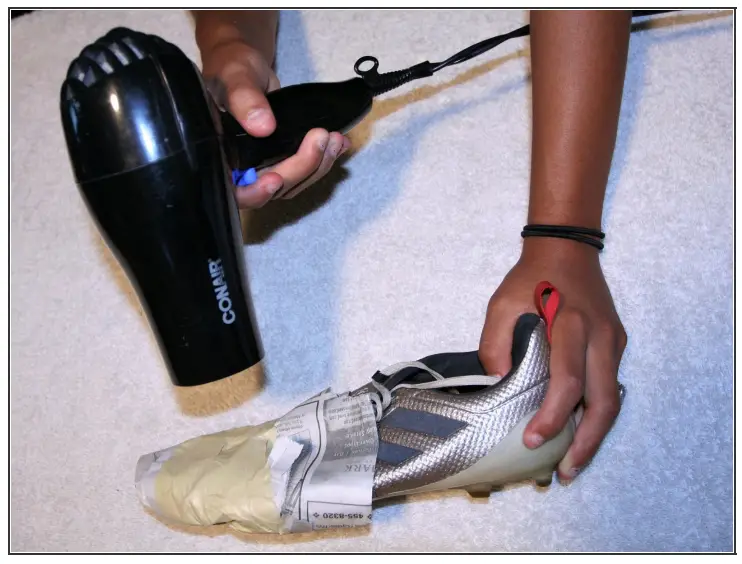
- Use a hair dryer to slowly warm the newspaper surrounding the tear. Do this for 10 minutes, then let the shoe rest.Make sure to hold the hair dryer 4-6 inches away so the tape and newspaper don’t over heat as glue might bubble.
Step 7

- After 24 hours, remove the tape and newspaper.
- Then once the tape and newspaper are removed, peel off any excess glue that is stuck around the area of the rip.
Once the steps above are completed, your cleats should be repaired and ready for play!
This document was generated on 2022-06-02 06:53:25 PM (MST).
Ripped Soccer Cleat Repair Technique
Guide ID: 111901 – Draft: 2022-06-02
© iFixit — CC BY-NC-SA
www.iFixit.com
References
 Amazon.com : Conair 1875-Watt Ionic Ceramic Hair Dryer with Diffuser and Concentrator, Black : Beauty & Personal Care
-
Amazon.com: Shoe Goo Repair Adhesive for Fixing Worn Shoes or Boots, Clear, 3.7-Ounce Tube : Sof Sole: Clothing, Shoes & Jewelry
-
ScotchBlue Original Multi-Surface Painter’s Tape, 1.88 inches x 60 yards, 2090, 1 Roll - Painters Masking Tape - Amazon.com


