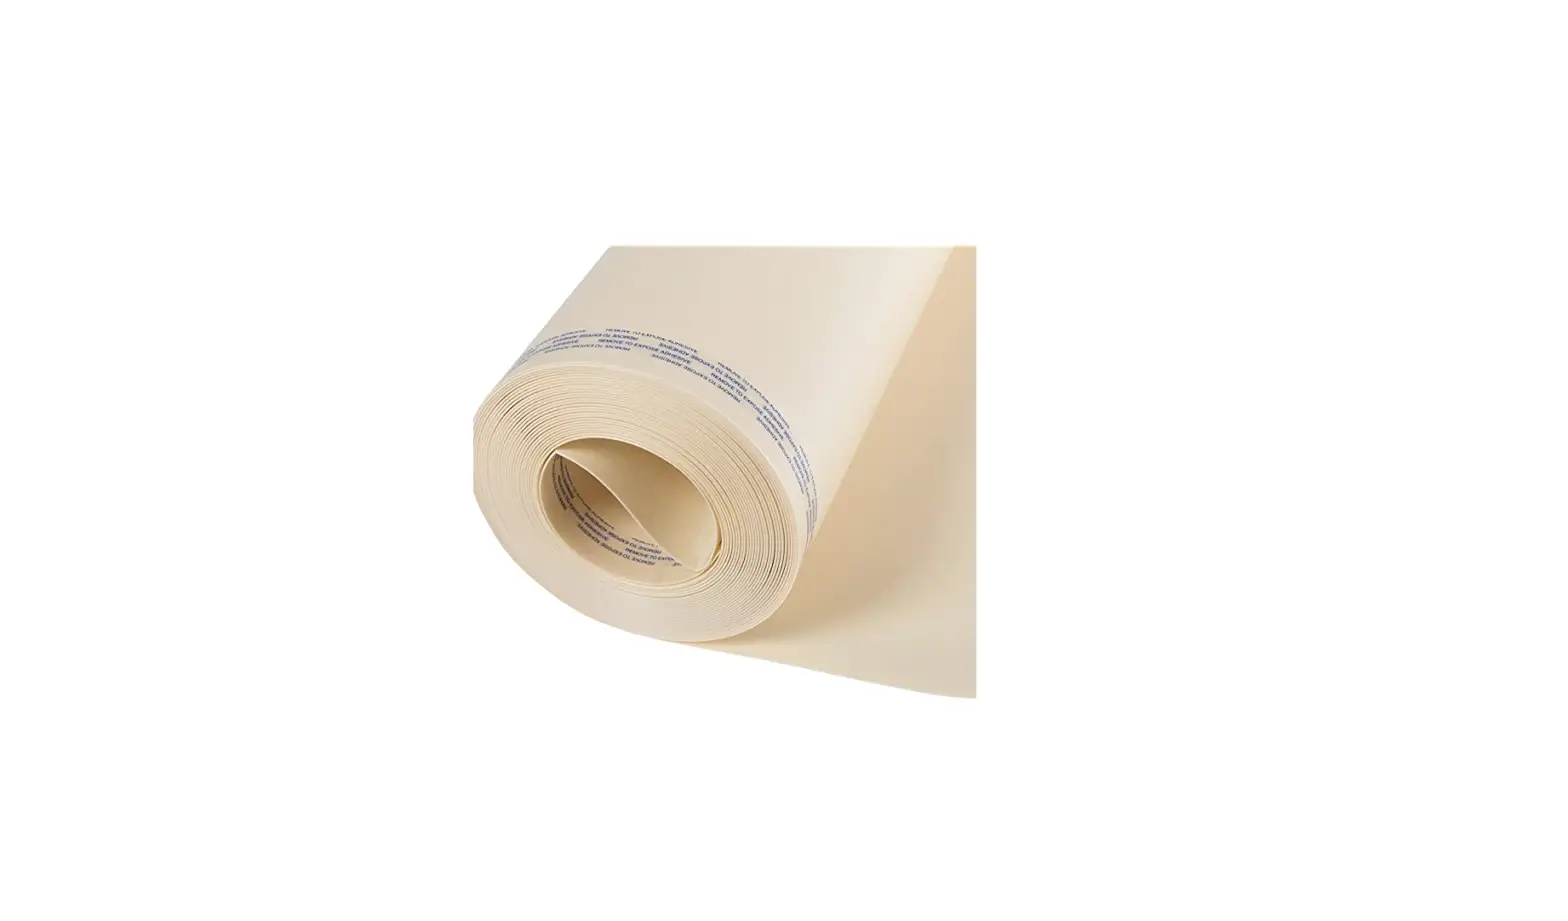
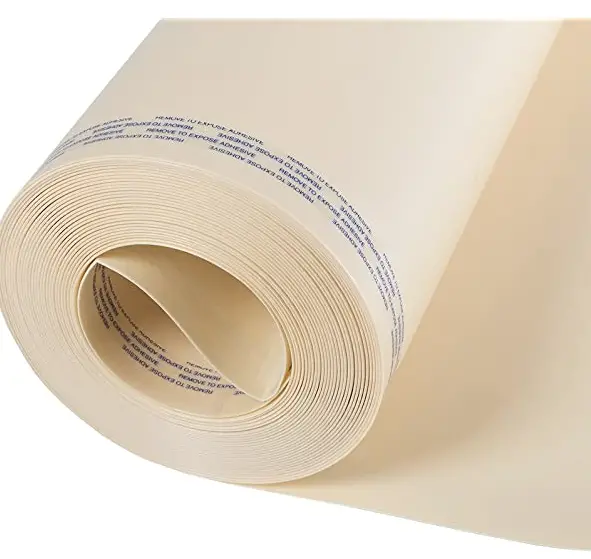
floorMuffler LVT Floating Floor
HOW TO USE
- Make sure the subfloor is structurally sound, level and is free of dust and debris.

- Check for protruding nails and/or defects in the subfloor. If installing over concrete, the concrete must be dry with moisture emission rates that do not exceed 3 lbs. per 1000 square feet per 24 hours as measured by the Anhydrous Calcium Chloride Test.
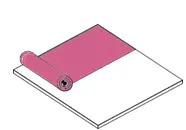
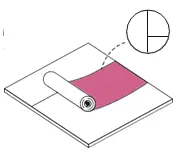
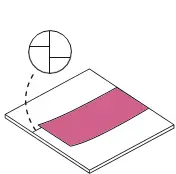
- Start in a corner and begin installing the f loorMuf f ler® LVT parallel to the wall in the opposite direction that you plan to install the flooring planks.

- When installing the f loorMuf f ler® LVT, leave at least 2” going up the wall.
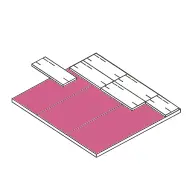
- Roll out the next roll of f loorMuf f ler® LVT in the same manner, making sure that the foam seams are butted together.

- If installing f loorMuf f ler® LVT on concrete or below grade subfloors, be sure to tape the seams together with 2” tape that meets the moisture vapor transmission rate for this type of installation.

- Install the flooring per manufacturer’s instructions.


For glue down installations, always follow the adhesive manufacturer’s instructions. Make sure to use a floorMuffler approved adhesive. The list of approved adhesives can be found on each product page on the floorMuffler website


