

1
2
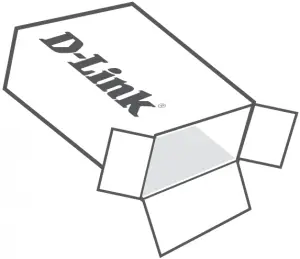
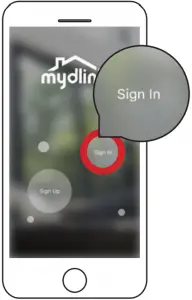
3

![]()

![]()
![]()
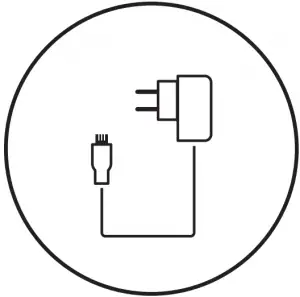
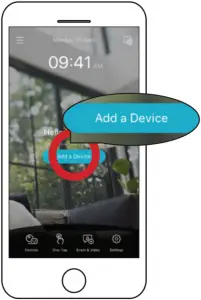
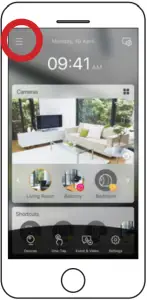
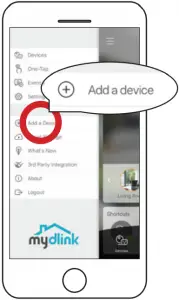
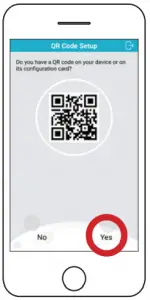
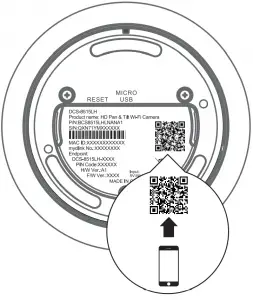
4
![]()
OR
![]()
![]()
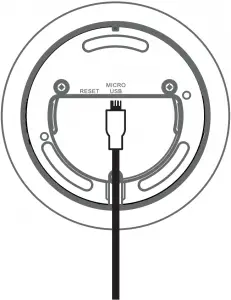
5
6
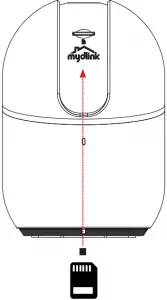
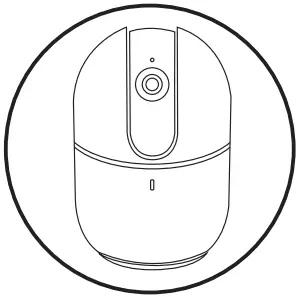
Where a microSD card can be inserted in order to save video recordings.
Note: Please use the mydlink app to tilt the camera up to reveal the slot.

Minimum Requirements
To install this product, you will need:
- An 802.11 g/n wireless router
- An Internet connection
- The latest version of the mydlink app from the App Store or Google Play. Please refer to the app’s store page to check whether your device is compatible.
- An e-mail account (required to register for mydlink service)
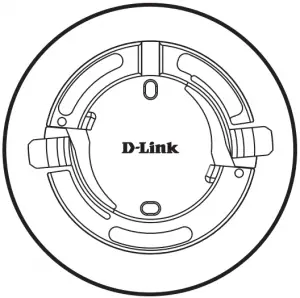
Camera Mounting Instructions
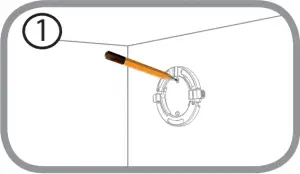
Step 1:
Place the mount at the desired location, assuring that location of the power cord thread is also at the desired location. Use a pencil to mark the holes.
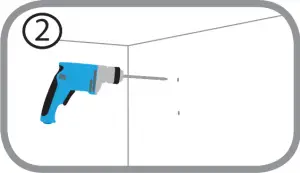
Step 2:
Using a 6 mm drill bit, drill two 25 mm deep holes over the pencil marks. For a plaster, drywall, or concrete wall, insert the plastic anchors to support the screws first.
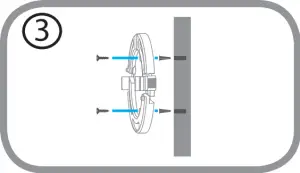
Step 3:
Place the mount over the holes that are in the wall. Make sure to align the mount holes with the holes in the wall. Use the supplied screws to attach the mount to the surface of the wall.
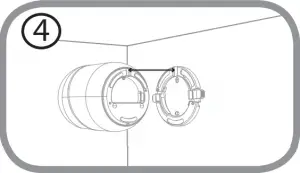
Step 4:
Align the bottom of the camera to the threads on the mount. Assure that the camera is securely snapped into place.
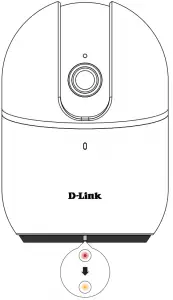
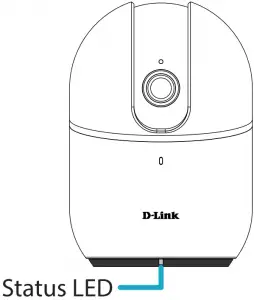
Camera LED Information
DCS-8515LH
![]() System booting / Factory resetting
System booting / Factory resetting![]() Firmware updating
Firmware updating![]() Bluetooth enabled
Bluetooth enabled![]() BLE pairing / Ready for setup
BLE pairing / Ready for setup![]() Wireless connected
Wireless connected![]() Data is being transferred
Data is being transferred

Support
Having trouble installing your new product? D-Link’s website contains the latest user documentation and software updates for D-Link products. Australian and New Zealand customers can contact D-Link Technical Support through our website.
Australia:
Tel: 1300-700-100
24/7 Technical Support
Web: http://www.dlink.com.au
E-mail: [email protected]
New Zealand:
Tel: 0800-900-900
24/7 Technical Support
Web: http://www.dlink.co.nz
E-mail: [email protected]
Version 1.00 (AU)_90x130
May 08rd, 2019
©2019 All rights reserved. D-Link and the D-Link logo are registered trademarks of D-Link Corporation or its subsidiaries. Product specification, size and shape are subject to change without notice, and actual product appearance may differ from that depicted on the package. Visit dlink.ca for more details.
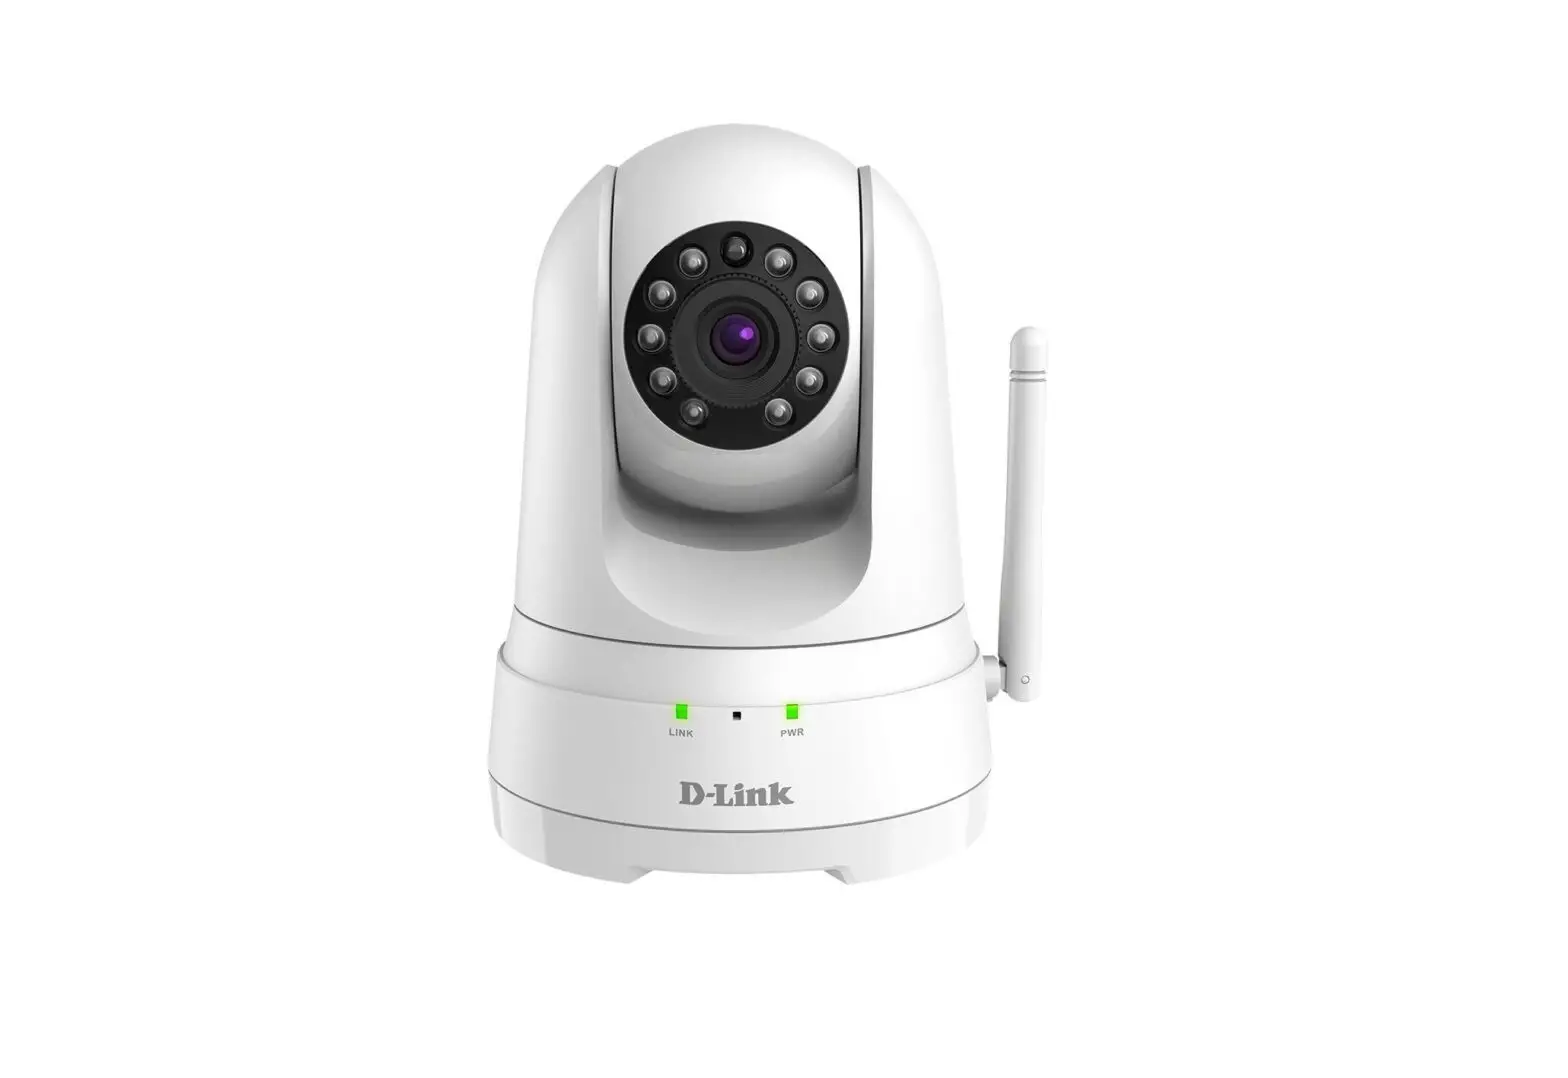
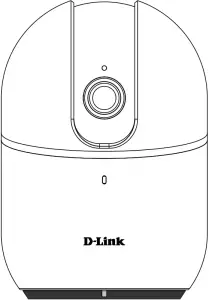
HD Pan & Tilt Wi-Fi Camera
Quick Start Guide
![]()
DCS-8515LH


