![]() Instruction manual
Instruction manual
410-2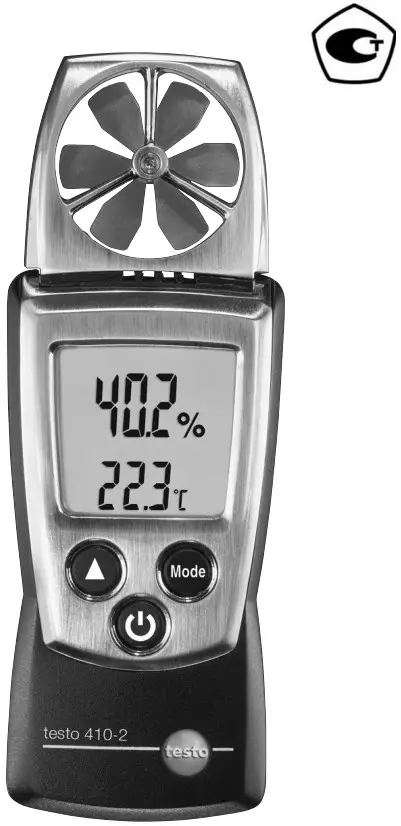
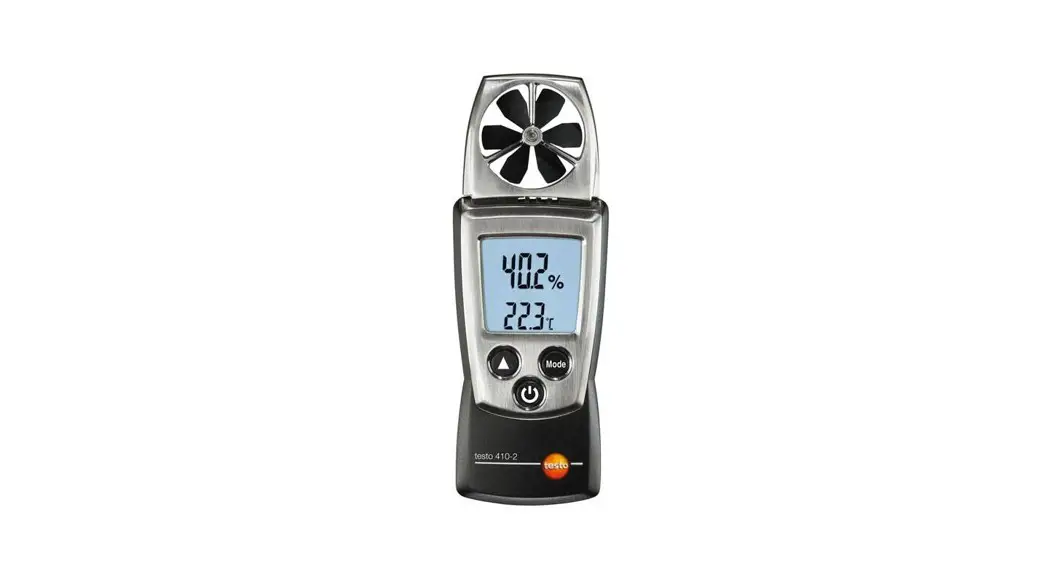
410-2 Vane Anemometer
Short manual testo 410-2
- Protection cap: Park position
- Impeller
- Humidity/temperature sensor
- Display
- Control keys
- Battery compartment (on rear)
Basic settings
Instrument off >press and hold ![]() 2s > select with
2s > select with![]() (
(![]() ), confirm with
), confirm with![]() (
(![]() ):
):
Unit of temperature: °C, °F > Unit of humidity: %, td (dew point) > WB (wet bulb) >
Unit of velocity: m/s, km/h, fpm, mph, kts, Beau > Auto off-Funktion: OFF, ON
Switching the instrument on
Press![]() .
.
Switching the display light on (for 10s)
Instrument on > press![]() .
.
Select display size
Instrument on > select with![]() :
:
Velocity, humidity, wind chill temperature (![]() )
)
Select display mode
Instrument on > select with![]() :
:
Current reading > Hold: Readings are held > Max: Maximum values > Min: Minimum values > Hold Avg: Timed mean value calculation, see below Timed mean value calculation for flow
Press![]() several times, until Hold and Avg appear > Hold
several times, until Hold and Avg appear > Hold![]() down until – – – – appears > Releasing
down until – – – – appears > Releasing![]() starts mean value calculation, the current readings are displayed > End measurement: press
starts mean value calculation, the current readings are displayed > End measurement: press![]() the mean value is displayed.
the mean value is displayed.
Switching the instrument off: Instrument on >press and hold![]() 2s.
2s.
Safety and the environment
About this document
- Please read this documentation through carefully and familiarise yourself with the product before putting it to use. Keep this document to hand so that you can refer to it when necessary. Hand this documentation on to any subsequent users of the product.
- Pay particular attention to information emphasised by the following symbols:
![]() Important.
Important.
Avoid personal injury/damage to equipment
- Only operate the measuring instrument properly, for its intended purpose and within the parameters specified in the technical data. Do not use force.
- Never store the product together with solvents, acids or other aggressive substances.
- Only carry out the maintenance and repair work that is described in the documentation. Follow the prescribed steps when doing so. Use only OEM spare parts from Testo.
- Do not use the device in a polluted environment (heavily dusty, oil, foreign matter, volatile chemicals).
Protecting the environment
- Take faulty rechargeable batteries as well as spent batteries to the collection points provided for them.
- Send the product back to Testo at the end of its useful life. We will ensure that it is disposed of in an environmentally friendly manner.
Specifications
The testo 410-2 is a flow/humidity/temperature measuring instrument. It is normally used to measure the air speed at ventilation outlets. In addition to the simultaneous measurement of humidity and temperature, climatic conditions can also be analysed.
Technical data
Measurement data
- Sensors:
Plastic impeller, Testo humidity sensor, NTC temperature sensor - Parameters:
m/s, km/h, fpm, mph, kts, Beaufort, °C, °F, wind chill, %rH, wet bulb, td - Measuring ranges:
0.4…20 m/s, 80… 4000 fpm -10…50 °C, 14…122 °F, 0…100 %rH - Resolutions:
0.1 m/s, 1 fpm
0.1 °C, 0.1 °F, 0.1 %rH - Accuracies (Nominal temperatue 22 °C, ±1 Digit): ±(0.2 m/s +2 % of reading), ±(40 fpm +2 % of reading), ±0.5 °C, ±0.9 °F, ±2.5 %rH (5…95%rH)
Long-term stability: ±1 %rF / year - Measuring rate: 0.5 s, humidity: 1s
Further instrument data
- Protection class: IP10
- Ambient conditions: -10…50 °C, 14…122 °F
- Storage/transport conditions: -40…70 °C, -40…158 °F
- Temperature coefficient: type (k=1) 0.06 %rF / K
- Voltage supply: 2x 1.5 V type AAA
- Battery life: 60 h (without display light)
- Dimensions: 133x46x25mm / 5.2×1.8×1.0 in (inc. protection cap)
- Weight: 110 g / 3.9 oz (inc. batteries and protection cap)
Directives, standards and tests
- EC Directive: 2014/30/EC
Product description
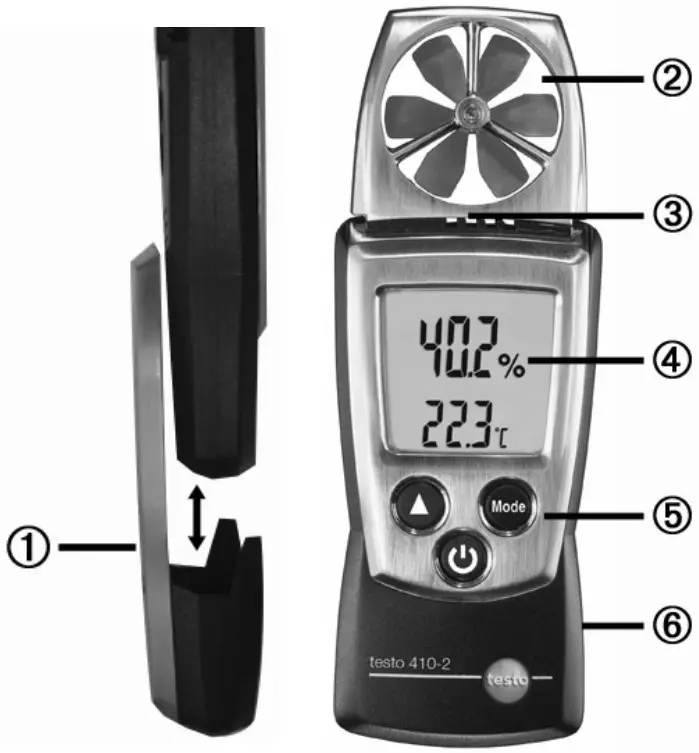
At a glance
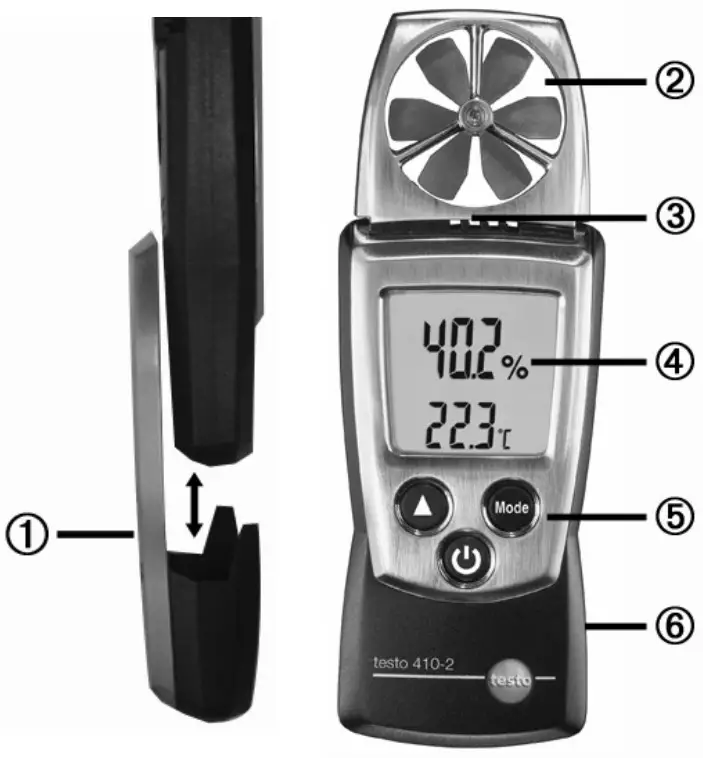
- Protection cap: Park position
- Impeller
- Humidity/temperature sensor
- Display
- Control keys
- Battery compartment (on rear)
First steps
◈ Inserting batteries:
- To open the battery compartment, push the battery cover down.
- Insert batteries (2x 1.5 V type AAA). Observe the polarity!
- To close the battery compartment, push the battery cover back on.
◈ Basic settings (configuration mode):
Adjustable functions
- Unit of temperature: °C, °F
- Unit of humidity: %, td (dew point), WB (wet bulb)
- Unit of velocity: m/s, km/h, fpm, mph, kts, Beau
- Auto off function: OFF, ON (instrument switches off automatically if no key is pressed for 10 minutes)
- When switching the instrument on, press and hold
 until
until and
and appear on the display (configuration mode).
– The adjustable function is displayed. The current setting flashes. - Press
 () several times until the desired setting flashes.
 - Press
 () to confirm the input.
 - Repeat steps 2 and 3 for all functions.
– The instrument changes to measuring mode.
Using the product
![]() To ensure correct readings:
To ensure correct readings:
- Position instrument so that flow impacts at the rear.
- Keep temperature and humidity sources which may falsify the measurement (e.g. hands) away from the sensor.
◈ Switching the instrument on:
> Press![]() .
.
– Measuring mode is opened.
◈ Switching the display light on:![]() The instrument is switched on.
The instrument is switched on.
> Press .
– The display light goes out automatically if no key is pressed for 10 seconds.
◈ Changing the parameter:![]() The parameter in the top display line can be changed. The bottom display line always shows the temperature.
The parameter in the top display line can be changed. The bottom display line always shows the temperature.
Adjustable parameters
- Velocity
- Humidity
- Wind chill temperature (
 ): perceived temperature (only deviates from ambient temperature at temperatures <10°C / <50°F and wind speeds >1.34m/s / >264 fpm)
> Press several times until the desired parameter appears.
◈ Changing the display view:
Adjustable views
- Current reading
- Hold: Readings are held.
- Max: Maximum values since the instrument was last switched on or last reset.
- Min: Minimum values since the instrument was last switched on or last reset.
- Hold Avg: Timed mean value calculation, see below.
> Press several times until the desired view appears.
◈ Timed mean value calculation for flow:
- Press several times, until Hold and Avg appear in the display. The last result of mean value calculation is displayed.
- Hold down until – – – – appears. Releasing starts mean value calculation automatically, the current readings are displayed.
- End measurement: press. The mean value is displayed.
- For further mean value calculation: hold down.
- End mean value calculation: press briefly.
◈ Resetting Max/Min values:
- Press several times until the desired view appears.
- Press and hold until – – – – appears.
- Repeat steps 1 and 2 for all values that are to be reset.
◈ Switching the instrument off:
> Press![]() and hold until the display goes out.
and hold until the display goes out.
Maintaining the product
◈ Changing batteries:
- To open the battery compartment, push the battery cover down.
- Remove used batteries and insert new batteries (2x 1.5 V type AAA). Observe the polarity!
- To close the battery compartment, push the battery cover back on.
◈ Cleaning the housing:
> Clean the housing with a moist cloth (soap suds) if it is dirty.
Do not use aggressive cleaning agents or solvents!
Tips and assistance
Questions and answers
| Question | Possible causes/solutions |
| Hi or Lo | · Readings outside the measuring range (too high, too low): Keep to the permitted measuring range. |
| · Residual capacity <10 min: Change batteries. |
If we could not answer your question, please contact your dealer or Testo Customer Service. For contact details, please visit www.testo.com/service-contact.
Notes
………………….
![]() Testo SE & Co. KGaA
Testo SE & Co. KGaA
Celsiusstraße 2
79822 Titisee-Neustadt
Germany
Telefon: +49 7653 681-0
E-Mail: [email protected]
Internet: www.testo.com
www.testo.com
0973 4102 de en fr es it pt ru 05 – 07.2022


