![]() USER’S MANUAL
USER’S MANUAL
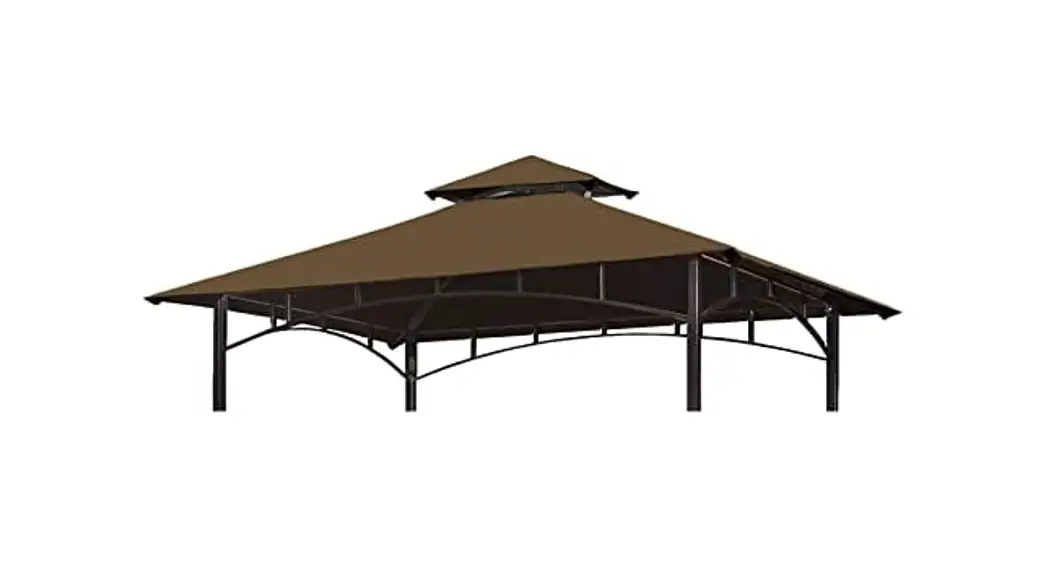
BBQ Grill Gazebo THIS INSTRUCTION BOOKLET CONTAINS IMPORTANT SAFETY INFORMATION.
PLEASE READ AND KEEP FOR FUTURE REFERENCE.
PARTS LIST
READ AND SAVE THESE INSTRUCTIONS
Please read instruction carefully and identify all the parts before assembly.
※ Caution : Small parts like nuts and bolts, may pose a choking hazard to young children.
Keep out of reach of small children.
| No. | Picture | Description | Qty |
| A |  | Pillar | 2 |
| B |  | Pillar | 1 |
| B1 |  | Pillar | 1 |
| C | 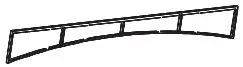 | Long Top Beam | 2 |
| D | 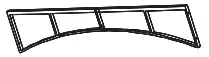 | Short Top Beam | 2 |
| E |  | U-shape Connector | 6 |
| F |  | Top Tube | 4 |
| F1 | Top Tube | 2 | |
| G | Connector Hub | 1 | |
| H | 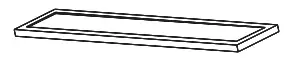 | Side Shelf | 2 |
| I | 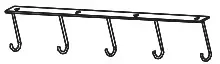 | Hook | 1 |
| J |  | Shelf Support Frame | 4 |
| K |  | Large Canopy Fabric | 1 |
| L |  | Small Canopy Fabric | 1 |
| M |  | Bolt (M6x15mm) | 27 |
| N |  | Bolt (M6x2Omm) | 8 |
| 0 | 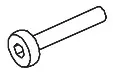 | Bolt (M6x3Omm) | 14 |
| Q |  | Nut | 6 |
| R | 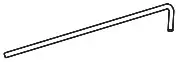 | Ground Stake | 8 |
| S |  | Hex Wrench | 1 |
| T |  | Driver | 1 |
| U |  | Bolt Cap | 37 |
| V |  | Nut Cap | 6 |
| W |  | Leg Cap | 4 |
| Y |  | 1 | |
| Z |  | LDE lamp | 1 |
ASSEMBLY INSTRUCTIONS
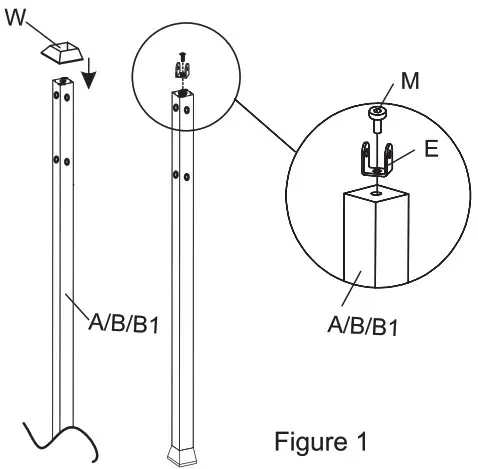
STEP 1:
Slide the four Leg Caps (W) onto the each Pillar (A/B/B1). Attach the U-Shape Connector (E) to the top end of each Pillar (A/B/B1), using Bolt (M). Repeat this step 4 times as shown in Figure 1.
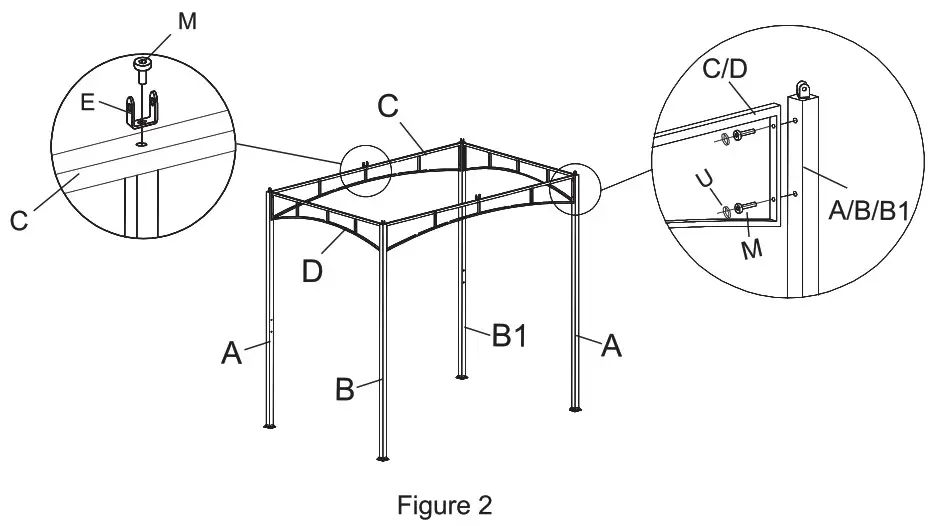
STEP 2:
Attach Top Beams (C/D) to each of Pillars (A/B/B1) with Bolt (N) and Bolt Cap (U) as shown in Figure 2. Repeat this step with remaining Long and Short Beams (C/D) until all have been attached.
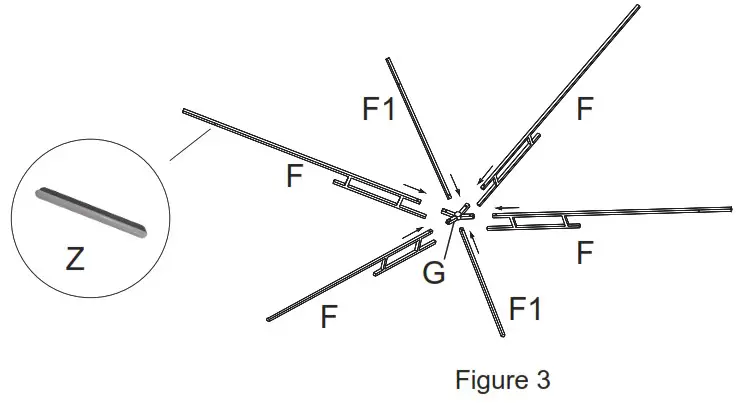
STEP 3:
Insert Top Tubes (F/F1) into the Connector Hub (G). Repeat this step 4 times as shown in Figure 3.
STEP 4:
Attach the Large Canopy Fabric (K) to the Top Frame assembled in Step 3.
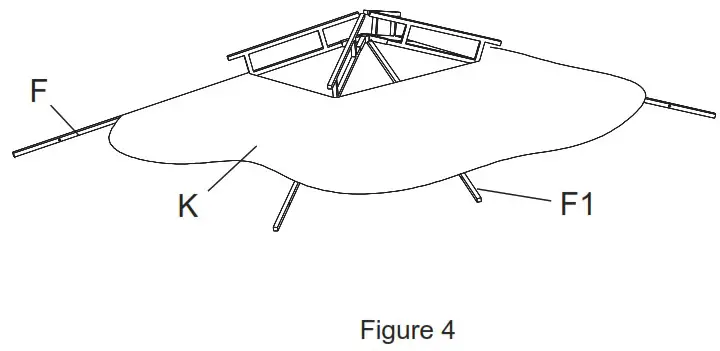
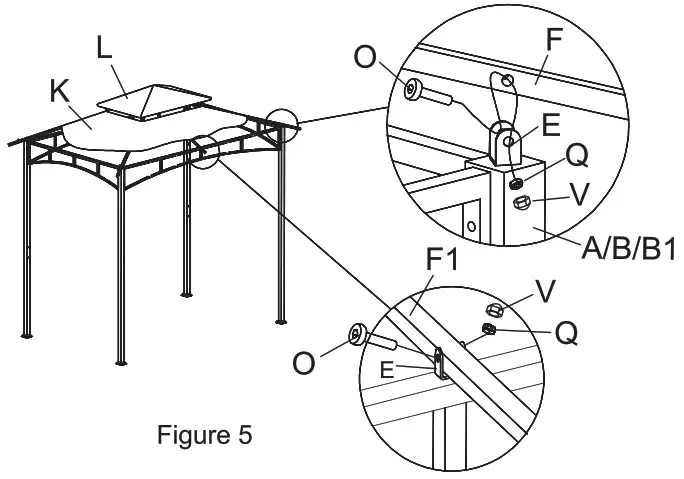
STEP 5:
Attach the Small Canopy Fabric (L) to the Top Frame assembled in Step 3.
Note: There are four tube receivers in the four corners of the small and Large Canopy Fabric (L, K). You may need to enlist “team work” by using ladders and two or more people to complete this step.
Then Connect the Top Tube (F) of the Canopy Frame assembled in Step 3 with the U-shape Connector (E) to the Pillars (A/B/B1) in four corners with the Bolt (O), Nut (Q) and Nut Cap (V) as shown in Figure 5.
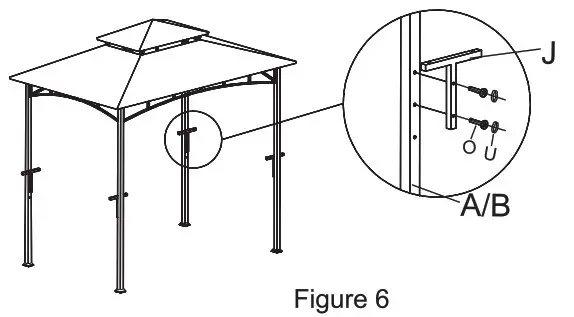
STEP 6:
Connect the Shelf Support Frame (J) with the Pillars (A/B), using Bolt (O) and Bolt Cap (U). Repeat this step 4 times to assembly each of the Pillars (A/B) as shown in Figure 6.
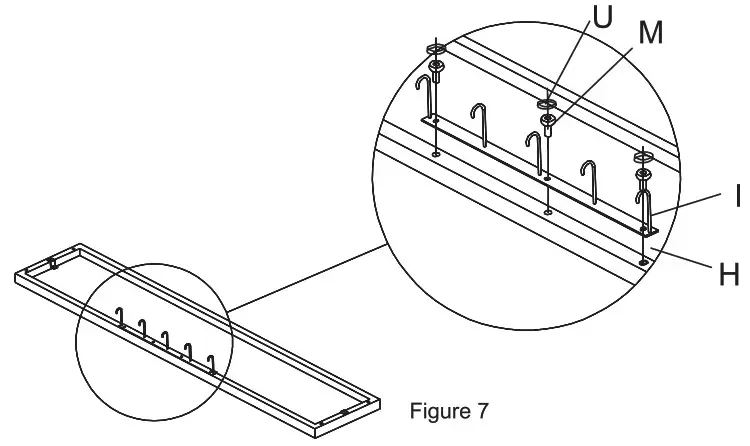
STEP 7:
Attach the Hook (1) to the Glass Side Shelf (H) with Bolt (M) and Bolt Cap (U) as shown in Figure 7.
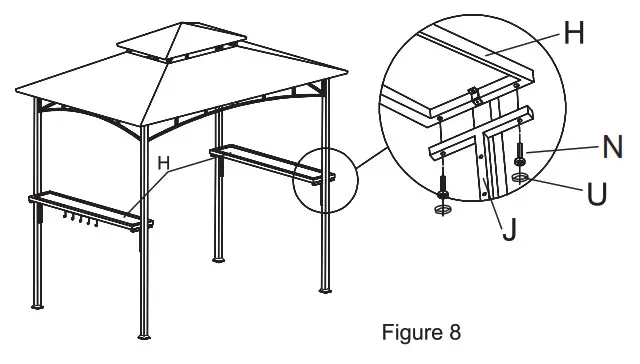
STEP 8:
Attach the Side Shelf (H) to the Shelf Support Frame (J) with Bolt (O) and Bolt Cap (U) as shown in Figure 8.
WARRANTY
STEP 9:
Fixed the bottom hole of each of four Pillars (A/B/B1) to a solid surface, ground, patio, deck etc. by using the Ground Stake (R). Repeat this step to attach the shelves at each of the four corners as shown in Figure 9.
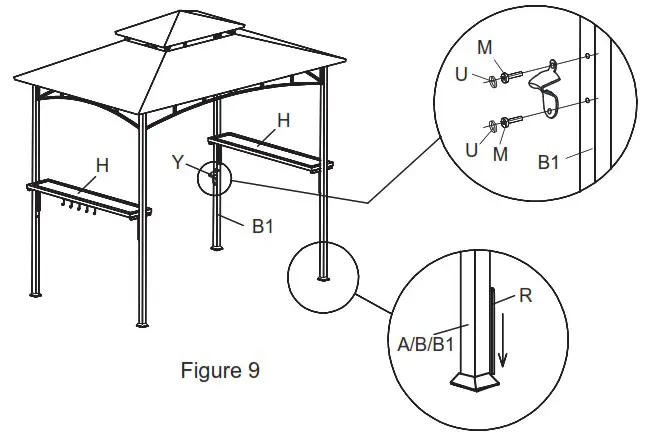
NOTE: The side tables are adjustable to two heights, 24 in. and 30 in. There is a cap pre-inserted in the lowest hole on each Pillar. Please remove the cap for the hole first if you want to adjust the table height to 24 in. for the first time. And then use included bolt & cap in unused hole in pillar once attached.
Now please enjoy your new grill gazebo.
90 day Limited Warranty
This product is warranted to the original purchaser against defects in workmanship and materials. If a product fails during the first 90 days from date of purchase under the terms of our limited warranty, please contact customer support. Manufacturer reserves the right in the case of discontinued or out of production models, to replace with an item of similar quality.
Note: You must retain original receipt to obtain warranty!
Frames
Frames are warranted against defects in materials and workmanship from the date of original purchase. Damage to frame or welds due to commercial use, improper assembly, exposure to water and sub-freezing temperatures, and/or abuse are not covered.
Fabric
Sling fabric is warranted against separation at the seams. Fading, mildew and/or discoloration due to exposure to the elements, chemicals and spills are not covered.
Metal Finishes and/or Paint
The finish is warranted against blistering, peeling, or cracking. Fading resulting from exposure to elements, chemicals, and spills are not covered. Scratches and chips due to normal wear and use are not covered.
Storage
Your new Gazebo was crafted from steel and treated with a powder coat finish to protect it from rust. Please periodically inspect your new Gazebo for any scratches or chips and touch up with a paint for metal from your local hardware store to insure many years of use. This product will rust if not protected. If you are dismantling and storing your Gazebo after use, store in dry place wiping down and drying off all metal parts.
Exclusions
- Damage caused by acts of nature.
- Wind damage.
- Failure caused by unreasonable, unanticipated or abusive Use.
- Normal fade of fabrics, upholstery or woven materials.
- Bursting or cracking of tubing due to exposure to water and freezing temperatures.
![]()


