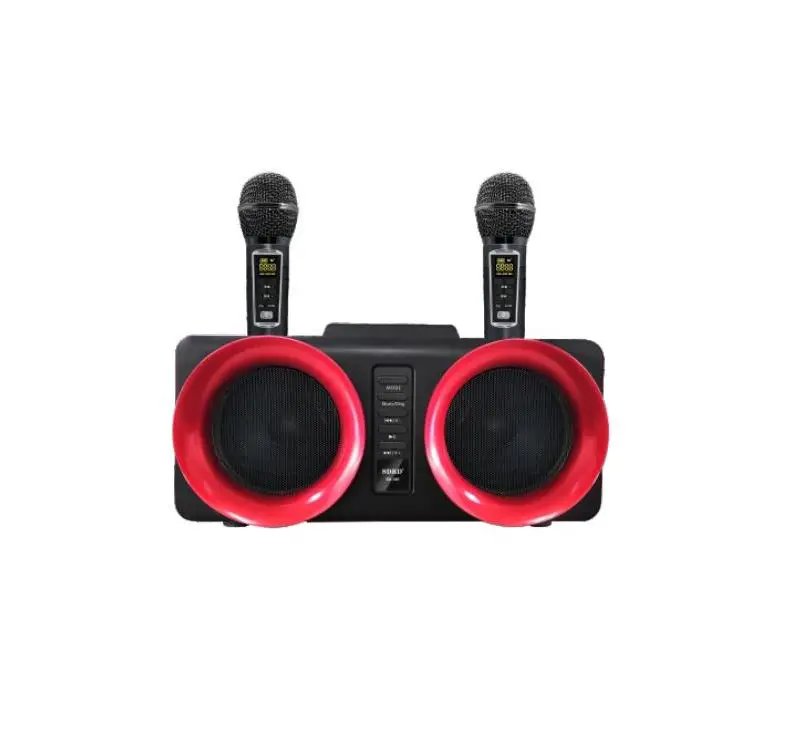
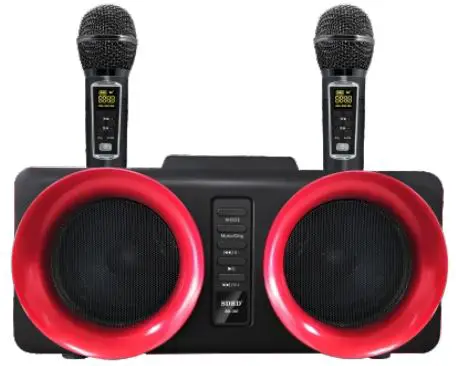
SDRD SD-307 Karaoke Speaker
OPERATING INSTRUCTION
All the instructions should be read carefully before operation and follow the instructions.
- The speaker should be situated away from heat sources such as radiators, and not exposed to moist air or water.
- Place the unit on a stable place to prevent it from being fallen down.
- The speaker should be only connected to a power supply described in the operating instructions.
- The user should not attempt to repair the speaker if you are not professional.
- Disconnect the power cable from the outlet & switch off before cleaning the unit. Please only use soft cloth, no harsh abrasives or chemicals to clean, as they will damage the appearance.
- The power cable of the speaker should be unplugged from the outlet and power switch should be off when left unused for a long period of time.
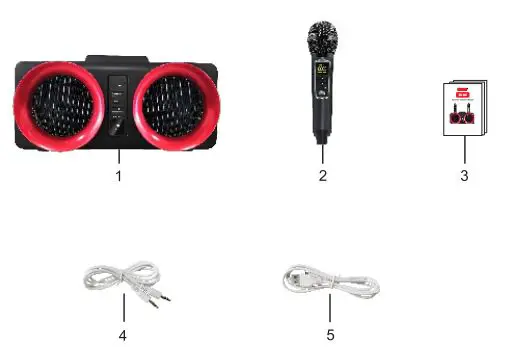
PACKING LIST
- Speaker 1pc
- Microphone 2pcs
- User Manual 1pC
- Stereo Audio 1pc
- USB Charging Cable pc
SPEAKER DESCRIPTION
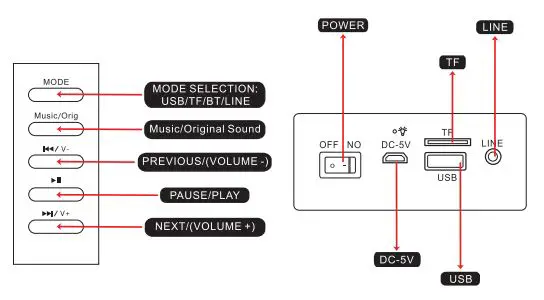
Schematic Diagram
OFF/ON
- “OFF” means Power off, “ON” means Power on, speaker will enter into the play mode which same as last time.
- Charging: Plug the standard power adapter into the”DC 5V” socket and then the built-in battery can be charged.
Play Mode
- Insert the audio equipment to the “LINE”,and the speaker can play music from mobile phone, MP3,computer and other audios.
- MP3 function TF card/U disk:Insert TF card to “TF”,it will play music from TF card.Insert U disk, it will play music from U disk.\
MODE:
MODE buton is the mode conversion (Bluetooth, TF card, U disk, AUX).
Music/Orig:
Short press the Music Original button is to cancel the original singer’s voice. 3. k/V.; Short press” k/V,it will be PREVIOUS song; Long press” 4/V to
Volume down.
Short press”I to pause or play. V+ Short press V+it will be NEXI songiLong press /V+ to volume up.
Instructions For Use
When the speaker is turned on, bluetooth mode is the default setting. You can search for the bluetooth device named “SDRD” on the phone to connect. It will be converted to TF card mode when you insert the TF card.It will be ed to USB mode when vou insert the U disk. It will be converted to LINE mode when you insert the 3.5MM audio cable. When ins and UsB at the same time, press the MODE button to convert the mode. t the TFcard
Singing Instruction
When the speaker is turned on , the wireless microphone is connected to the speaker by detault after turning it on.Just turn on the wireless microphone power switch “ON/OFF and you can sing in any mode of the speaker. When you sing you can adjust the volume or the speaker according to your personal preference to achieve your desired singing effect. There is a power indicator in the display of the wireless microphone.When the battery icon shows the battery is too low ,it means the microphone needs to be charge
MICROPHONE DESCRIPTION
Button Function
- Volume
Press the button to decrease the volume. - Volume+
Press the button to increase the volume. - Reverb-
Press the button to reduce the reverb effect. - Reverb +:
Press the button to increase the reverb effect. - EQ:
EQ has 6 audio modes, 0-5, 0 is the default audio, 1-5 is the different
audio modes, you Can adjust different audio modes according to your Own preferences. - A*B: AB:
The frequency adjustment button of the microphone has 8 frequency ranges, which are 1-8 different frequencies respectively. when the microphone is interfered by external frequency, the frequency can be switched to avoid interference AB:It is also a microphone switch button, which can convert between A microphone and B microphone.
A-B key use instructions:
Short press A-B key to change frequency, press to change frequency, incrementally transform (every time change one frequency, the speaker will automatically search for connection when the frequency is changed, the speaker will have a 2 seconds pause time.) Press and hold AB for about 5 seconds to convert A microphone or B microphone (if the current microphone is turned on, the A microphone wants to convert to B microphone and press A*B for about 5 seconds). The significance of AB conversion is if When both microphones are in A state or both are in B state, there will be a conflict, and you need to convert one microphone to another. (When the microphone is in the transition state, the speaker will have a pause process, which is re-pairing the microphone).
Charging instructions
There are two ways to charge:
use the 5V 1-2A adapter to charge the charging port through the MICRO 5P cable to the bottom or the microphone. when the speaker is plugged into the DC power supply, the microphone can be directly placed in the microphone placement slot on the speaker to De charged. During the charging process, tne attery icon or the cropnone display wIl Trash, and tne battery icon will be prompted when the Battery is Any charged.
Note
- Please use the 5V/2A charger to charge, do not play music while charging.
- When the microphone is turned on, Do not point the microphone straight to the speaker to avoid howling.
Product Parameters
- Power output: 15W+15W
- Frequency: 100HZ—18KHZ
- Drive unit: 4IN 2
- S/N: 280dB
- Lithium battery: 7.4V/3000 mAh
- Materials: Plastic
- Color box size: 340 190-208mm
- Quantity/ctn:12pcs/ctn
- Carton size: 780*360*650mm
FCC WARNING
This device complies with part 15 of the FCC Rules. Operation is subject to the following two conditions: (1) this device may not cause harmful interference, and (2) this device must accept any interference received, including interference that may cause undesired operation. Any changes or modifications not expressly approved by the party responsible for compliance could void the user’s authority to operate the equipment.
NOTE: This equipment has been tested and found to comply with the limits for a Class B digital device, pursuant to Part 15 of the FCC Rules. These limits are designed to provide reasonable protection against harmful interference in a residential installation. This equipment generates, uses and can radiate radio frequency energy and, if not installed and used in accordance with the instructions, may cause harmful interference to radio communications. However, there is no guarantee that interference will not occur in a particular installation. If this equipment does cause harmful interference to radio or television reception, which can be determined by turning the equipment off and on, the user is encouraged to try to correct the interference by one or more of the following measures:
- Reorient or relocate the receiving antenna.
- Increase the separation between the equipment and receiver.
- Connect the equipment into an outlet on a circuit different from that to which the receiver is connected.
- Consult the dealer or an experienced radio/TV technician for help.
To maintain compliance with FCC’s RF Exposure guidelines, This equipment should be installed and operated with minimum 20cm distance between the radiator and your body: Use only the supplied antenna


