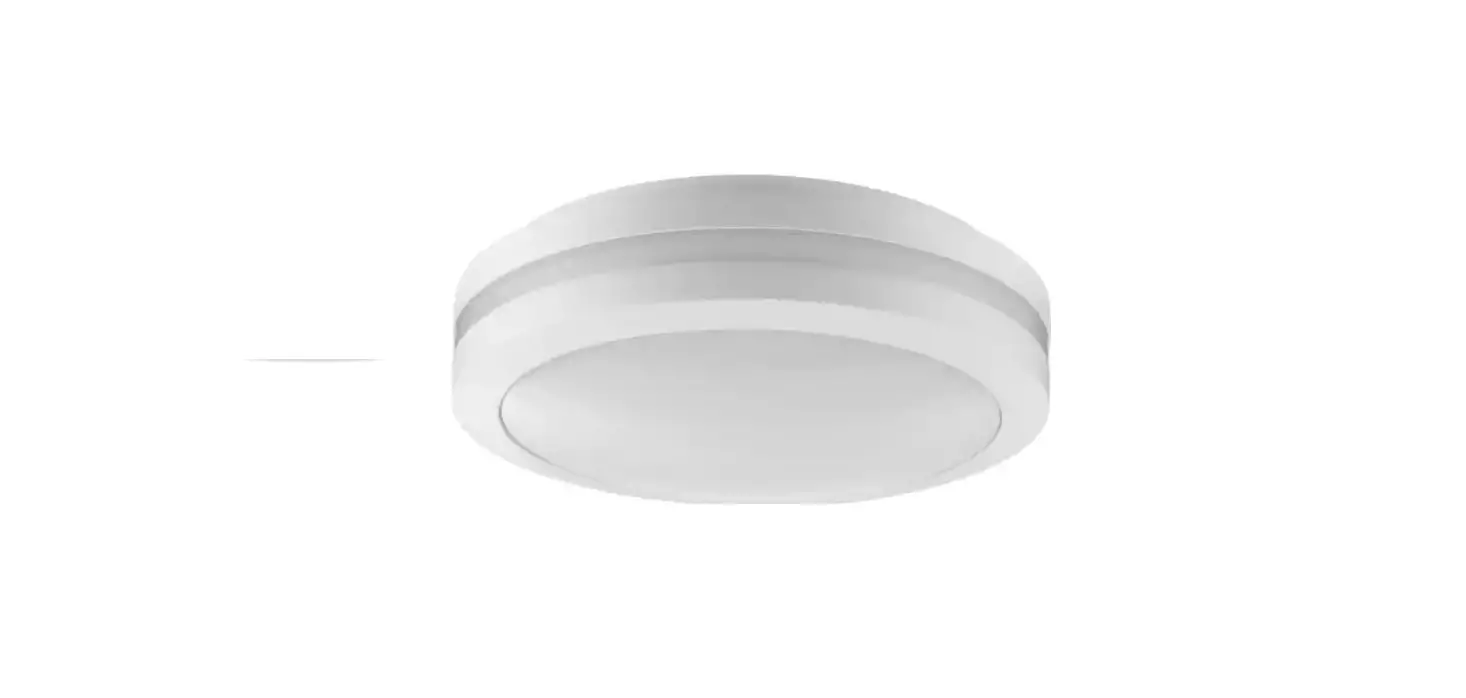
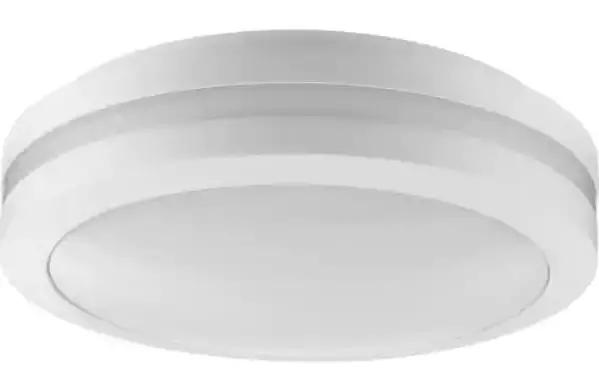
PROGRESS LIGHTING P550113-028-30 Hard-Nox 1-Light Satin White Polycarbonate Shade Commercial Grade Outdoor Wall Or Ceiling Mounted Fixture
INSTALLATION INSTRUCTIONS
READ IMPORTANT A FETY TIPS BEFORE E PRO C FEEDING WITHIN S INSTALLATION
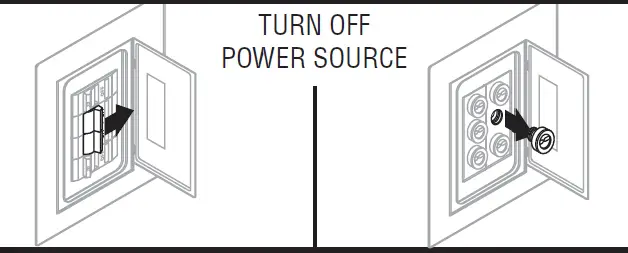
SAFETY TIPS
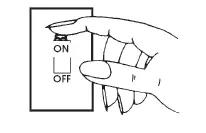
Place wall switch in off position, if fixture has a built-in switch or chain pull, switch or pull chain so fixture is off
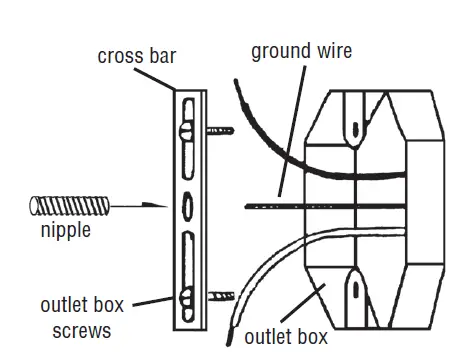
- ATTACH cross bar to outlet box with outlet box screws (8-32 x 1/2.2 slotted screws not provided)

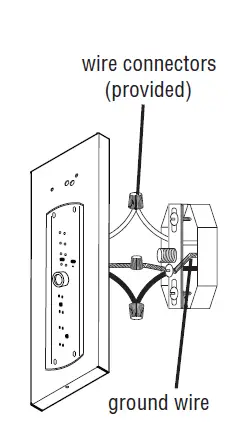
- CONNECT THE WIRES. NOTE:
Attach black fixture wire(s) to black supply wire, white fixture wire(s) to white supply wire and bare or green fixture ground wire(s) to ground wire in outlet box or green ground screw on cross bar.
NEVER CONNECT GREEN FIXTURE GROUND TO BLACK OR WHITE POWER SUPPLY WIRES.
LED Models may include the optional See wiring below for connections.
LED-MOV1 surge diagram supressor

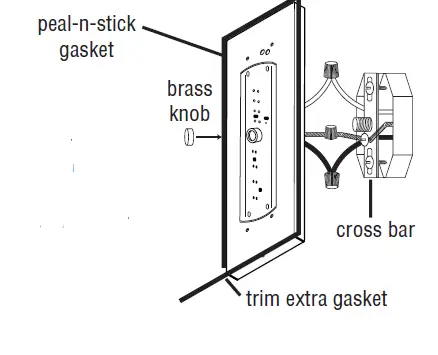
- If fixture is to be mounted in a wet location, attach supplied peal-n-stick gasket around the outside edge of the base as shown. Trim off extra material.
POSITION THE FIXTURE over the nipple and secure in place with brass knob.
- Place base and attach to base with mounting screws (8-32×1/2, 4 Combination head screw diffuser on fixture provided). NOTE: Wet location be fixture MUST mount caulked with an acrylic caulk at the mounting screw heads and where base of fixture meets the mounting surface. This provides a water-tight seal when the fixture is installed.


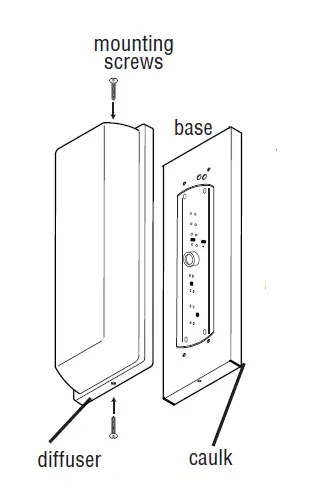
CAUTION: Do not turn on without the diffuser installed. Do not touch LEDs or circuit boards.
LED optics could be damaged. No lamp replacement is required! Integral LED light engine Supplied. Do not remove the protective cover from the LED Light engine.
Clean only with mild Soap and water. Avoid spraying with Cleansers, Insecticides, and Pesticides that are petroleum-based hydrocarbon products. These will degrade Luminaire.


