![]() POCKET MOD ®
POCKET MOD ®
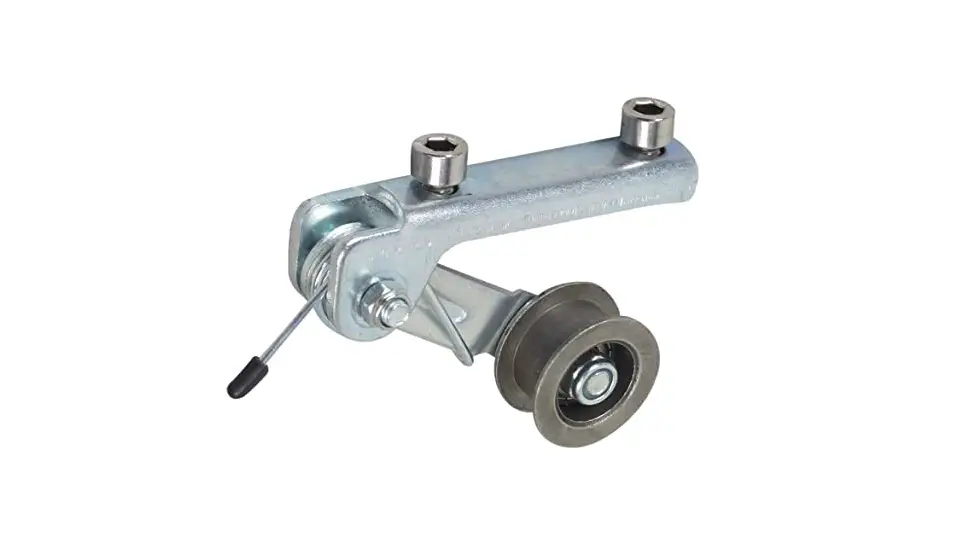
CHAIN TENSIONER
INSTALLATION INSTRUCTIONS
PART# W15130640079
Step 1
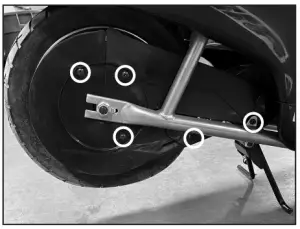
Using a Phillips screwdriver, remove the five (5) screws on the chain guard (circled in the image below).
Remove the chain guard and set it aside.
Step 2
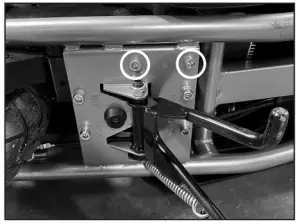
Using a flat screwdriver, remove the spring from the tensioner arm (circled in the image below) and set it aside.

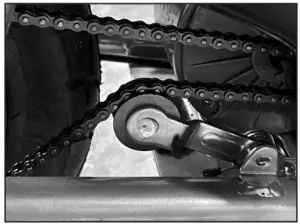
Step 3
Using a 5 mm Allen wrench, remove the two (2) hex bolts (circled in the image below) that hold the chain tensioner onto the frame. Remove chain tensioner and discard.
Step 4
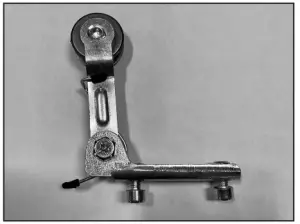
Replace the chain tensioner with the new chain tensioner.
Step 5
The chain tensioner needs to be positioned so that it is pushing upwards towards the lower side of the chain.

Step 6
This is a self-adjusting chain tensioner and there is no need for adjustment.
Step 7
Reverse steps 3-1 to complete chain tensioner installation.
Need Help? Visit our website at www.razor.com or call toll-free at 866-467-2967 Monday – Friday 8:00 AM – 5:00 PM PST.


