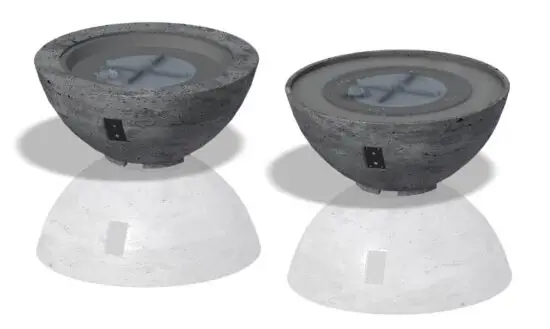
![]() B085LSF834 Cove Fire Pit
B085LSF834 Cove Fire Pit
Instruction Manual
IMPORTANT
Please consult your Crystal Fire instruction manual for detailed instructions and important information related to the burner installation including lighting and operating instructions, safety information, and proper tightening of connections with two wrenches.
DO NOT ATTEMPT TO INSTALL A CRYSTAL FIRE BURNER WITHOUT FIRST CONSULTING THE CRYSTAL FIRE OWNER’S MANUAL.
Required Tools
| |
| |
| |
| |
| |
|
Included with your Fire Pit
![]()
Assembly Instructions
- First, unscrew the shipping block with a power drill. Discard board. It will not be needed for further assembly of this product.
- Remove the fire pit base from the crate you received it in. Place the base in your desired location. Two people are recommended for this step of the installation.
![]()
CF-SPARKER Installation
- Locate CF-SPARKER inside of crystal fire burner box.
- Remove CF-SPARKER cap and hex nut. Insert AAA battery (not included) with + end out.
- Install CF-SPARKER into the control panel as shown below.
- Depress the CF-SPARKER button to test your sparker.
![]()
Gas Connections
Read and understand your Crystal Fire® Plus Burner Owner’s manual before beginning burner hookups or using the device. Do not use Teflon tape or pipe dope on flare fittings.
- See Crystal Fire® Plus instructions for burner installation.
- All gas connections were completed at the factory.
- Check all connections for leaks. If needed, tighten the connection with 2 wrenches and re-check for leaks.
- Attach burner valve to control panel with provided screws as shown below. Ensure the sparker box is installed before this step.
![]()
Thermocouple Installation
- Refer to Crystal Fire® Plus instruction manual for detailed attachment of thermocouple.
- Attach thermocouple to burner valve as shown below.
![]()
Electrode Installation
- Plug both BLACK wires hanging from the burner into the back of the CF-SPARKER. If an orange wire is present, do not use it. The orange wire is for the Direct Spark Ignition system only.
- Test the system by pushing the button on the igniter. Consult the troubleshooting section of the Crystal Fire® Plus Burner Owner’s Manual, if the spark is weak, intermittent, or not present.
![]()
Glass Installation
- Scatter all the included glass beads evenly onto the burner surface.
 DO NOT OPERATE CRYSTAL FIRE® PLUS BURNER WITHOUT INCLUDED
GLASS BEADS OR OTHER APPROVED FIRE MEDIA
DO NOT OPERATE CRYSTAL FIRE® PLUS BURNER WITH BURNER COVER IN PLACE
CV-30-E Installation
- Place burner plate into Cove base.
- Remove the 4 ¼-20 stainless steel screws installed in revenues.
- Make gas connections.
- Ignition wind guard should be oriented towards cutout in burner plate. As shown in the detailed view.
- Replace the 4 ¼-20 stainless steel screws back through the burner and tighten them into revenues.
![]()
IMPORTANT
Please consult your Crystal Fire® Plus instruction manual for detailed instructions and important information related to the burner installation including lighting and operating instructions, safety information, and proper tightening of connections with two wrenches.
DO NOT ATTEMPT TO INSTALL CRYSTAL FIRE® PLUS BURNER WITHOUT FIRST CONSULTING THE CRYSTAL FIRE® PLUS BURNER OWNER’S MANUAL.
WARNING
After consulting the manual and following instructions, remember; before operating, all gas connections must be fully checked for leaks WARNING: This product can expose you to chemicals including Carbon Monoxide and Benzene which are known to the State of California to cause cancer or birth defects or reproductive harm. For more information, visit www.P65Warnings.ca.gov
Warranty: Fire pit tables are covered under a 1- year
manufacturer’s warranty. Please visit
https://www.outdoorrooms.com/product-registration
to register your product.
Thank you for purchasing an Outdoor GreatRoom Company
product! This fire pit was made with pride in the USA.
![]()
14400 Southcross Drive West • Suite 100 • Burnsville, MN 55306
Toll-Free: 1-866-303-4028 • [email protected]


