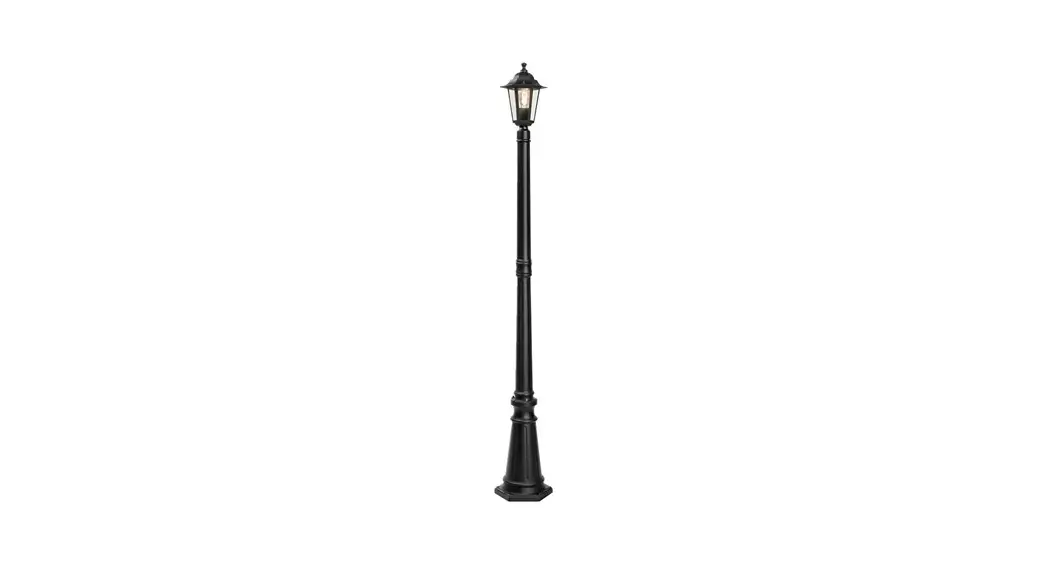
![]() 422-225 Lamp Post
422-225 Lamp Post
Instruction Manual

Care for the environment!
Recycle discarded products in accordance with local regulations.
Jula reserves the right to make changes.
For the latest version of operating instructions, see www.jula.com
SAFETY INSTRUCTIONS
Read these instructions carefully before use!
- Disconnect the mains voltage before starting installation.
- The bulb gets very hot when it is switched on. Wait until it has cooled before touching it. Do not touch bulbs with your bare hands.
- Do not use the lamp without the entire lamp shade in place.
- Be careful not to exceed the stated rated output of the bulb (60 W).
- The lamp must be connected to a properly earthed power outlet.
- The power cord must be typed H05RN-F 3G, 1 mm 2, or stronger.
- Install a double pole switch.
WARNING:
- Do not use the lamp post if the power cord and/or plug are damaged in any way. For safety reasons, the power cord must only be replaced or repaired by an authorized service center. Consult your dealer.
TECHNICAL DATA
| Mains voltage | 220 – 230 V/50 Hz |
| Rated output | Max. 60 watts |
| Safety class | I |
| Protection rating | IP44 |
| Base | E27 |
DESCRIPTION
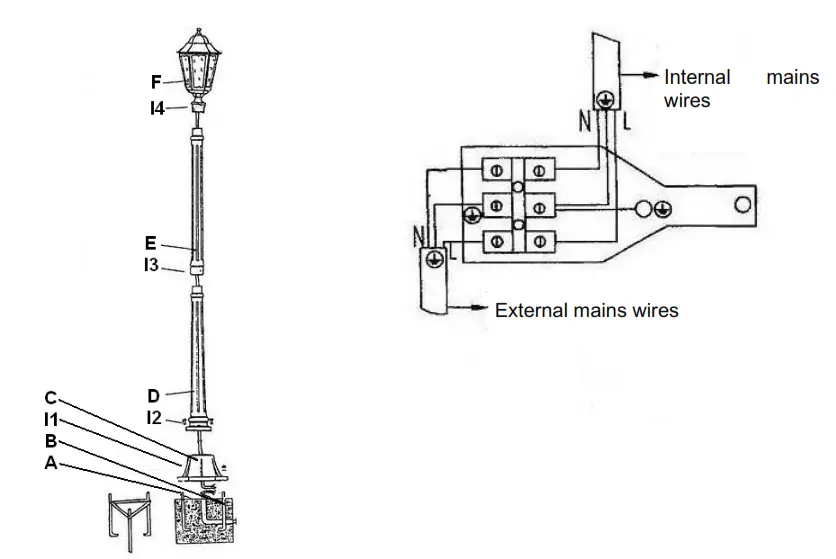
| Component | Qty | Component | Qty |
| A: Triangular support | 1 | I1: Washer for bolt M10 | 3 |
| B: Anchor rod/bolts | 3 | I2: Screws M6 x 16 | 3 |
| C: Base | 1 | I3: Screws M5 x 10 | 3 |
| D: Lower post unit | 1 | I4: Screws M5 x 5 | 3 |
| E: Upper post unit | 1 | Terminal block (not supplied) | 1 |
| F: Lamp | 1 | Hex key for M3 | 1 |
| Hex key for M4 | 1 | ||
| Spring washer under M10 | 3 |
INSTALLATION
Preparation
- Dig a hole in the firm ground for the lamp’s foundation. The hole should be 25.4 x 25.4 x 14 cm in size (l x w x d).
- Make sure that the power cord protrudes 13 cm above ground level in the middle of the hole.
- Secure three anchor rods (B) to the triangular support (A).
- Pour 4 cm of ready-mixed cement into the hole. While the cement is wet, position the anchor rods and triangular support vertically. Pour in the remaining cement up to ground level.
- Check that the heads of the anchor rods protrude so that they fit the base. Fit the lamp when the cement has been set.
Installation
- Pull the power cord through the upper post unit (E) and the lower post unit (D). Mount the lamp (F) on the post using screws (I4).
- Connect the lamp’s power cord to the terminal block (see figure on the previous page). Make sure you connect a brown wire (L = live) to a brown wire, a blue wire (N = neutral) to a blue wire, and a green/yellow wire (earth) to a green/yellow wire.
- Fit the lower post unit to the base using screws (I2).
- Connect the power cord to the terminal block.
- Mount the base on the anchor rods using bolts and washers (I1).
- Adjust the lamp to the height required and then tighten the post units using screws (I3).
MAINTENANCE
Replacing the bulb
- Disconnect from the main supply.
- Open the upper lamp cover.
- Do not touch the bulb with your bare hands.
- Unscrew the old bulb when it has cooled.
- Carefully screw the new bulb into the bulb holder.
- Put the lamp cover back before switching on the lamp.
Jula AB, Box 363, SE-532 24 SKARA
2021-08-19
© Jula AB


