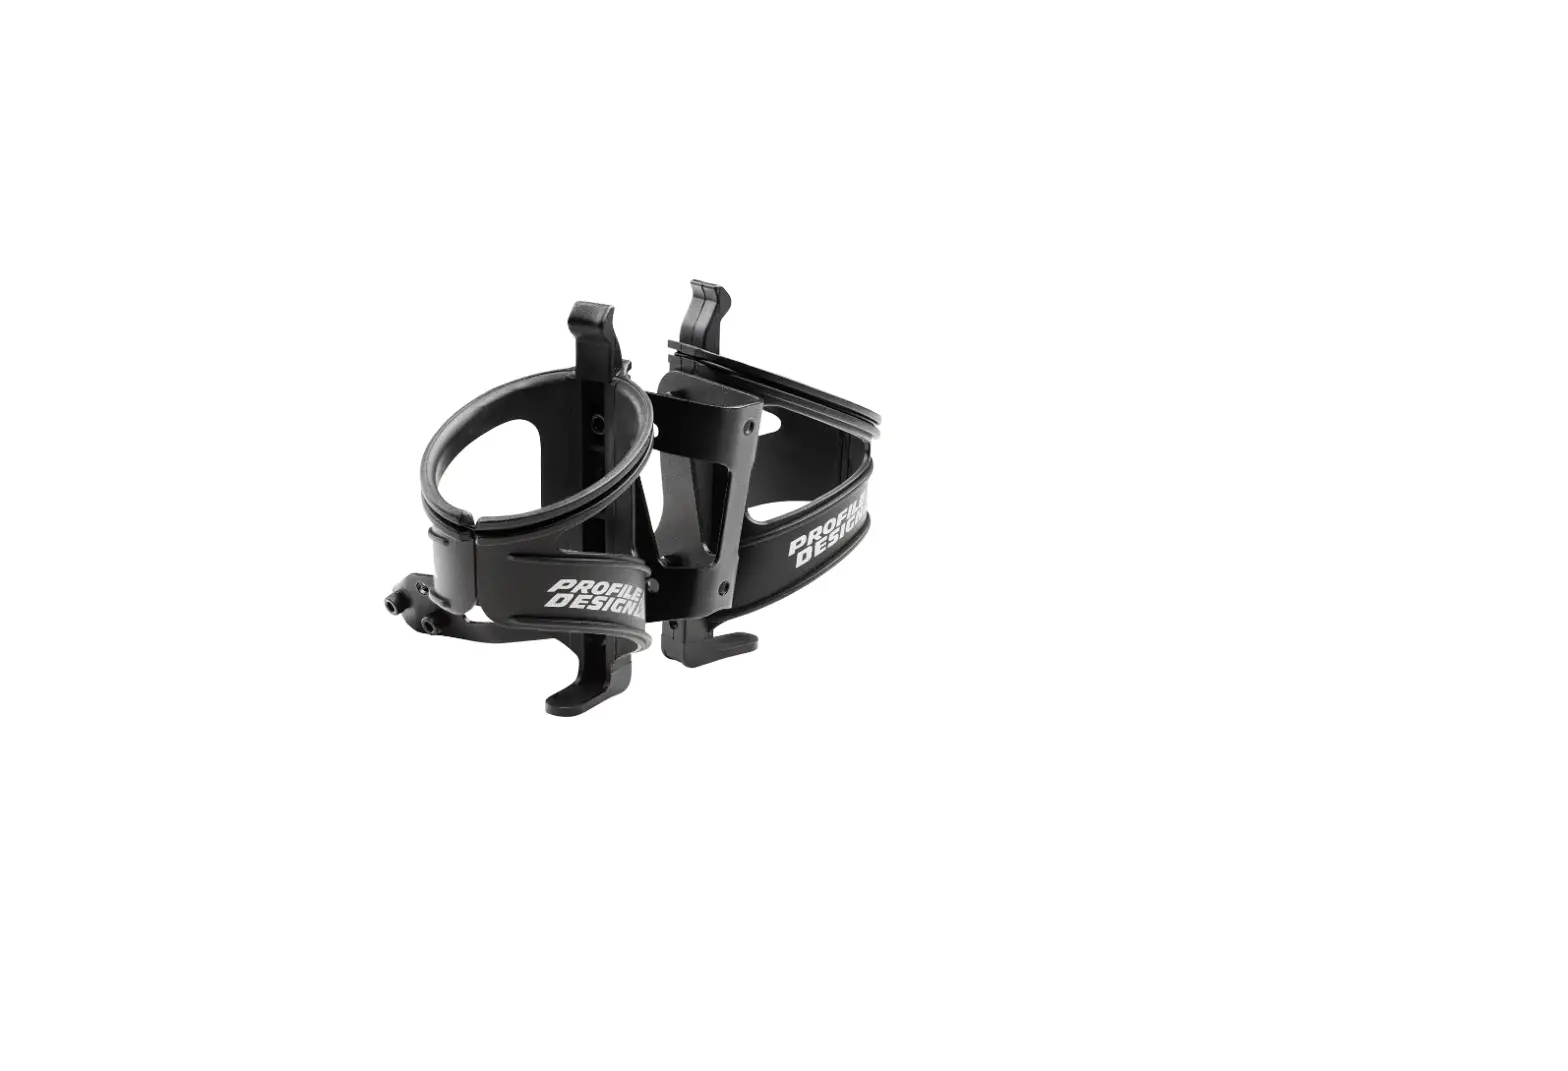
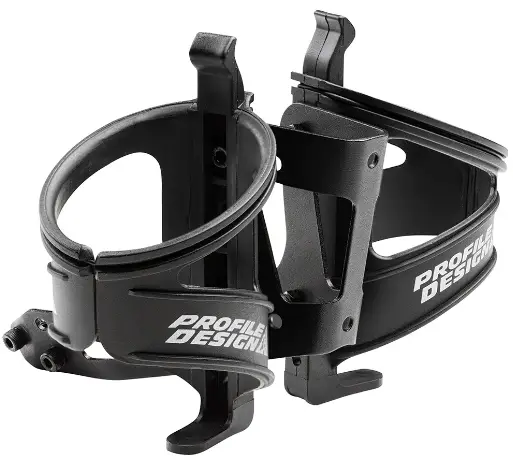
PROFILE DESIGN RM-L Rear Hydration System
INTRODUCTION
Thank you for purchasing this Profile Design product. These instructions apply to the RM-L rear hydration system.
Please read these instructions thoroughly before attempting to install this item. Proper installation is required for compliance with Profile Design’s warranty policy. If you are not familiar with installation of bicycle accessories, please seek the assistance of your local Profile design dealer by logging on to www.profile-design.com and using “dealer search” or by calling Profile Design’s customer service number p.# 888.800.5999.
Note to Dealers: If you install this product for the consumer, please provide him/her with this owner’s manual after installation.
Tools and materials required
- 4mm Allen wrench
- Torque wrench (in-lb./Nm)
Your hydration system should contain
- One(1) RM-L System
- Two(2) Kage – PFD Kage w/double O-ring Plastic Black
- Two(2) Threaded Rail Clamp Nuts
- Eight(8) Wacher – M5 Black
- Eight(8) Bolt – M5*12SHB BK w/nylock
If anything is missing from the hydration system please contact your dealer.
COMPONENT LIST

| Ref.# | Part.# | QTY. Req. | Part Description |
| 1 | 796300 | 1 | RM-L System |
| 2 | 414250 | 2 | Kage – PFD Kage w/double O-ring Plastic Black |
| 3 | 313519 | 2 | Threaded Rail Clamp Nuts |
| 4 | 550077 | 8 | Wacher – M5 Black |
| 5 | 313520 | 8 | Bolt – M5*12SHB BK w/nylock |
INSTALLATION INSTRUCTIONS
- The RMC system is compatible with all Profile Design saddles and most saddles available on the market including saddles with the rear dropped transition rack tab. Install the RM-L on the rear, non-horizontal portion of the saddle rails using the included threaded nuts and bolts.
- Start by loosening the bolts on the rail clamp without removing them completely. Remove the bolt closest to the bottle cage mounts on each rail clamp.
- Slide the RM-L wing over the rails so both wings are sitting on the outside of the rails.
- Rotate the rail clamp over the rail and adjust the angle of the RM-L insert the bolt through the upper or lower hole depending on desired mounting angle of the bracket and thread the bolt. Repeat for the opposite side.
- Fully tighten the outer bolts to 26.5in.lbs (3Nm). It is extremely important to use a torque wrench and not exceed this recommended torque.
- When attaching the bottle cages you have the option of running 2 cages (one on each side) or a single cage on the back of the system.
WARRANTY POLICY
- Profile Design Worldwide Two Year Limited Warranty.
- Profile Design, LLC (distributor) warrants to the original retail purchaser (“you”) that the Profile Design product for which you received this warranty is free from defects in material and workmanship for (2) two years from the date of original retail purchase. For more details on this warranty, its exclusions and/or how to make a claim under the warranty please call +1 310.747.0085 extension 161 or visit www.profile-design.com/pages/warranty
CONTACT
Address: 2677 El Presidio Street Long Beach, CA 90810
Ph: 310-884-7756
www.profile-design.com
© Profile Design LLC


