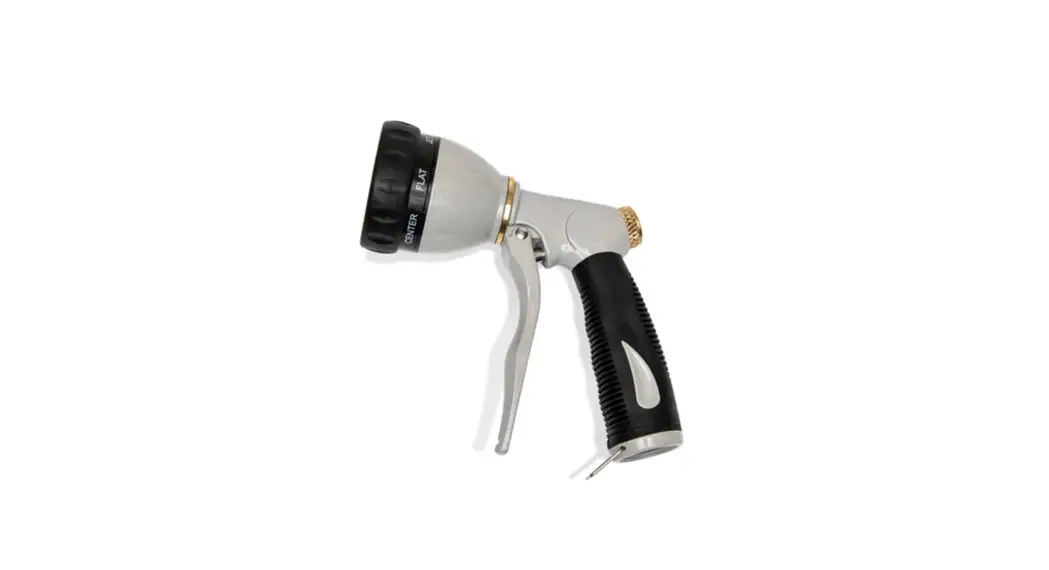
![]() Spray Gun
Spray Gun
Maintenance Guide
5528-WG Spray Gun
Instructions
There is no need to replace parts if the sprayer is functioning properly. Only use the spare parts if you need to fix a problem.
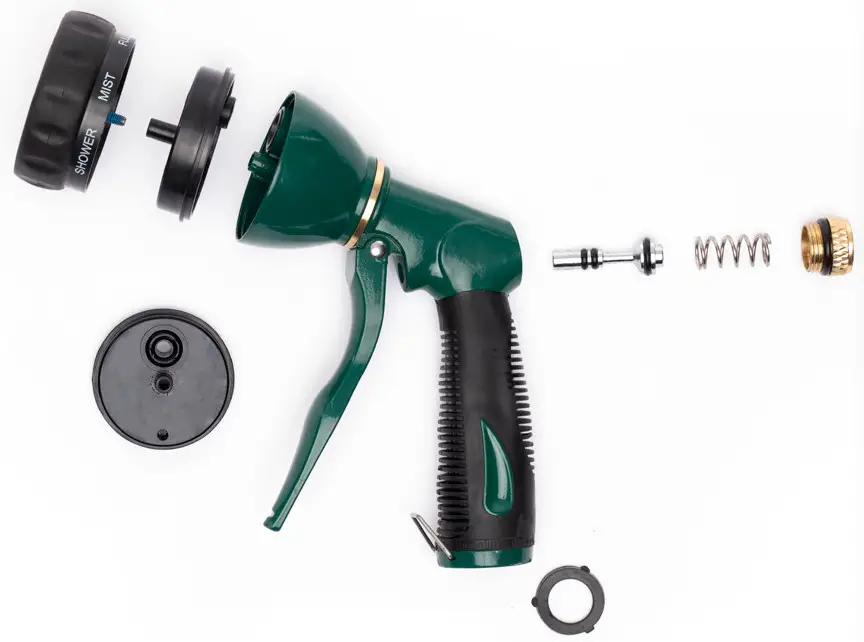
Kit Contents
| A Plunger x 1 B 3/4″ Washer x 1 C Trigger Lock x 1 | D Spray Gun Lubricant Tube x 1 E Spray Head 0-ring x 1 F Brass cap and 0-ring x 1 |
| Problem | Cause | Fix |
| Trigger not shutting water off. | 0-rings on the plunger have dried out and need lubricating. | STEP ONE: Using a pair of pliers unscrew the brass cap, remove the spring and plunger then apply lubricant to the o-rings on the plunger. STEP TWO: Reassemble putting the plunger, spring and brass cap back in place. Then, pump the trigger to distribute the lubricant. Tip: Repeat occasionally to keep the trigger funtioning properly. |
| Leaking from behind the trigger, where silver plunger is exposed. | Worn or damaged o-rings on the plunger. | STEP ONE: Unscrew the brass cap on the back of the spray gun and replace the plunger. Lubricate plunger as per above steps. |
| Leaking between metal body and pattern selector dial. | The pattern selector dial is loose, or there is damage to the 0-ring. | STEP ONE: Try tightening the face with a Phillips head screwdriver. STEP TWO: If leaking persists, remove the face of the spray gun. Be careful not to lose the small spring. Use a pin to unseat the 0-ring and replace with a new one. |
| Leaking between the bottom of the spray gun and the Hoselink Accessory Connector. | Accessory Connector is cross-threaded or washer in spray gun is damaged. | STEP ONE: First, try screwing in the Accessory Connector again, ensuring it follows the thread correctly. STEP TWO: Check the washer and, if damaged, replace with the new 3/4″ washer. |
| Leaking from brass cap | 0-ring has become damaged | STEP ONE: Remove brass cap and exchange for replacement |
For more information visit
hoselink.com.au
or call
1300 900 617
Cultivatinc Connections


