Royal Gourmet ZH3002 Premium 3 Burner Gas or Charcoal Grill Combo User Guide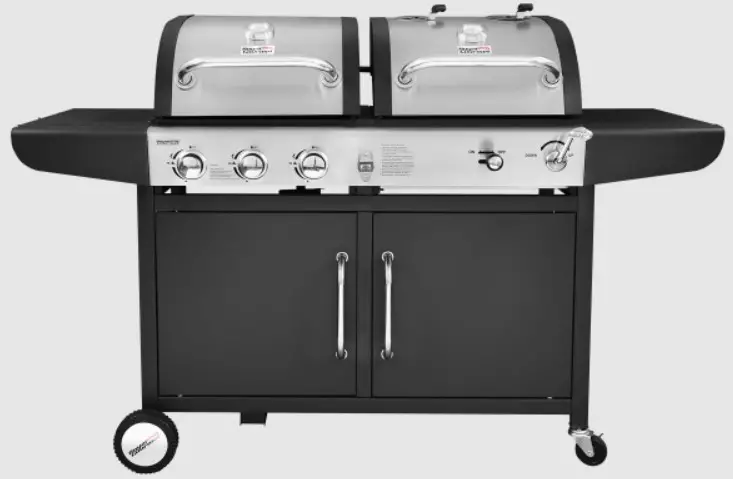
FOR YOUR SAFETY!
Use outdoors only! Do not use it inside a building, garage, or any other enclosed space. Read the instructions before assembling and using the appliance. DO NOT use the grill unless it is completely assembled, and all the parts are securely fastened. This grill will become very hot, do not move it during use. Keep away from children and pets.
CONTACT US FIRST!
This grill has been made to high quality standards. Customer SerV|ce If you have any questions that are not addressed in this Owner’s Manual, or you need parts, please call our customer service hotline or @ 1-800-618-6798 send an email to [email protected]
Please keep this Owner’s Manual for future reference.
Parts Diagram

Parts and Hardware List
| Ref | Description | Illustration | QTY |
| 1 | Caster W-20130008 |  | 2 |
| 2 | Right front leg H-20130007 | 1 | |
| 3 | Right back leg H-20130008 | 1 | |
| 4 | Bottom shelf 2.7H2303035 | 1 | |
| 5 | Left front leg Z-20130003 | 1 | |
| 6 | Left back leg Z-20130001 | 1 | |
| 7 | Wheel axle W-20130023 | 1 | |
| 8 | Wheel & Rim cover| |w-20130010 W-20130009 |  | 2 |
| 9 | Side panel Z-ZH2303040 |  | 2 |
| 10 | Rear panel 2.2H2302015 | 1 | |
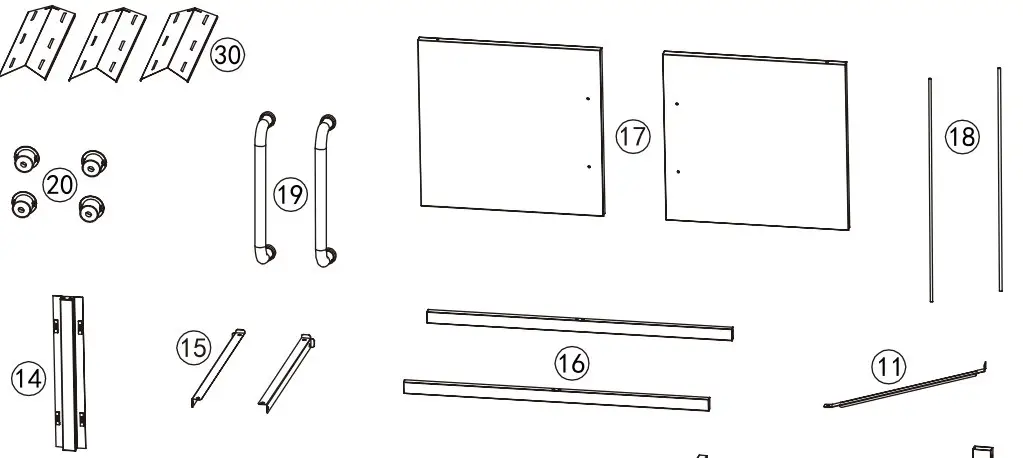
| 11 | LP tank barrier bar 2-LG600029 | 1 | |
| 12 | LP tank brace (ower) Z-A3128-RGC | 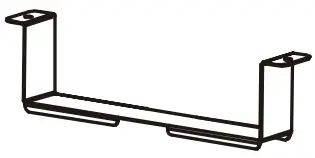 | 1 |
| 13 | Cabinet center stile| Z-ZH2302016 | 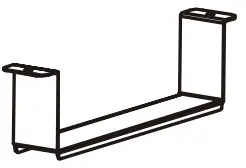 | 1 |
| 14 | Cart side beam 220130017 | 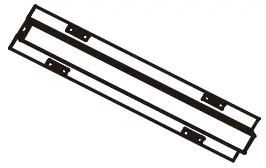 | 1 |
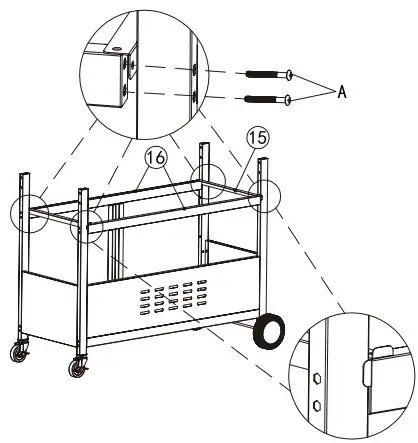
| 15 | Cart beam H-ZH2302005 | 2 | |
| 16 | Cart beam H-ZH2302005 | 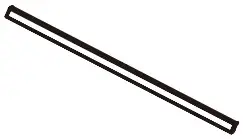 | 2 |
| 17 | Door Z-ZH2303036 Z-ZH2303037 | 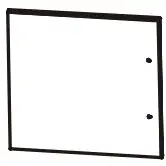 | 2 |
| 18 | Door axle -20130024 | 2 | |
| 19 | Door handle W-53650003 | 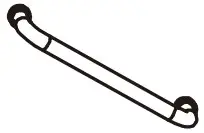 | 2 |
| 20 | Handle sleeve W-A0403 |  | 4 |
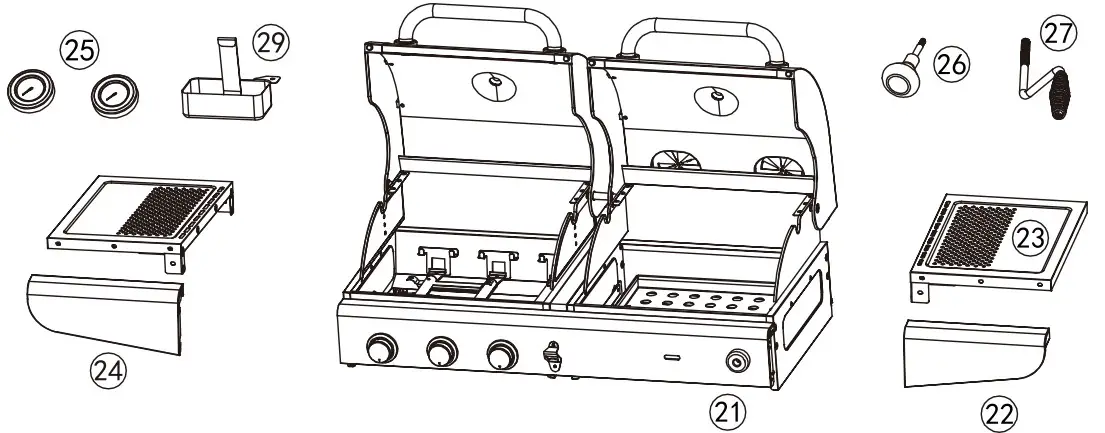
| 21 | Main bod y | 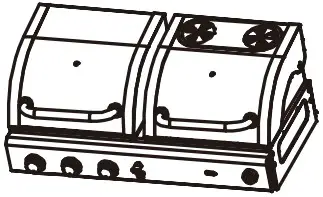 | 1 |
| 22 | Right decoration board 7-51130002 | 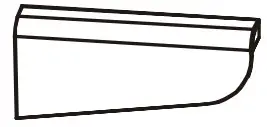 | 1 |
| 23 | Side table Z-ZH2303043 | 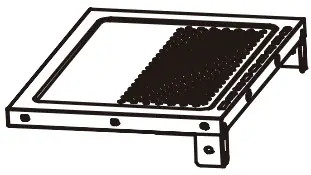 | 2 |
| 24 | Left decoration board Z-51130001 | 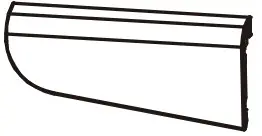 | 1 |
| 25 | Thermometer W-20130020 | 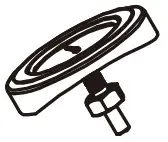 | 2 |
| 26 | Damper knob W.B%H%g%% |  | 1 |
| 27 | Crank handle w;figgg(gzooz | 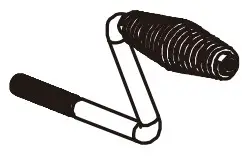 | 1 |
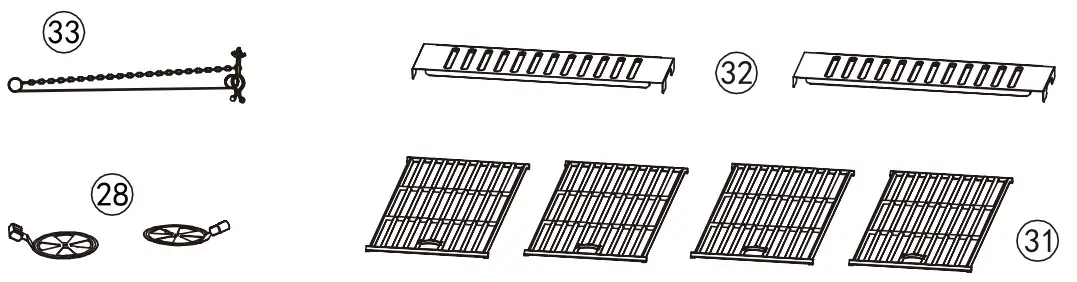
| 28 | Damper w-zH300101 Z-ZH300104 | 2 | |
| 29 | Grease cup W-20130025 | 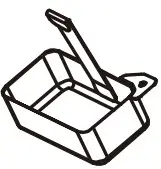 | 1 |
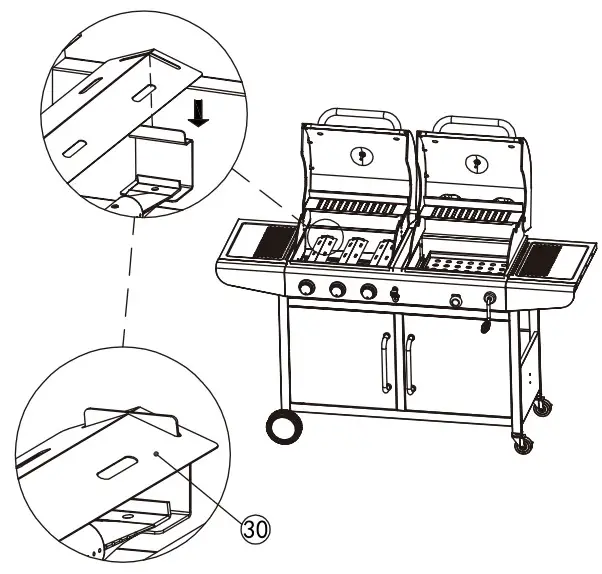
| 30 | Flame tamer Z-ZH2303044 | 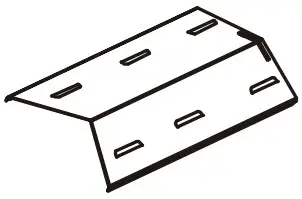 | 3 |
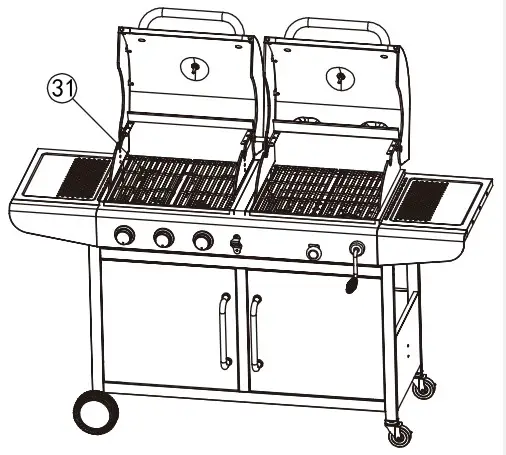
| 31 | Cooking grate W-52930002 | 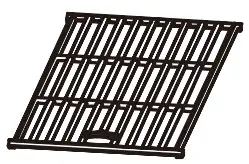 | 4 |
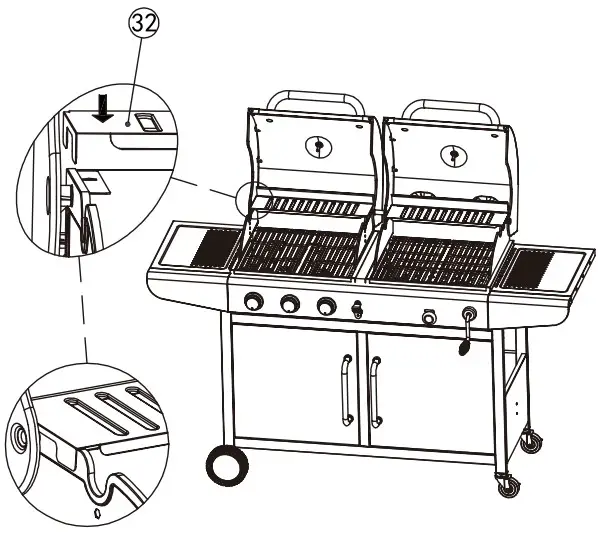
| 32 | Warming rack 220120018 | 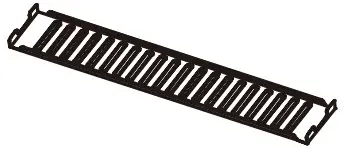 | 2 |
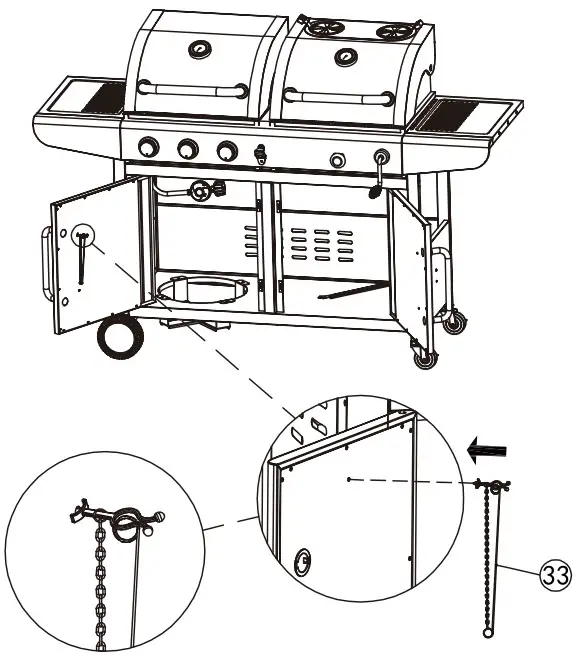
| 33 | Ignition match W-GD430011 | ! |
- A. M5x55 [22pcs|

- B. M5x10 |28 pos

- C. maxs [2pcs

- D. [split pin |3 pes

- E. Washer ‘2 pcs‘

- F. [poor pin cap|2 pes|

- G. M5 [ 1pc

- H. mex12 8pes

- I. mM6x34 3 pos

- J. Washer ‘2pcs‘


Preparation
Before beginning assembly, make sure all parts are present. Compare parts with packaged contents list and diagram above. If any parts are missing or damaged, do not attempt to assemble the products. Contact customer service for replacement parts via telephone or email.
Philips screwdriver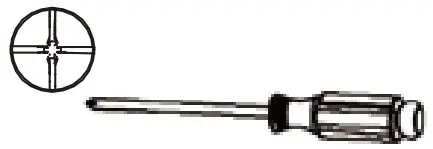
Wrench
- Estimated assembly time: 40 minutes
- Tools required for assembly: Phillips Screwdriver (not included) and Wrench (not included)
- Note: The right and left sides of the grill are designed as if you are facing the front of the grill.
![]() CALIFORNIA PROPOSITION 65 WARNING
CALIFORNIA PROPOSITION 65 WARNING
- Fuels used in charcoal and gas burning appliances and the combustion byproducts of such fuels, can expose you to chemicals including carbon black, which is known to the State of California to cause cancer, carbon monoxide, which is known to the State of California to cause birth defects or other reproductive harm.
- This product can expose you to chemicals including nickel, which is known to the State of California to cause cancer. Handling the brass material on this product can expose you to lead, a chemical known to the State of California to cause cancer, birth defects or other reproductive harm.
For more information go to: www.P65Warnings.ca.gov
Assembly Instructions
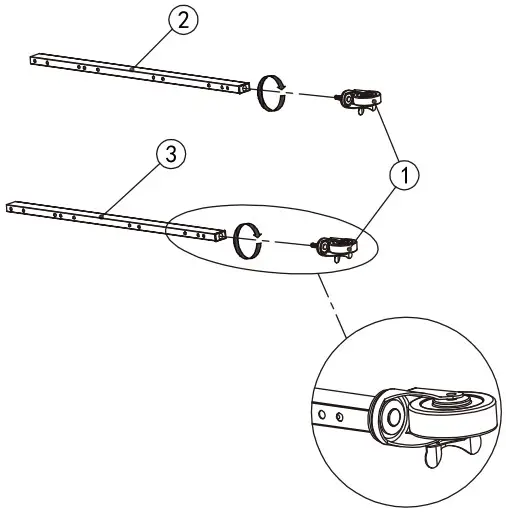
- Assemble 2 casters (1) to the right legs (2), (3) by twisting clockwise.

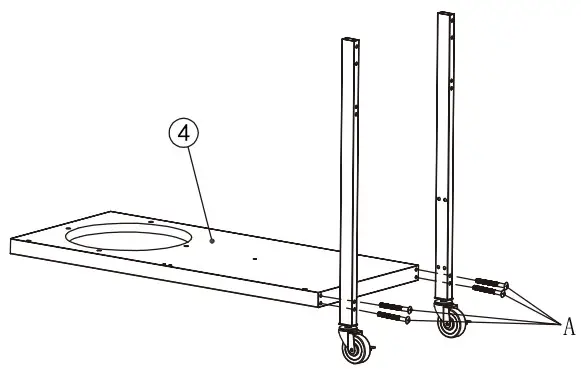
- Assemble the right legs to the right side of the bottom shelf (4) with 4 bolts (A). Please note: At this point, hand-tighten the bolts.

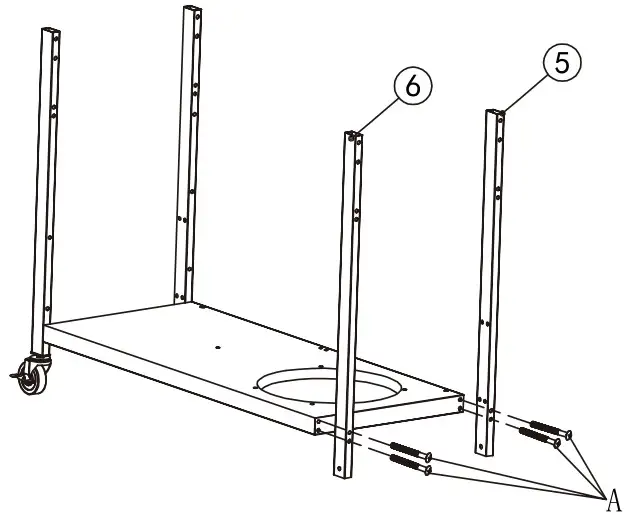
- Assemble the left legs (5), (6) to the bottom shelf with 4 bolts (A). Please note: At this point, hand-tighten the bolts.

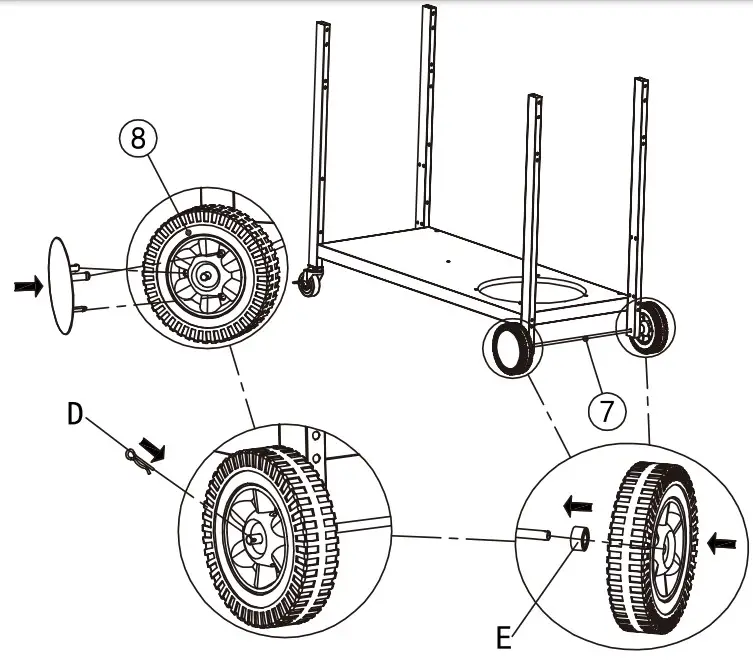
- Slide the wheel axle (7) through the lower holes of the left leg assembly. Attach the wheel washer (E) and wheels (8) on the axle from both ends. Secure each wheel with a split pin (D). Attach the wheel rim covers back to the wheels.

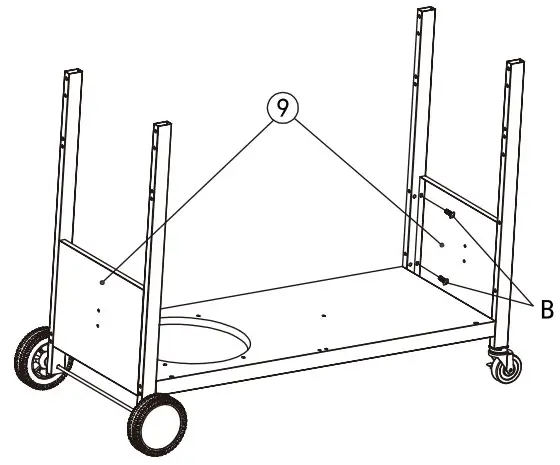
- Assemble 2 side panels (9) to the lower holes of the Assemble the rear panel (10) to the lower holes of left and right leg assemblies respectively with 8 bolts (B).

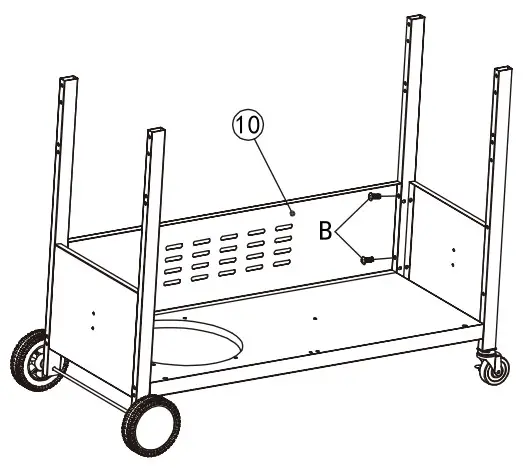
- Assemble the rear panel (10) to the lower holes of back legs with 4 bolts (B). Please note: At this point, tighten all the bolts using a screwdriver.

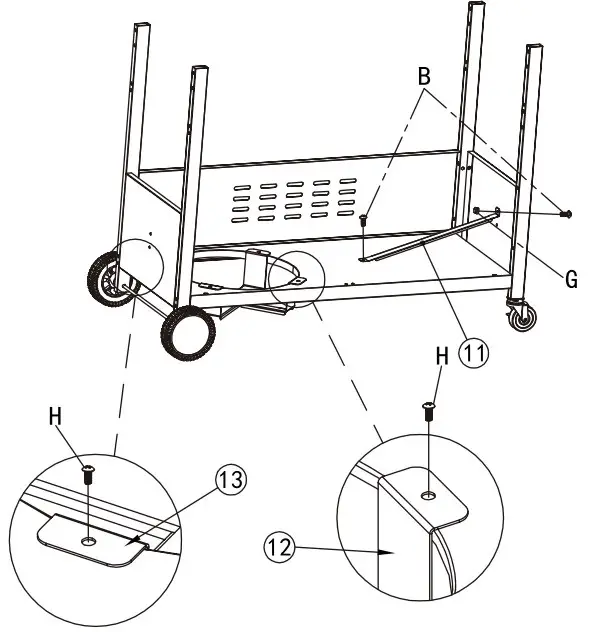
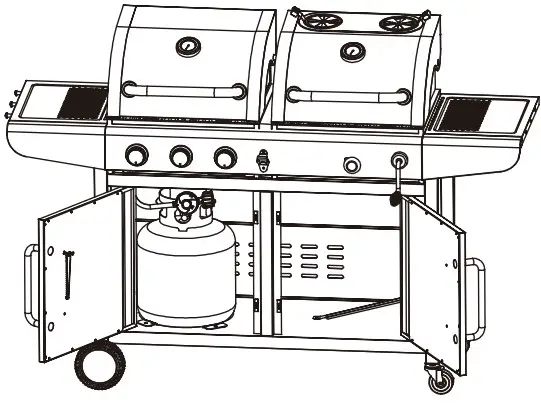
- Secure one end of the LP tank barrier bar (11) to the hole on the right side panel with 1 bolt (B) and 1 nut (G), and fix the other end to the bottom shelf (2) with 1 bolt (B). First, fix the lower LP tank brace (13) to the nesting hole with 2 bolt (H). Then, fix the upper LP tank brace (12) to the nesting hole above the upper base with 2 bolt (H)

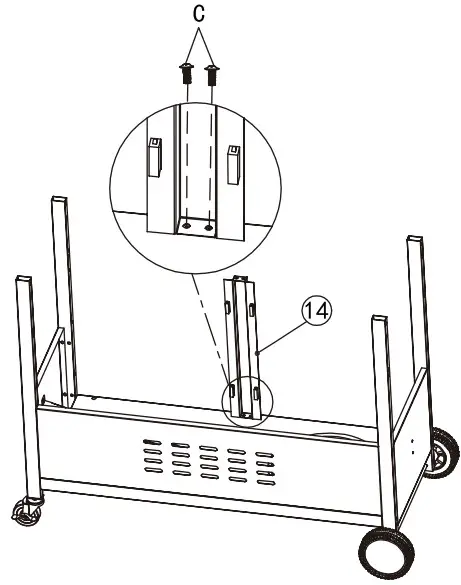
- Assemble the cabinet center stile (14) to the bottom shelf with 2 bolts (C).

- Assemble cart beams (16) and side beams (15) to the legs by 8 bolts (A). Please note: Ensure that cart side beams are attached between the legs and cart beams.

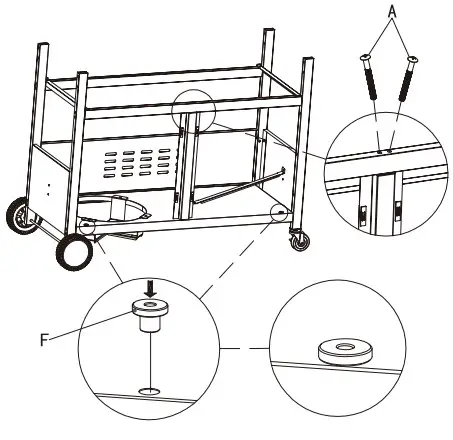
- Insert two door pin caps (F) to the corresponding holes on twith 2 bolts (A).he bottom shelf as shown.Fix the cabinet center stile with the cart front beam

- Install the doors (17) to the cart by inserting one end of the door axles (18) into the holes on the upper cart front beam, and the other end into the door pin cap on the bottom shelf.

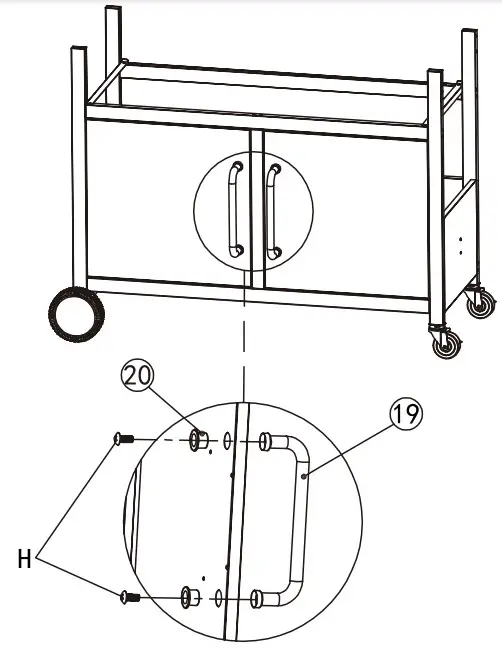
- Assemble two door handles (19) and door sleeves (20) to doors with 4 bolts (H).

- Align and place the main body (21) onto the cart.

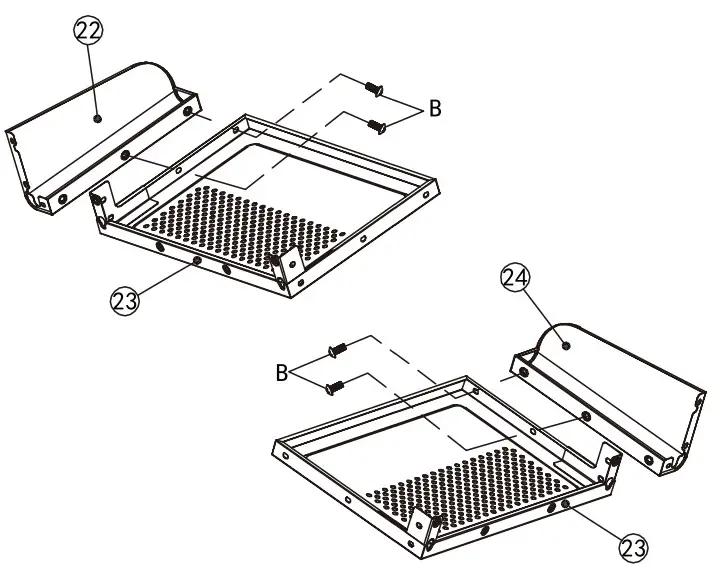
- Assemble the decoration boards (23), (24) to side tables (23) with 4 bolts (B).

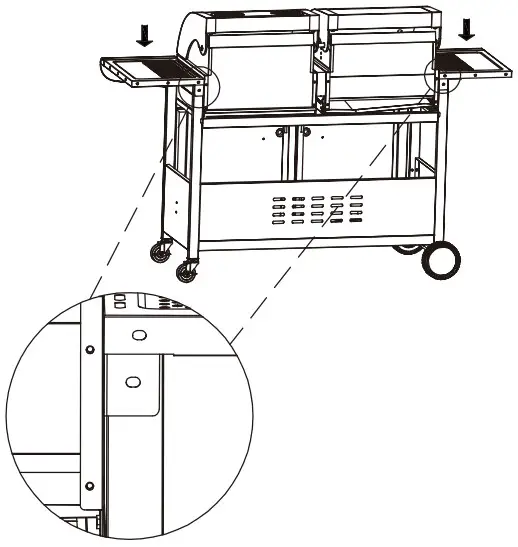
- Attach the side table assemblies to both sides of the grill as shown.

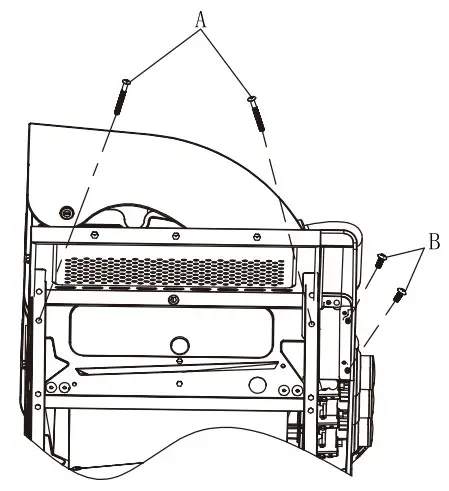
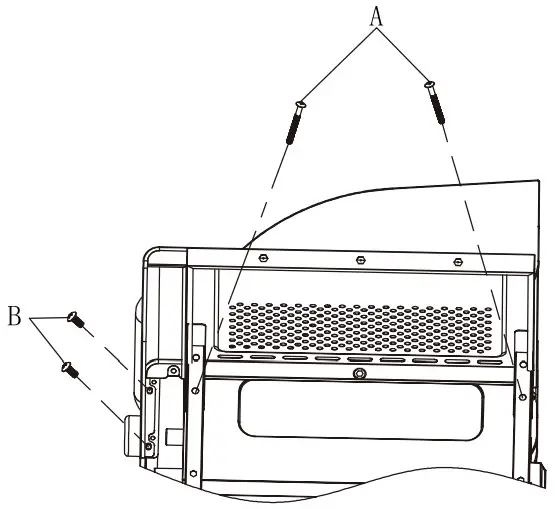
- Reinforce the left side table with the main body with 2 bolts (A). Reinforce the left decoration board to the control panel with 2 bolts (B).

- Reinforce the right side table with the main body with 2 bolts (A). Reinforce the right decoration board to the control panel with 2 bolts (B).

- Fasten the side table assemblies from the inside of the main body with 4 bolts (B).

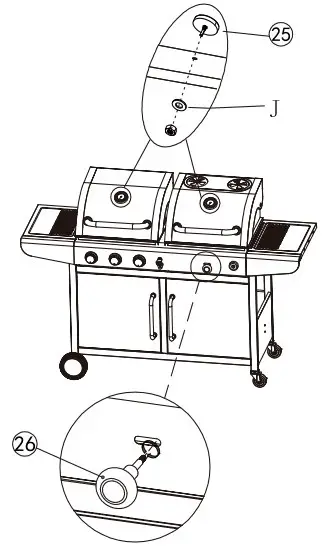
- Install 2 thermometers (25) to the lids with 2 washers (J) and nuts. Screw the damper knob (26) to the corresponding slot on the control panel by twisting clockwise.

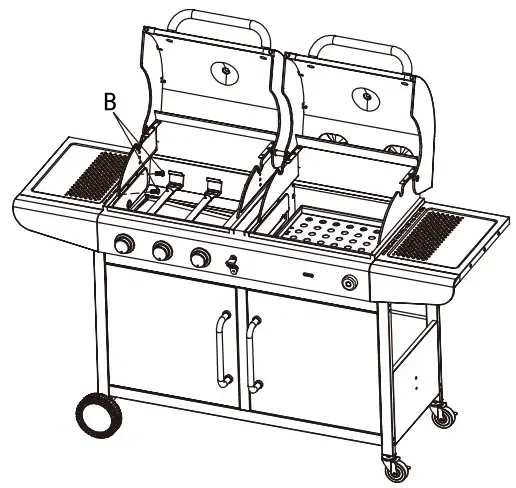
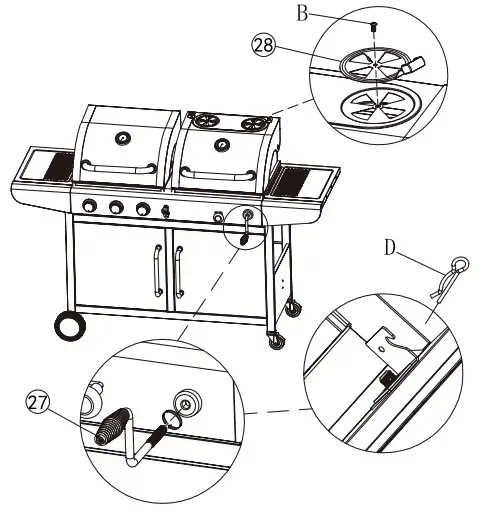
- Install the dampers (28) to the charcoal lid with 2 bolts (B). Screw the crank handle (27) to the corresponding hole on the control panel by twisting clockwise, and scure it with 1 split pin (D).

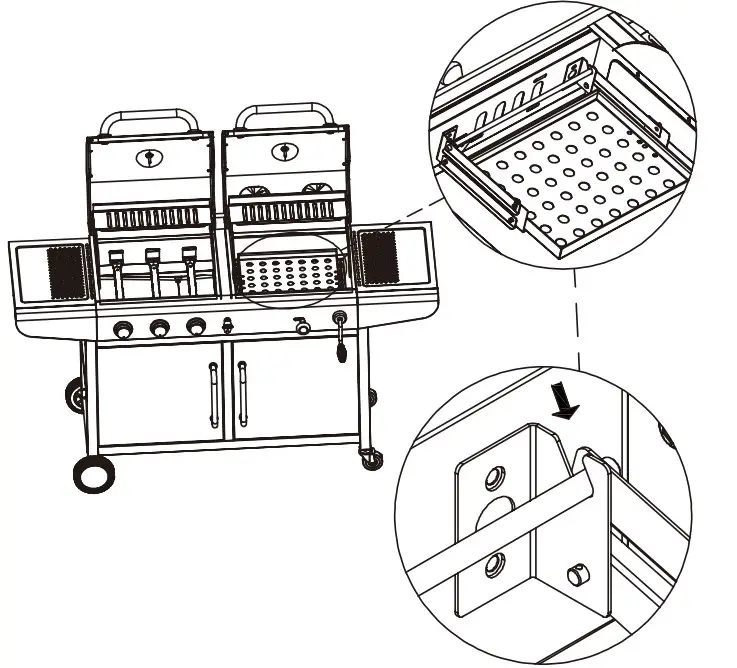
- Adjust the charcoal pan to the right position as shown.

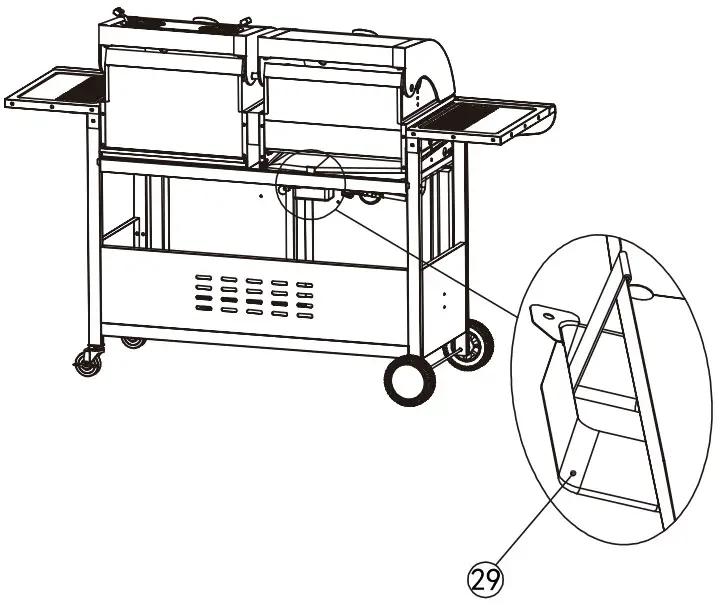
- Hang the grease cup (29) to the corresponding hole underneath the main body.

- Place the flame tamers (30) into the left firebox.

- Place the cooking grates (31) into both fireboxes.

- Attach the warming racks (32) between the lids and the firboxes.

- Install ignition match to the hole on the inner side of the left door.

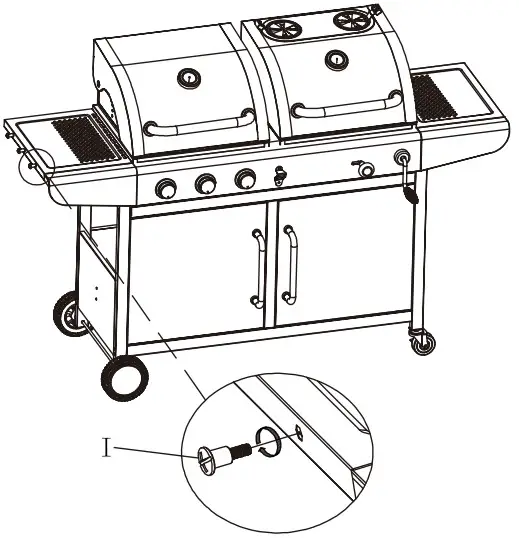
- Screw 3 bolts (1) to the left side table.

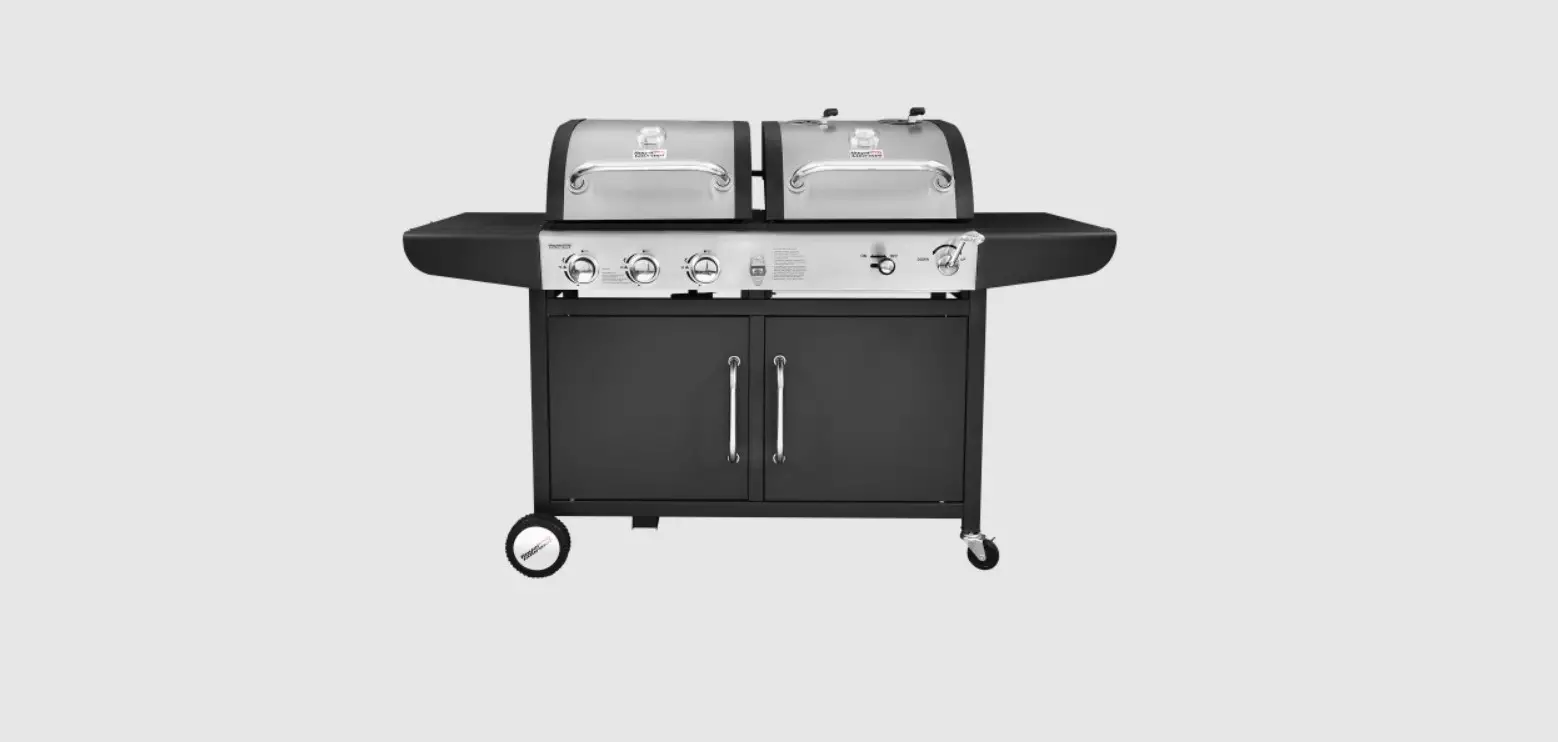
- Fully assembled.