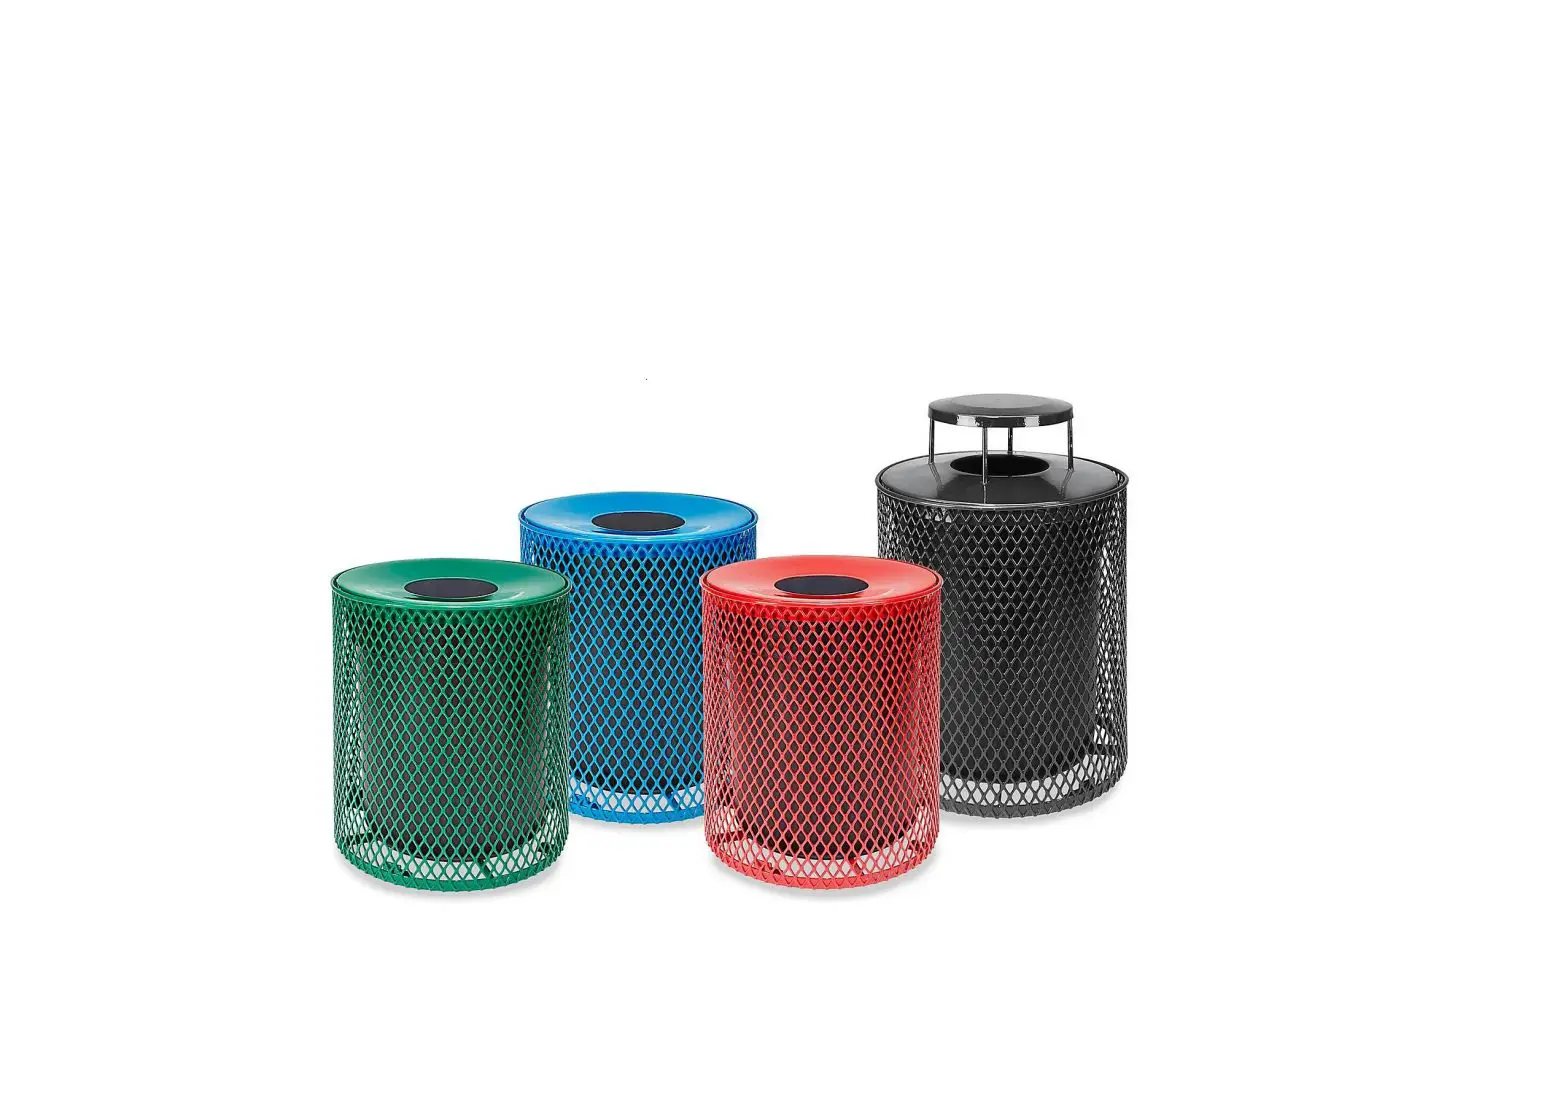
ULINE Thermoplastic Trash Cans Installation Guide
TOOLS NEEDED

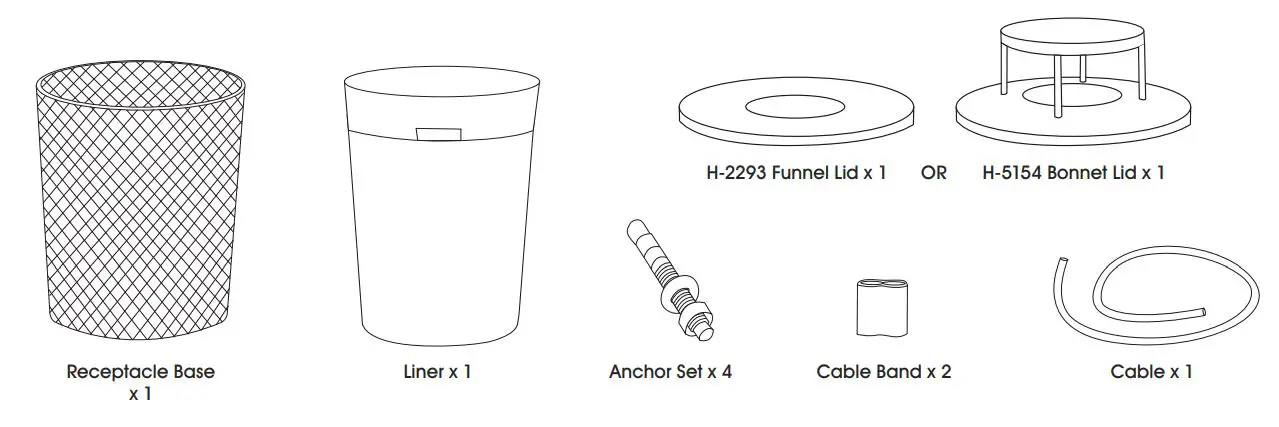
PARTS
ASSEMBLY
MOUNTING RECEPTACLE
![]() Ensure all parts are present before assembly.
Ensure all parts are present before assembly.
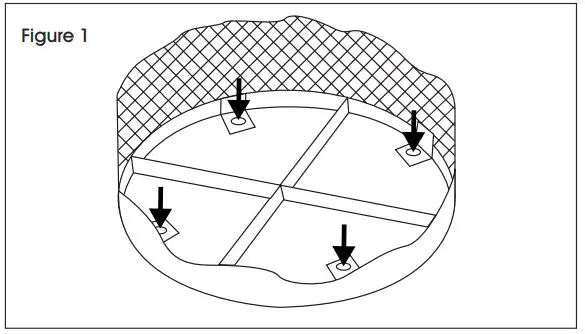
1. If mounting receptacle to concrete, set receptacle base in place and mark ground for drilling through receptacle mounting holes. (See Figure 1)
![]() NOTE: It is recommended to mount receptacle. If not mounting or using other surface mounts (not included), proceed to step 5.
NOTE: It is recommended to mount receptacle. If not mounting or using other surface mounts (not included), proceed to step 5.
![]() WARNING: Wear eye protection when completing step 2.
WARNING: Wear eye protection when completing step 2.
2. Using a 3/8″ diameter masonry drill bit, drill four holes 2½” deep into the surface where marked. (See Figure 2)
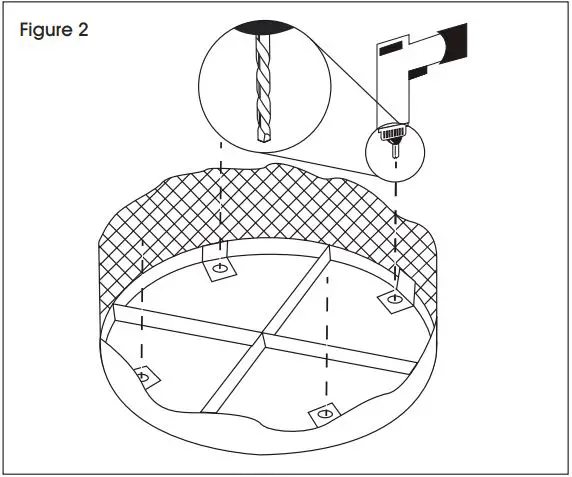
![]() NOTE: For the anchor to function properly, the hole must not be larger in diameter than the anchor bolt.
NOTE: For the anchor to function properly, the hole must not be larger in diameter than the anchor bolt.
3. Clean out debris and dust from inside the hole. Fully insert the anchor bolts through the receptacle mounting holes and into the drilled holes. (See Figure 3)
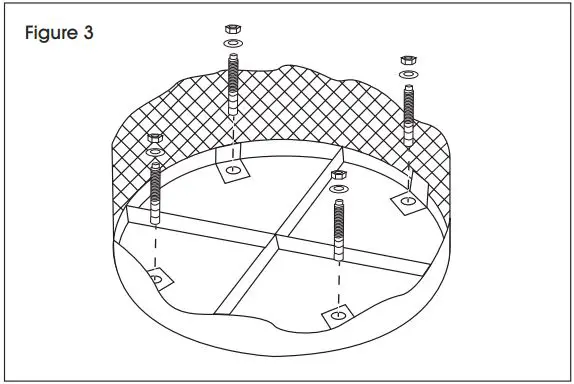
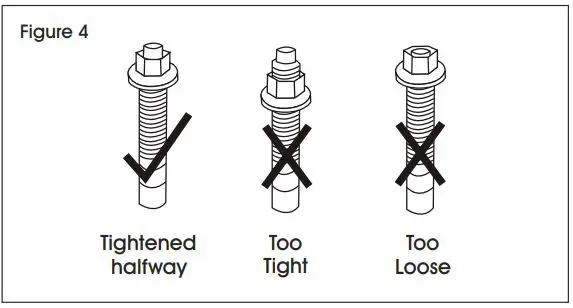
![]() NOTE: Thread washer and nut onto anchor bolt. Nut should be tightened halfway between end of bolt and top of anchor sleeve. (See Figure 4)
NOTE: Thread washer and nut onto anchor bolt. Nut should be tightened halfway between end of bolt and top of anchor sleeve. (See Figure 4)
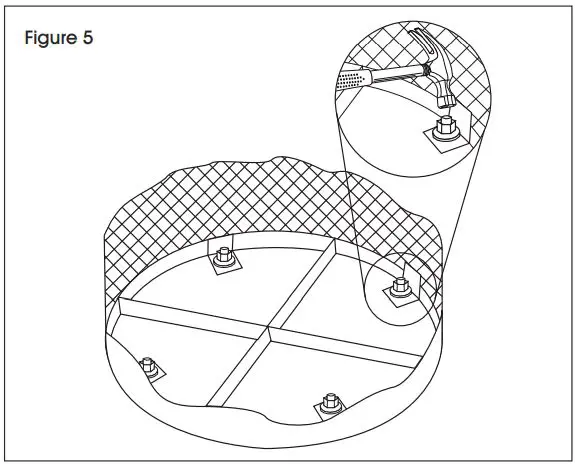
4. Tap down anchor bolts with a hammer. (See Figure 5)
ATTACHING LID
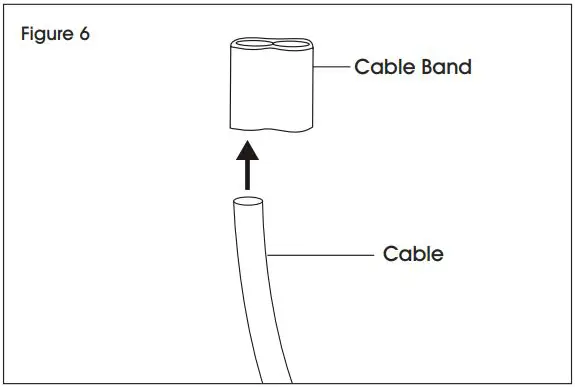
1. To attach the lid to receptacle base, start by threading cable through one side of cable band. (See Figure 6)
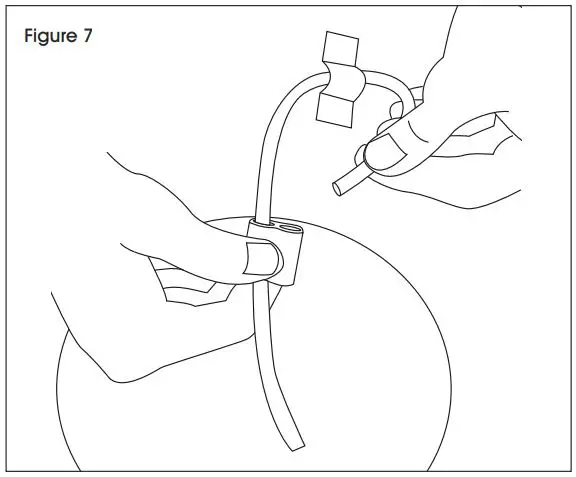
2. Holding the cable band, loop the end of cable through the hook on the underside of the trash can lid. (See Figure 7)
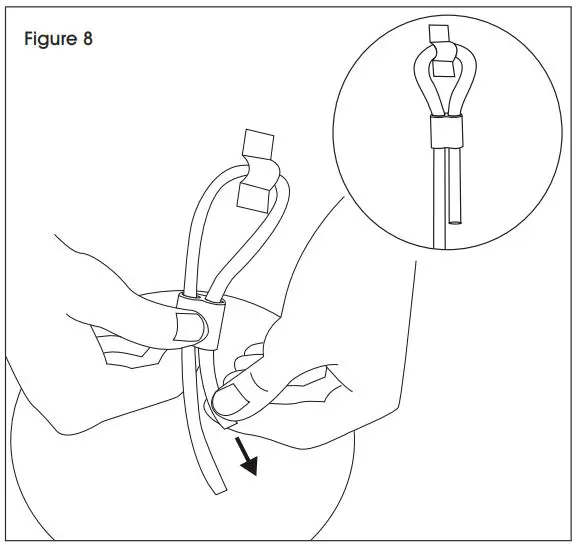
3. Loop the end of the cable through the other side of the cable band and pull tight. (See Figure 8)
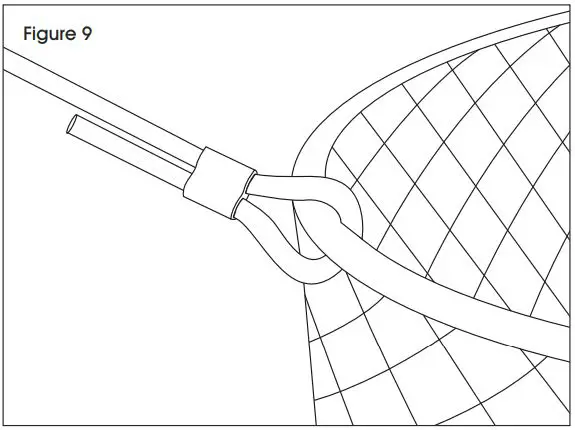
 4. Repeat steps 1-3 with the opposite side of the cable attaching to the edge of the receptacle base in place of the trash can lid. (See Figure 9)
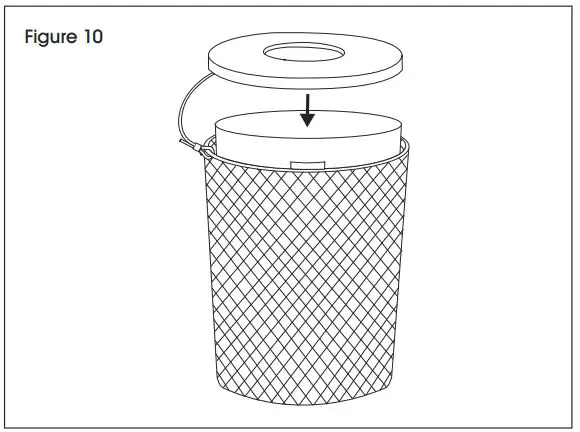
5. Insert liner into the receptacle base. Set receptacle lid on liner. (See Figure 10)
![]()
1-800-295-5510
uline.com


