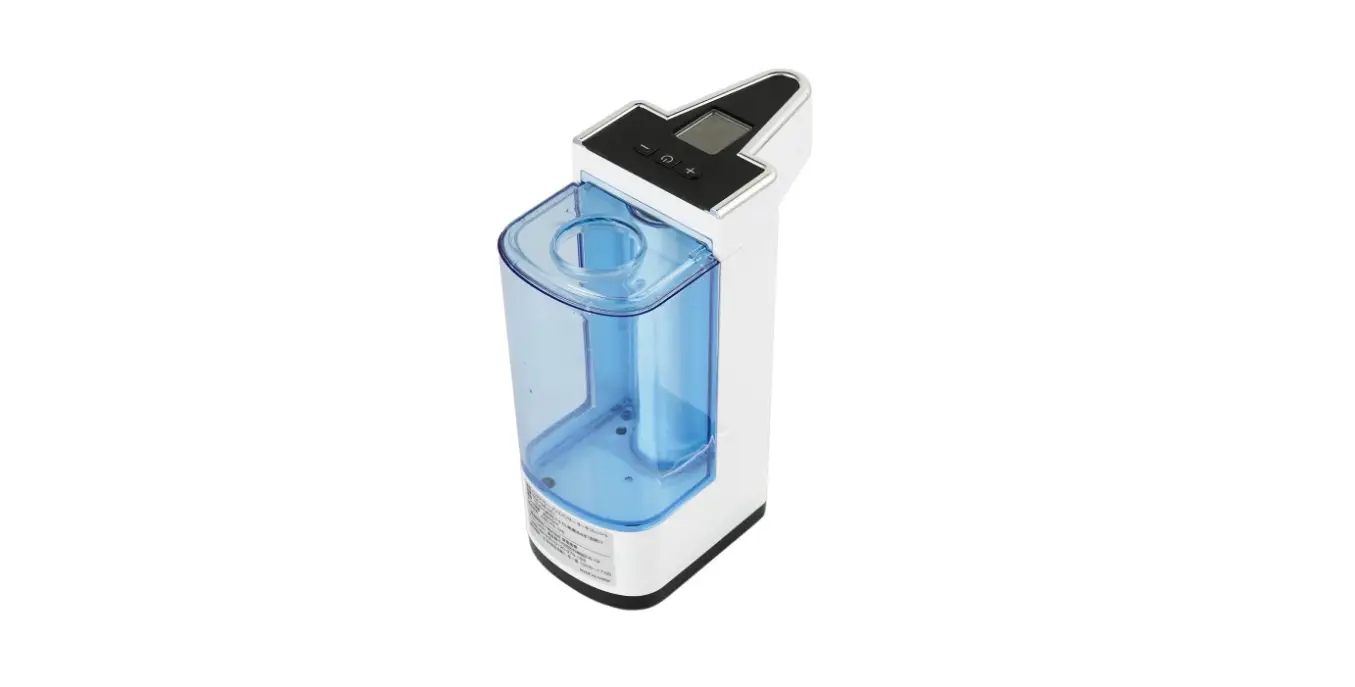
QUICK-GEL Dispenser

Installation
- Position the dispenser on a bench capable of supporting the weight, even at full load.
- Allow a minimum clearance of at least 15 cm all around the dispenser so as not to impede the flow of cooling air.
- Connect the dispenser to a single phase network, using an outlet complete with earthing.
- Do not use extension cables
Operating procedures
- Clean and sanitize the unit.
- Prepare approximately 5 liters of mix following manufacturer’s instructions.
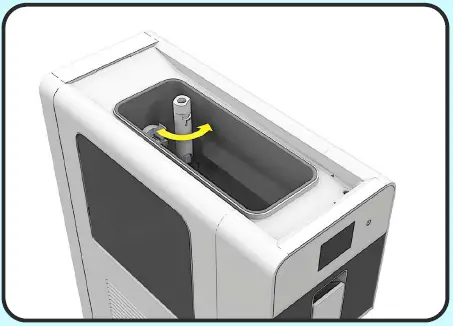
- Open the upper cover. Turn the upper part of the mixing pipe completely anti-clockwise
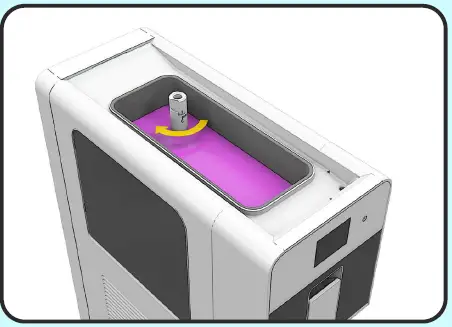
- Pour the mixture into the upper tank and wait for the cylinder to fill up. This will occur when no more air bubbles exit the hole in the mixing pipe.

- Turn the upper part of the mixing pipe completely clockwise in order to stop the mixture entering the cylinder. Close the upper cover
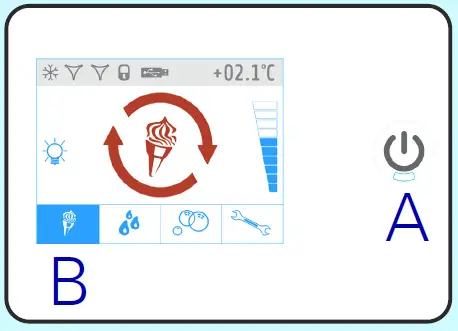
- Turn the machine ON using the main switch situated underneath the dispenser, on the left-hand side. To start the unit keep pressed key A. Select ice-cream mode pressing icon B.
- Machine will stop automatically when ice-cream is ready
- Open the cover and turn the upper part of the mixing pipe anti-clockwise to allow the mixture to enter the lower cylinder. The quantity of air in the ice cream can be adjusted, keeping in mind that, starting from the closing position:
- minimum rotation corresponds to a softer ice-cream.
- complete rotation corresponds to a more compact ice-cream

- Close the cover and let the dispenser operate continuously.


