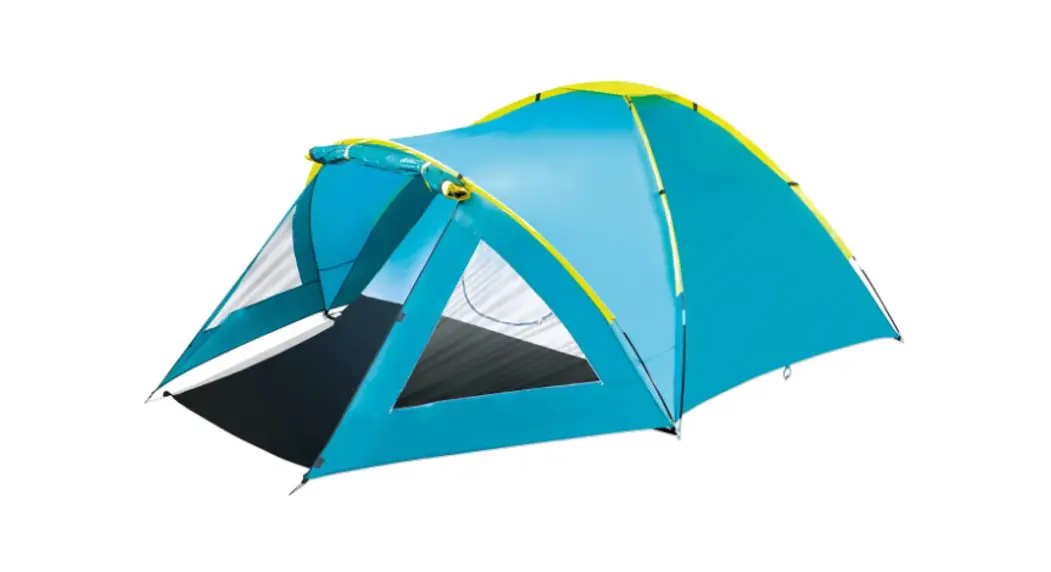
![]() 68090 Pavillo Activemount 3 Tent
68090 Pavillo Activemount 3 Tent
Owner’s Manual
INTRODUCTION
Proper Use
Any use other than that described or any modification of the product is not permissible and may result in injury and/or damage to the product. The manufacturer is not liable for damage caused by improper use. The product is not intended for commercial use.
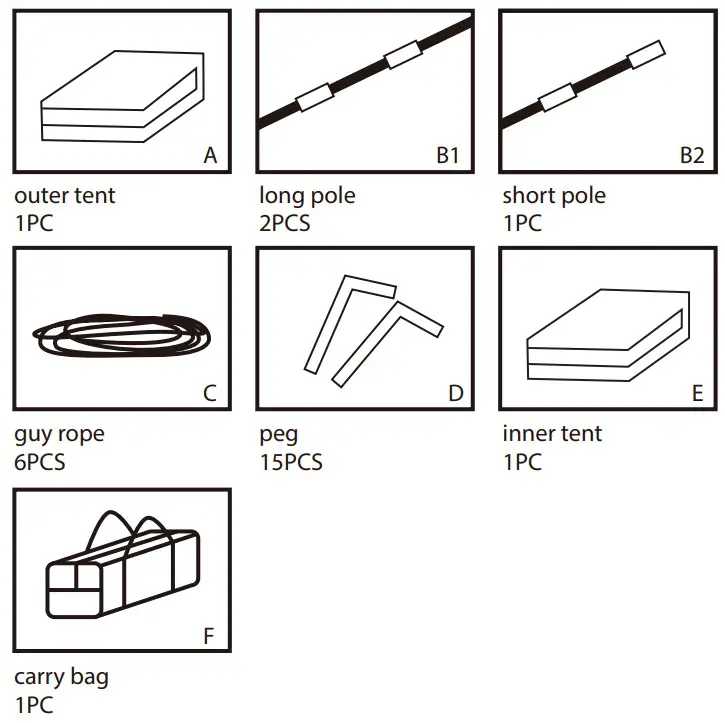
Description of parts and features
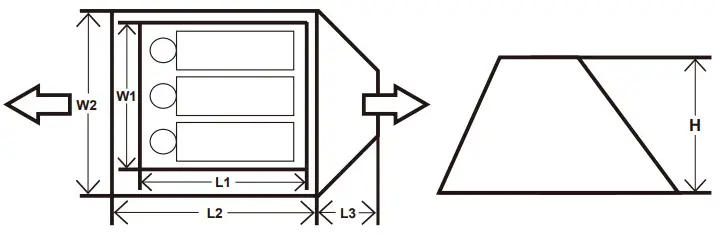
Tent Dimensions:
Inner tent: 220cm x 205cm x 120cm
Outer tent: (210+140)cm x 240cm x 130cm
Pitching dimension: 360cm x 250cm
WARNING
IMPORTANT SAFETY INSTRUCTIONS
READ AND FOLLOW ALL INSTRUCTIONS
Keep all flames and heat sources away from this tent fabric. We recommend that you always position your tent upwind from a campfire. This will reduce the chances of having embers land on your tent. In case of fire, please find the exit to escape from the fire.
Never set up the tent near the river, under a tree or other objective hazards.
Keep exits clear.
Make sure ventilation openings are open all the time to avoid suffocation.
SAVE THESE INSTRUCTIONS
Choose a suitable site
Removing any sharp objects, which might damage the groundsheet.
ASSEMBLY
Setting up the tent

WARNING: Poles contain fiberglass. We strongly recommend wearing gloves during assembly to avoid irritating hands.
- Lay the outer tent <A> on the ground, pull the four corners outwards
Note: make sure that channels for the poles<B1> are faced upwards
Note: make sure that the zip on the entrance to the tent is closed - Push the poles<B1> completely into the channels(FIG 1)
- Stand the outer tent<A> up and push the ends of the poles<B1> into the metal loops of outer the tent<A> (FIG 2)
- Push the end of the <B2> completely into the channel on the awning of the outer tent(FIG 3)
- Secure the outer tent<A> by pushing the tent pegs<D> into the ground loops(FIG 4)
- Tie one end of the guy ropes<C> onto the four corner hoops of the outer tent<A> FIG 4
- Tie the other end onto the tent pegs<D> and fasten them by inserting the tent pegs<D> into the ground(FIG 4)
- Hang inner tent <E> by toggle and loops (FIG 5)
- Note: Ensure that guy ropes<C> are about at an angle of 45°
- Do not pull the guy ropes<C> too tight.
DISASSEMBLE AND MAINTENANCE
Follow steps 1-10 in reverse order.
- Clean the tent and remove any stains with a sponge and cool water. Please use non-detergent soap for serious cleaning.
- Never machine wash or machine dry the tent. Hand wash and air dry.
- Please allow all parts to dry thoroughly before you repack the tent. This will prevent the formation of mold, bad odors, and discoloration
- Stitch with thread to repair minor leaks, fabrics, and plastic sheet damage. Use ropes to connect broken frame parts.
Use tapes to repair the coating broken parts. - Silicone spray could be used on zippers if the stick
STORAGE
Store the tent in the stuff sack and place it in a cool, dry area out of sunlight and away from heat sources and rodents.
![]()
©2019 Bestway Inflatables & Material Corp.
All rights reserved
®™ Trademarks used in some countries under license to
Bestway Inflatables & Material Corp., No.3065 Cao An Road, Shanghai, 201812, China.
Manufactured, distributed, and represented in the European Union by
Bestway (Europe) S.r.l., Via Resistenza, 5, 20098 San Giuliano Milanese (Milano), Italy
Distributed in North America by
Bestway (USA) Inc., 3411 E. Harbour Drive, Phoenix, Arizona 85034, United States of America
Tel: +86 21 69135588 (For U.S. and Canada)
Distributed in Latin America by
Bestway Central & South America Ltda, Salar Ascotan 1282, Parque Enea, Pudahuel, Santiago, Chile
Distributed in Australia & New Zealand by Bestway Australia Pty Ltd, Unit 2/98-104 Carnarvon St Silverwater, NSW 2128, Australia
Tel: Australia: (+61) 29 0371 388; New Zealand: 0800 142 101
Exported by
Bestway (Hong Kong) International Ltd./Bestway Enterprise Company Limited
Suite 713, 7/Floor, East Wing, Tsim Sha Tsui Centre, 66 Mody Road, Kowloon, Hong Kong
www.bestwaycorp.com


