HMS motorsport SP1 SH HKLCB Helmet Speaker

SH HKLCB Installation Instructions
- Secure helmet to prevent damage and ensure ease of installation

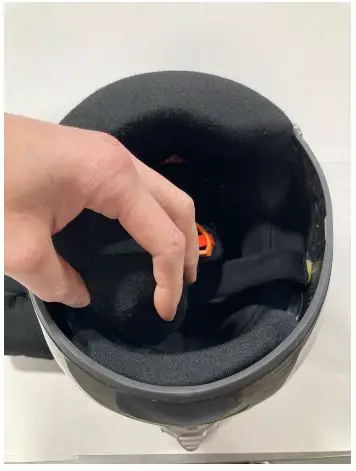
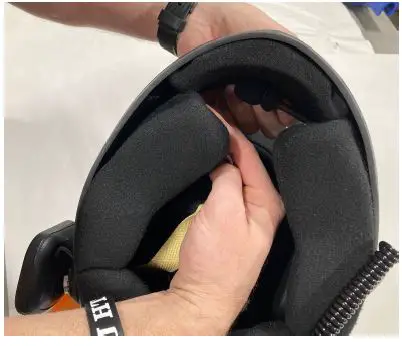
- Remove both cheek pads from the helmet. They will pop loose from the shell and chin pad.

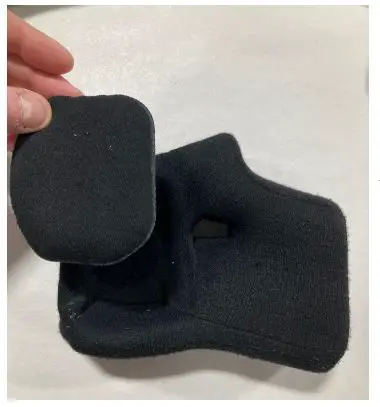
- Remove the ear pads from the chin pads. They are secured with small pieces of velcro.

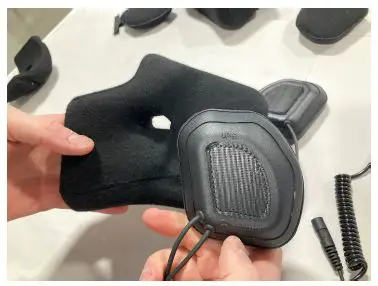
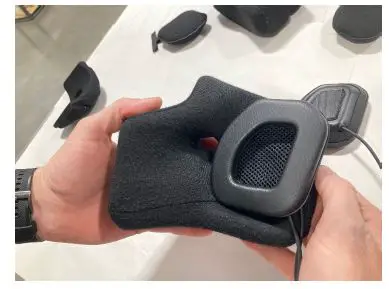
- Located the earcup that says UP-L.

- This denotes that it is the Left earcup and should be installed into the left cheekpad with UP towards the top of the helmet.

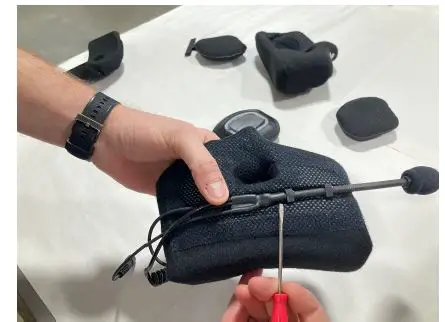
- Locate the word “TALK” on the Mic Boom. This is the side that will be facing the user. This orientation is important to get correct.

- Place the mic into the cheekpad tray while keeping in mind the “TALK” orientation on the microphone. The edge of the last stem block should be in line with the edge of the chin strap outlet.

- Place the included strip of nomex tape over top of the microphone boom to help hold it and place all of the equipment into the helmet for step 6.

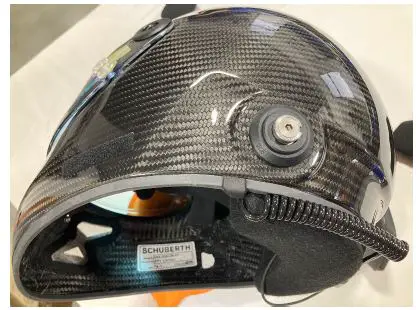
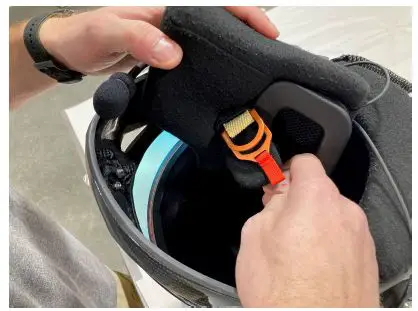
- Find the connector tether and work the clip onto the rubber seal around the bottom. It is recommended to take your time and use a small screwdriver to help guide the part over the seal.

- Carefully work the clip into place as shown.

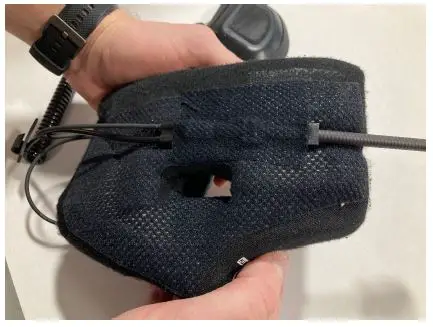
- Place the extra speaker wire and cup outside of the shell then pull the chin strap through the cheek pad and secure. The chin pad can be installed back into the helmet anytime between steps 7 and 9.

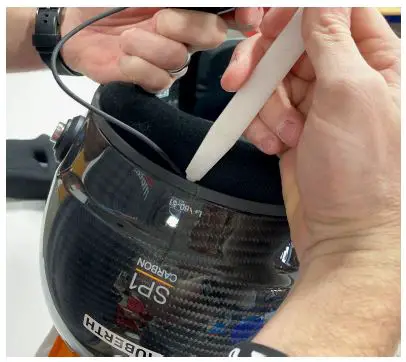
- Secure the speaker wire in around the back of the helmet by tucking it in with a blunt tool as shown.

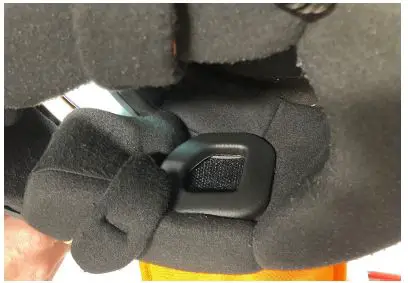
- Pull the chin strap through the cheekpad outlet and snap it back into place.

- Install remaining earcup into the helmet and enjoy your new electronics kit.