![]() B0341WST2H2-V3
B0341WST2H2-V3
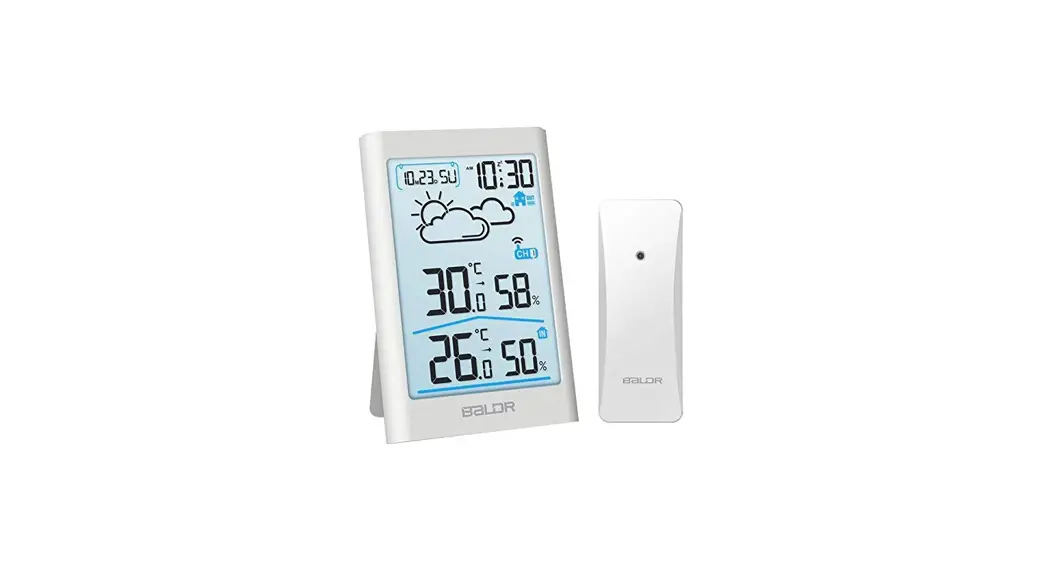
Wireless Weather Station
User Manual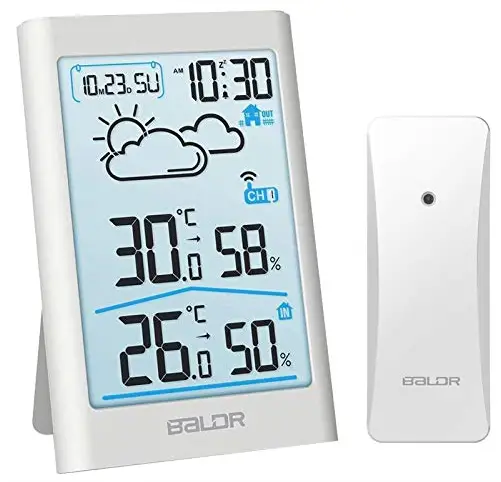 MODEL:B0341WST2H2-V3
B0341WST2H2-V3 Wireless Weather Station
WIRELESS WEATHER STATION WITH BACKLIGHT
POWER ON
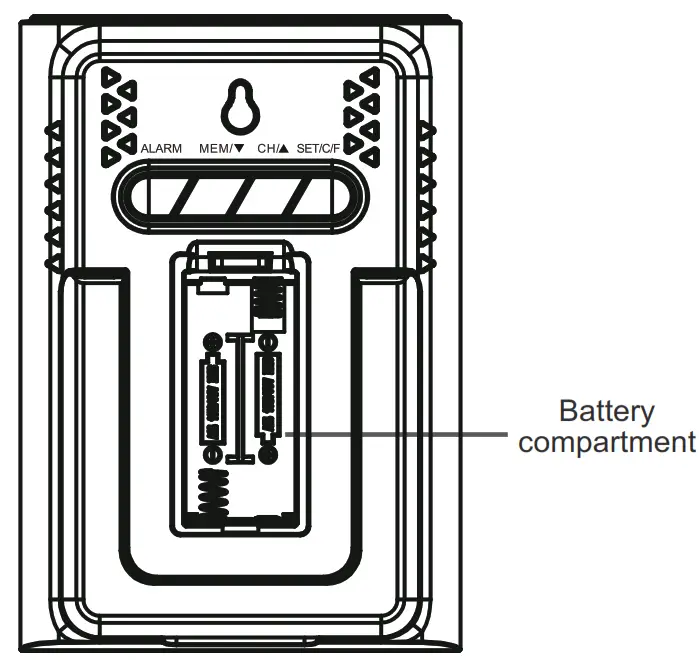
- Main Unit Installation
 Step 1, Remove the battery compartment cover and insert 2xAAA batteries.
 - Sensor Installation
 Step 2, Load the 2xAA batteries
in 3 minutes to ensure
RF signal received in time.Step 1, Select the channel you desired to use. Step 2, Load the 2xAA batteries in 3 minutes to ensure RF signal received in time.
 Step 1, Remove the battery compartment cover and insert 2xAAA batteries.
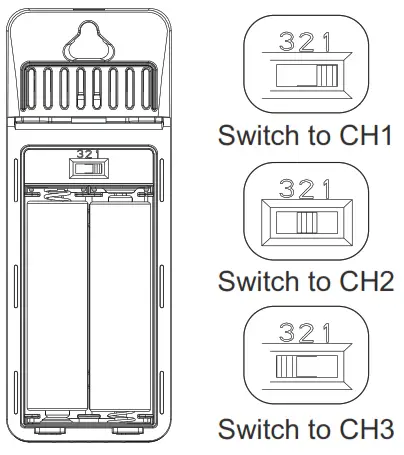 Step 2, Load the 2xAA batteries
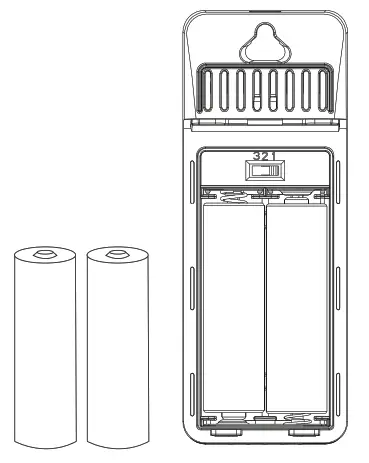 Step 2, Load the 2xAA batteries in 3 minutes to ensure RF signal received in time.
NOTE:
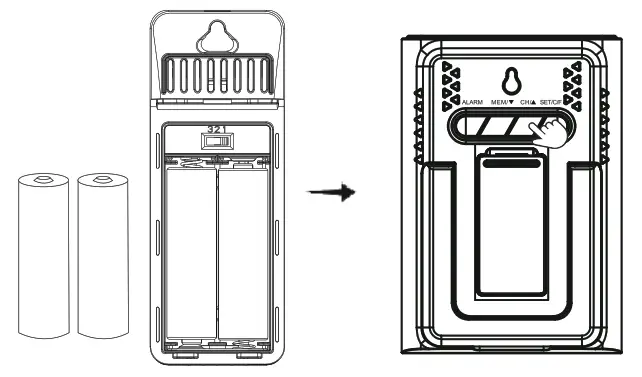 If not powered on in 3 minutes from the main unit powered onPress and hold “CH/▲” button for 3 seconds to search RF signal again.
MAIN UNIT SETUP
- After Power On
LCD will full display for 3 seconds with “BI” sound. After 3 seconds, the LCD will display as below
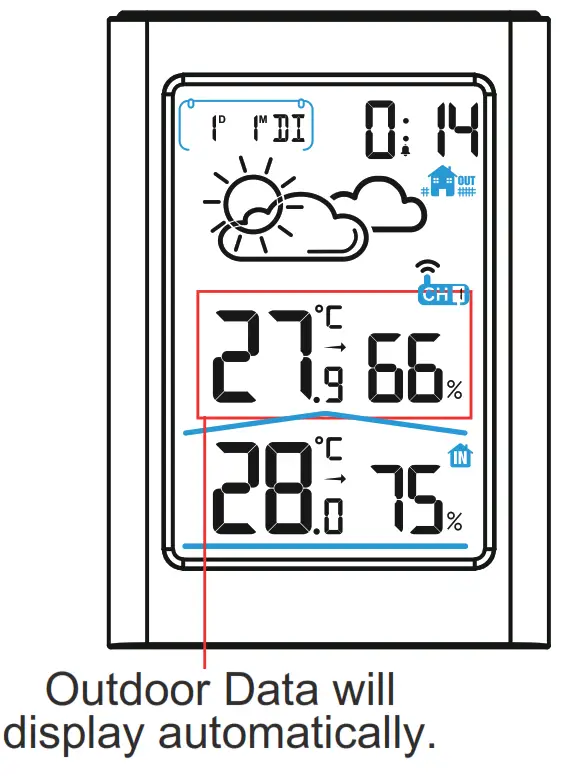
 Press “CH/▲”button to select the channel on main unit you desire to use (Default in CH1)
 Select the same channel number for both the sensor and the main unit in order to synchronize.
- RF Signal Searching
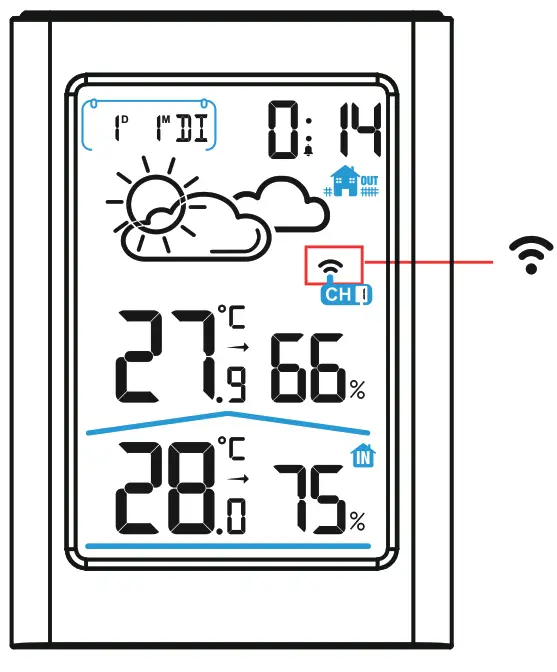
The receiving antenna signal is flashing.
- RF Signal Received
The receiving antenna signalwill stop flashing.
- Manual Setup
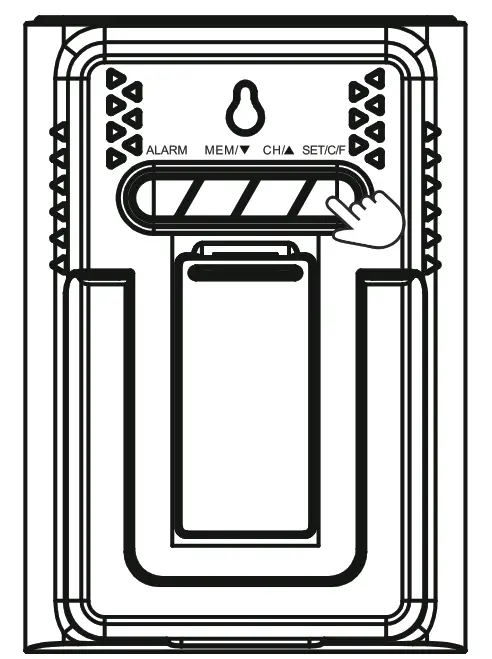
 ● Press and hold “SET/C/F” button to enter into setup (3 seconds).
● Press and release “SET/C/F” button to skip setting or go to next setting option (1 second). Press “CH/▲” button to increase the values.
 After 3 seconds, the LCD will display as below
 Press “CH/▲”button to select the channel on main unit you desire to use (Default in CH1)
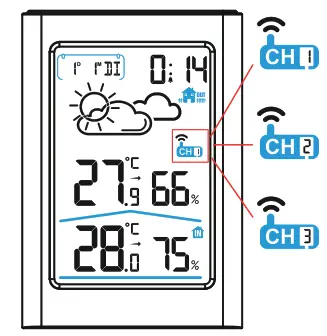 Select the same channel number for both the sensor and the main unit in order to synchronize.
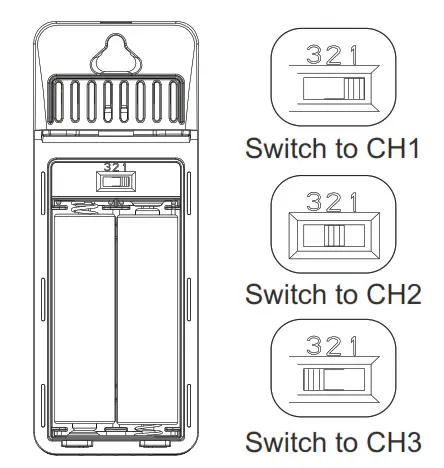
 ● Press and hold “SET/C/F” button to enter into setup (3 seconds).
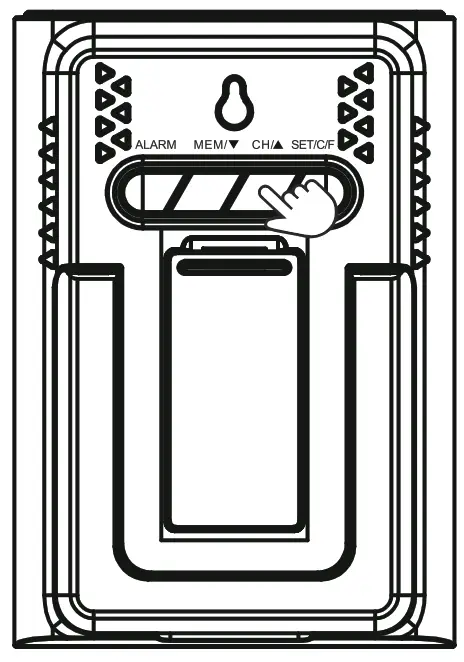 Press “CH/▲” button to increase the values.
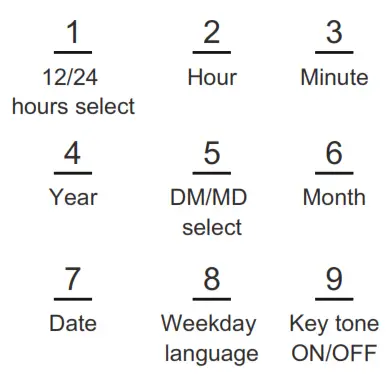
SETUP ORDER
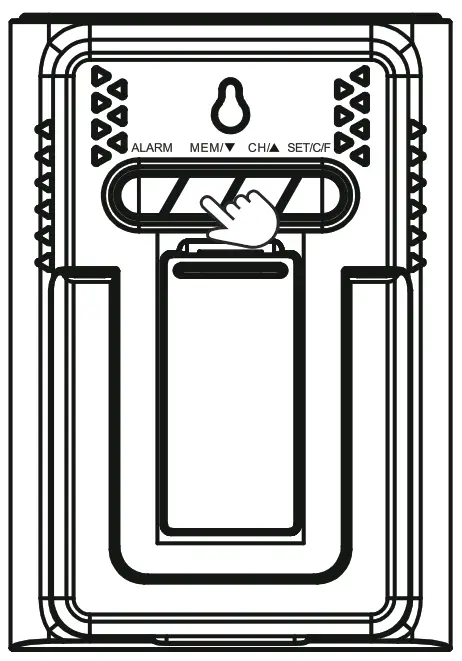 Press “MEM/
![]() ” button to decrease the values.
” button to decrease the values.
*Tips: press and hold “CH/▲” or “MEM/ ![]() ” button will quickly change the value by 8 steps.
” button will quickly change the value by 8 steps.
This Qucik Start is to help you quickly set up the product. For detailed settings, please refer to the user manual, or scan the QR code below for relevant product information and operation video link.Thank you.
![]()
 http://www.baldr.com/
www.baldr.com
[email protected]


