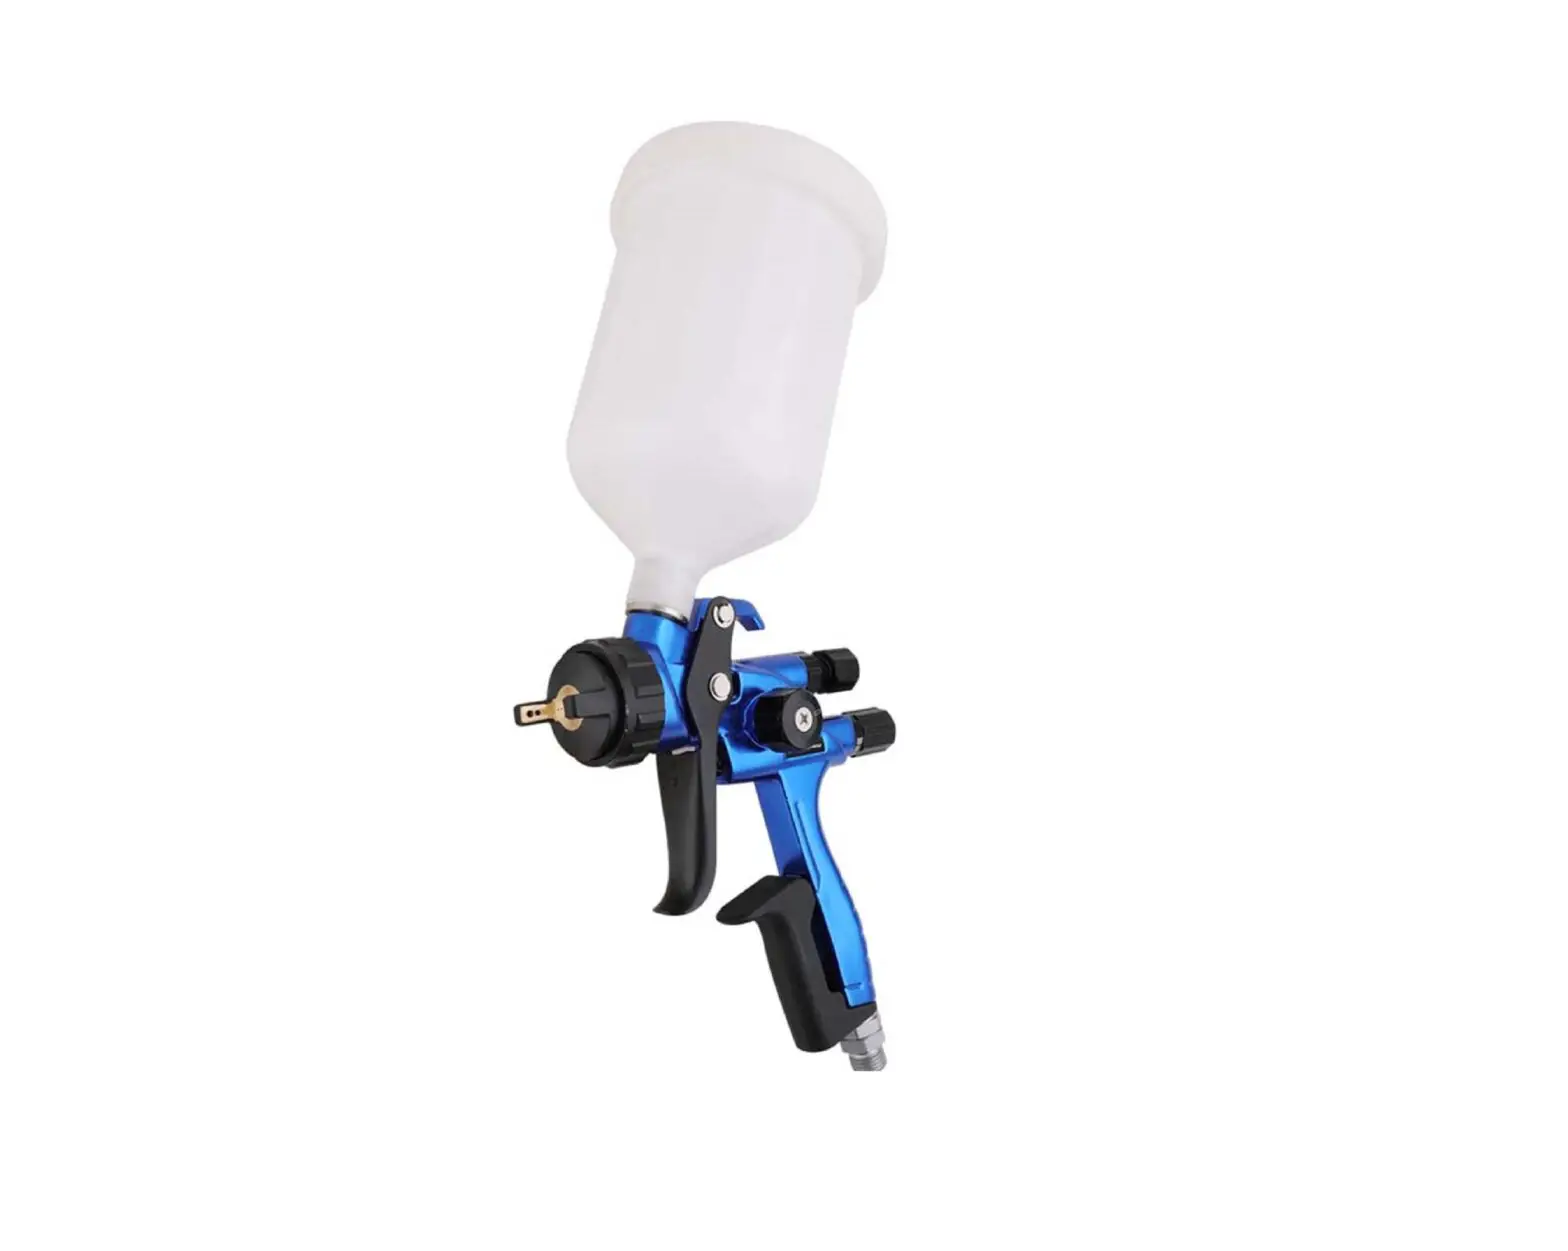
BORMANN BAT1300 HVLP Spray Gun Instruction Manual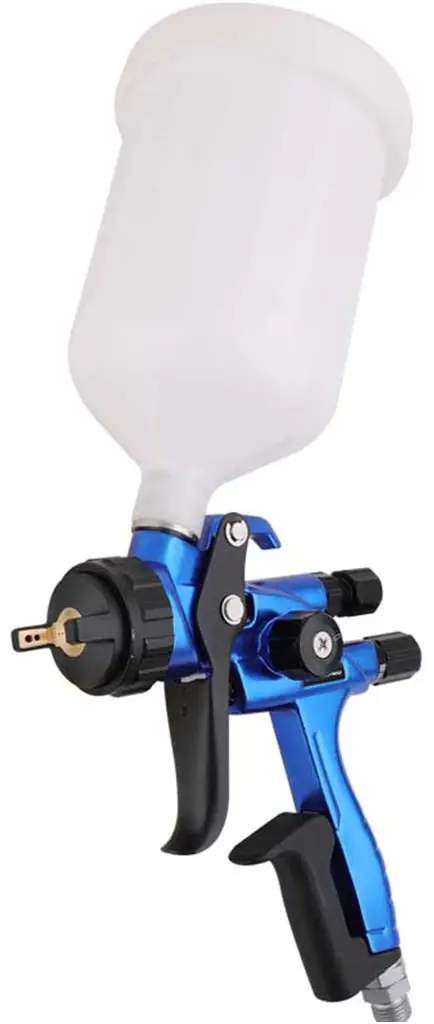
PLEASE PAY ATTENTION TO SAFETY WARNINGS AND READ CAREFULLY THE INSTRUCTIONS!

Safety Warnings
- Do not use the spray gun near active flames and always keep working area well ventilated when spraying.
- Do not spray on human bodies or animals to avoid damage caused to eyes and skin.
- Use protective devices like respiratory protection equipments and eye-protective devices during any spraying.
- Insulate or release the pressure inside the device before cleaning or maintenance.
- Do not use wire to dredge feeder noses and nozzles,etc. to avoid damage caused to parts and abnormal spraying.
- Do not immerse spray gun and its parts in diluting solvent for a long times.
- Do take out and dry in the air after finishing cleaning.
- Do not overhaul it by force if the paints bond together.
- The spraying distance should be between 10cm and 15cm and the viscosity 14±2 for best effect.
Scope of application
This spray gun is suitable for solvent-based paints, water-based paints and varnishes for high-end auto maintenance markets, auto repair shops, and automotive sheet metal.
Technical Data
| Nozzle size: | 1.3mm |
| Working pressure: | 0.2mpa |
| Height of spray range: | 300mm |
| Air consumption: | 380l/min. |
| Painting distance: | 10-15cm |
| Cup size: | 600ml |
| Net weight: | 0.4kg |
* The manufacturer reserves the right to make minor changes to product design and technical specifications without prior notice unless these changes significantly affect the performance and safety of the products. The parts
described / illustrated in the pages of the manual that you hold in your hands may also concern other models of the manufacturer’s product line with similar features and may not be included in the product you just acquired.
* Please note that our equipment has not been designed for use in commercial, trade or industrial applications.
Our warranty will be voided if the machine is used in commercial, trade or industrial businesses or for equivalent purposes.
* To ensure the safety and reliability of the product and the warranty validity, all repair, inspection, repair or replacement work, including maintenance and special adjustments, must only be carried out by technicians of the authorized service department of the manufacturer.
Troubleshooting
| Common troubles and troubleshooting of spray gun | ||
| Trouble | Possible cause | Remedy |
| No paint | No compressed air in Needle valve regulating knob not fully opened High paint viscosity | Inspect air supply pipe |
| Regulate needle valve knob according to standard Dilute according to standard formula of paint | ||
| There is paint spilling at the nozzle when stopping pulling the trigger | Mismatch of needle valve and nozzle Abrasion of needle valve Abrasion of nozzle | Equip with proper nozzle and needle valve ac- cording to standards |
| Replace the needle valve Replace the nozzle | ||
| Airflow nozzle leakage when stopping pulling the trigger | Stain inside air valve Damage of air valve seal ring or air valve spring | Dismantle the air valve and cleanse inner parts Replace seal ring or air valve spring |
| Excessive painting at airflow nozzle cause painting drops when pulling the trigger | Incorrect installation of nozzle at the gun head Airflow nozzle is blocked | Install nozzle according to standards Cleanse air cap thoroughly |
| Paint leakage out of nozzle and needle valve | Scratch, damage or abrasion at the base inside nozzle Damage or abrasion outside nozzle Needle valve or nozzle is not sealed for unclean juncture Mismatch of nozzle and needle valve Unclean needle valve Unclean needle valve seal cartridge | Replace the nozzle Replace needle valve Remove foreign matters or excessive paint Equip with nozzle or needle valve according to standards Clean and lubricate needle valve Take the seal cartridge down and clean it |
| Excessive paint | Incorrect installation of nozzle Leakage of needle valve or nozzle | Install according to standards Replace seal cartridge |
| Common troubles and troubleshooting of spray gun | ||
| Trouble | Possible cause | Remedy |
| Excessive paint at airflow nozzle | Damage of airflow nozzle Blockage of airflow nozzle caused by piling up of paint rebounded at the muzzle | Replace airflow nozzle Clean the airflow nozzle thoroughly |
| Paint leakage out of needle valve seal cartridge | Abrasion or looseness of needle valve seal cartridge Abrasion of needle valve | Tighten or replace sealing plug as required Replace needle valve |
| Air valve is dull when controlling the trigger | Bend of air valve root Unclean air valve root | Replace broken parts Take it down and wash it |
| Leakage at air valve root | Abrasion or loss of seal ring inside air valve | Replace seal ring |
| When the trigger is pulled, air valve does not work (its root can not plugged into the valve) | Bend of air valve root Unclean air valve root | Replace broken air valve root Take the air valve down and clean it |
| Bluntness of the trigger | Unclean spindle screws of fixed trigger Unclean needle valve Needle valve seal cartridge is too tight Damage of needle valve spring or air valve spring | Clean spindle screws Clean needle valve Regulate and lubricate sealing plug Replace spring |
| Paint leakage out of needle valve at the top of handle | Abrasion or loss of seal ring | Replace seal ring |
| Airflow nozzle locating ring can not work | Unclean thread of locating ring Distortion or crack of locating ring | Wash the front end of the gun in solvent Replace the locating ring |
| Sector valve can not be regulated | Damage or crack of inner seal ring Paint stained regulating screw | Replace seal ring Take it down and wash it thoroughly |
| No dot spraying | Incorrect installation of nozzle or spacer Damage of spacer | Re-installation Replace the spacer |
| Sector control valve or inlet valve is loose | Abrasion of inner seal ring | Replace seal ring |
| Air leakage of spacer and seal ring | Damage of spacer and seal ring Paint stained spacer and seal ring | Replace the spacer Take it down and wash it |
| Air control valve on the handle of spray gun can not work | Damage or crack of inner seal ring Paint stained regulating screw | Replace seal ring Take it down and wash it |
| Trembling spraying or stoppage of the gun | Insufficient paint in the bucket Unscrewed nozzle Abrasion of needle valve or seal ring Loose needle sealing plug Loose joint of paint tube | Add the paint Screw the nozzle Replace the gun or seal ring Screw sealing plug Screw joint of paint tube |
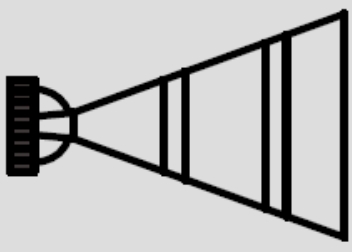
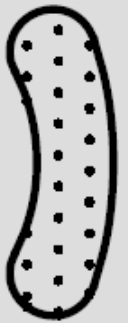
| Common troubles and troubleshooting in spraying | ||
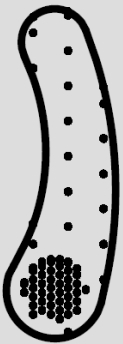
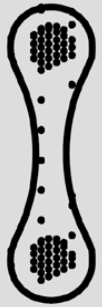
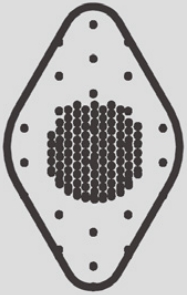
| Spray Pattern | Reason | Remedy |
 | Air sneaks into junction of feed nozzle and nozzleholder | Clean junctions of nozzle and nozzle Holder, and reinstall them,replace them, replace the parts if junctions are broken. |
| Air sneaks into junction of spacer and gun | Reinstall junctions of parts after cleaning,replace the parts if junctions are broken. | |
| Air sneaks into needle sealing screw | Tighten the needle sealing screw | |
| Air sneaks into juncture of feed channel joint and charging bucket | Reinstall and tighten relevant junctions | |
 | Blockage at vent hole of airflow nozzle, causing unbalanced air output | Remove the foreign matters and wash with hair- brush instead of metal cleaners to avoid damage |
 | Damage or solid matter sticking to fit clearance of feed nozzle and airflow nozzle | Remove solid matters and replace the broken parts |
| Foreign matter sticking to discharge port of feed nozzle | Reinstall feed nozzle and needle valve assembly after cleaning junctions of them | |
 | Low viscosity | Increase viscosity of the paint |
| Excessive paint sprayed | Reduce the paint sprayed with amplitude regula- tor, but it will also reduce the spraying swath | |
 | High viscosity | Add diluents to reduce viscosity |
| Excessive paint sprayed | Increase the paint sprayed with amplitude regulator | |
Cleaning and maintenance
After use, empty the paint in the bucket and wash it with diluters which should be added into the bucket and sprayed out to wash the feed channel until it is clean, otherwise the paint remained in the channel will dry and block the channel and damage the spray gun.
Finally, wipe it dry with clean soft cloth.


