
asa Voyager USB42CHD Replacement
USB42CHD REPLACEMENT MANUAL
This USB accessory provides charging capabilities via USB-B and USB-C receptacles. Below are general instructions to assist in the replacement of the installed 12V Power Receptacle.
BEFORE CONTINUING WITH THE STEPS BELOW, REMOVE POWER FROM THE BATTERY
Note: Photos used to show replacement are from a 3025E.
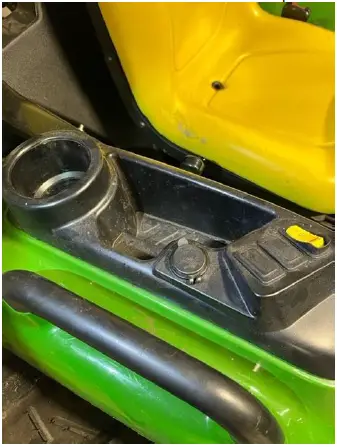
- Locate the Panel on the Tractor that contains the 12V Power Receptacle.

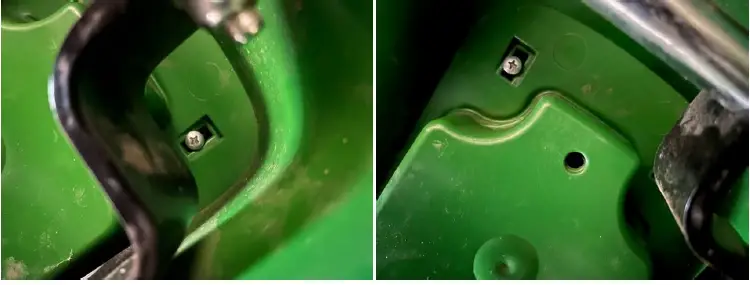
- Screws and Bolts to remove the Panel to gain access to the 12V Receptacle will be in the underside of the Fender.

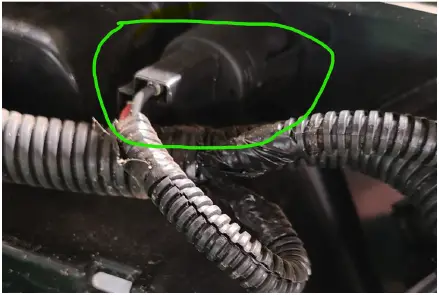
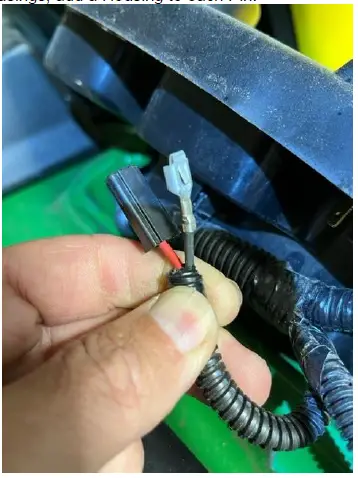
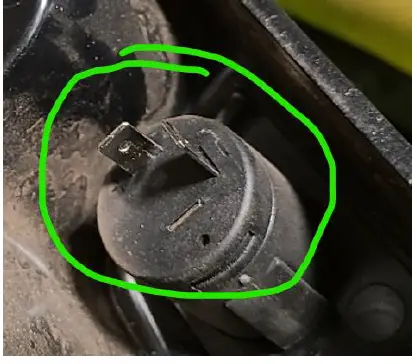
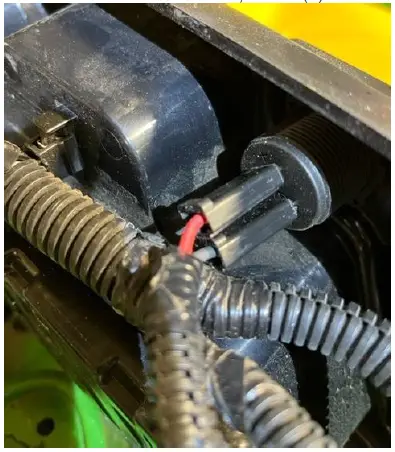
- Once access is gained to the underside of the Panel, locate the 12V Power Receptacle and 90-Degree 2-Pin Connector.

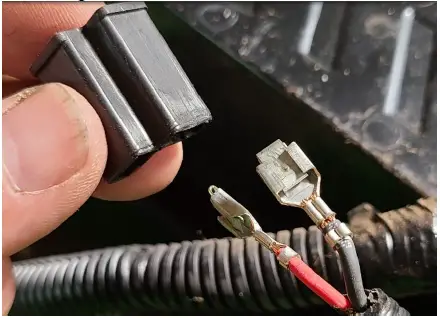
- Remove the 90-Degree Connector.

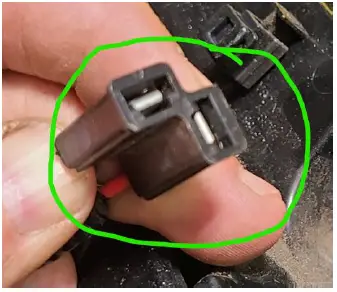
- Next, remove the Plastic Housing from the Pins.

- With the provided 1-Pin Housings, add a Housing to each Pin.

- To remove the Receptacle, squeeze the tabs on either side and push through the Panel.

- Insert the USB42CHD into the Panel and screw on the provided Nut to complete the install onto the Panel. Then attach the individual Pins to the USB42CHD; Red to (+) and Green to (-).

- Before screwing the Panel into place, test to ensure the USB42CHD is able to charge a Phone and/or Device.