ULINE H-2534 Towel Dispenser Installation Guide
TOOLS NEEDED
- Drill

- Drill Bit

- Phillips Screwdriver

- Level

- Tape Measure


PARTS
- Dispenser x 1

- Key x 2

- Screw x 4

- Wall Anchor x 4

MOUNTING DISPENSER
![]() NOTE: Recommended mounting height is 48″ from the floor to the bottom of the dispenser.
NOTE: Recommended mounting height is 48″ from the floor to the bottom of the dispenser.
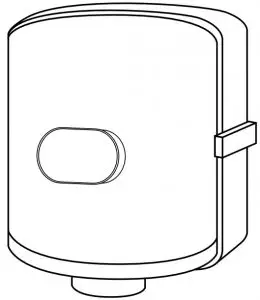
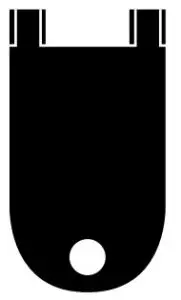
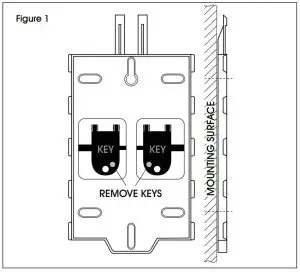
- Remove both keys from mounting plate. (See Figure 1)

- Remove mounting plate from dispenser by insertingkey into keyhole on top of dispenser and sliding the mounting plate down.
- Align mounting plate with labeled side facing the wall to desired position on wall.
- Mark holes and drill into wall surface.
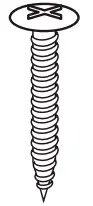
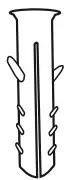
- Insert anchors and top center screw.
- Place mounting plate on center fastener. Tighten screw while ensuring holes line up with all other anchors.
- Insert additional screws with mounting plate in level position and tighten all screws.
- Slide dispenser into place on mounting plate until it locks down. Dispenser is ready to load.
LOADING TOWEL ROLL
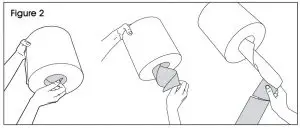
- Remove perforated cardboard core from center of the roll. (See Figure 2)

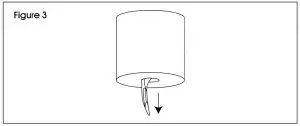
- Pull toweling from the center of the roll and twist the end of the toweling enough to slide into dispensing cone. (See Figure 3)

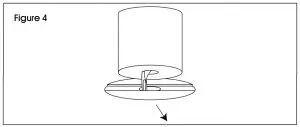
- Feed toweling through the dispensing opening at the bottom of the dispenser. Close dispenser. (See Figure 4)

REMOVING DISPENSER FROM WALL
- Insert key into keyhole on top of dispenser.
- Press down and hold pressure on key while lifting up dispenser to disengage from mounting plate.
![]() NOTE: Keep dispenser pressed tightly against wall while lifting.
NOTE: Keep dispenser pressed tightly against wall while lifting.
Contact: 1-800-295-5510
Website; uline.com