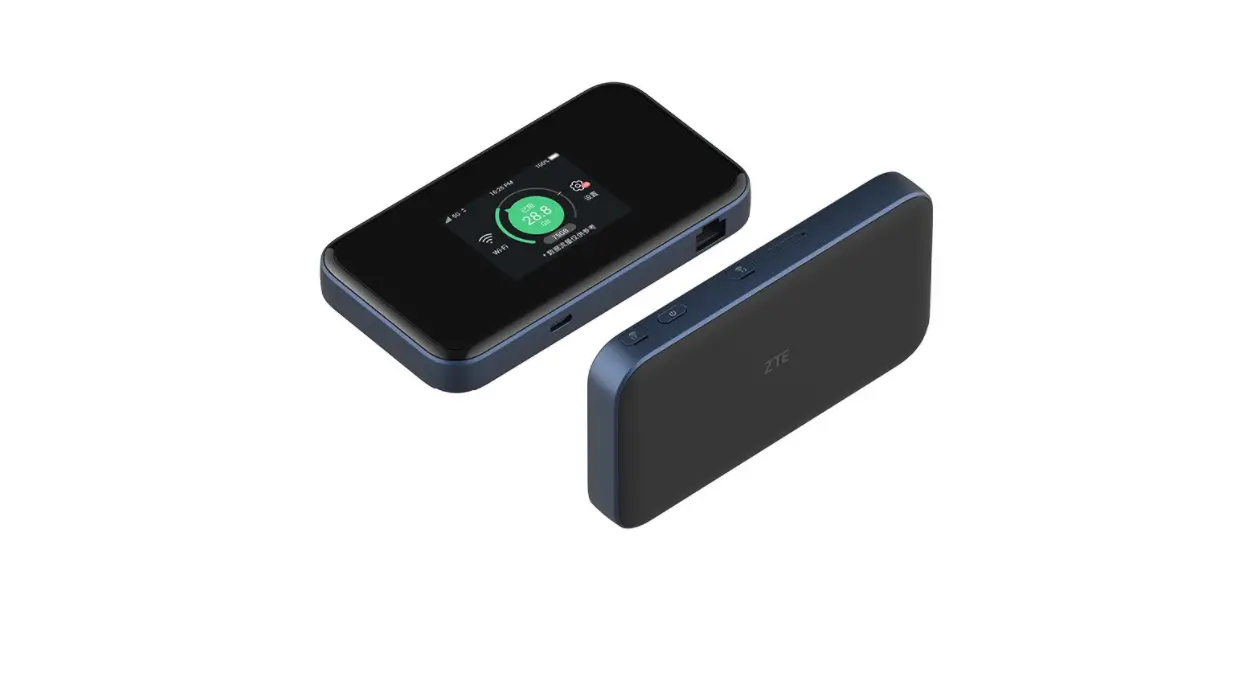
Vodafone MU5001 5G Mobile Hotspot User Guide
Prepare
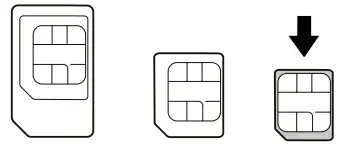
- A valid nano-SIM card.
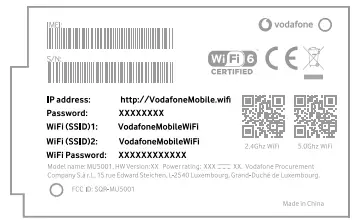
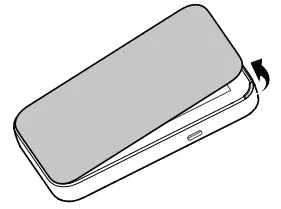
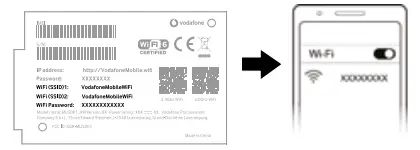
- Open the back cover and view the label in the battery slot to get the default information. The following figure is for reference only.
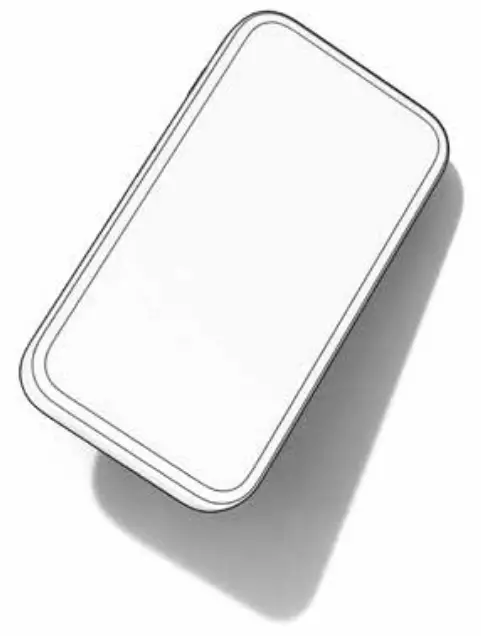
Install the Battery
- Open the back cover.
- Insert the battery.

- Put the cover back.
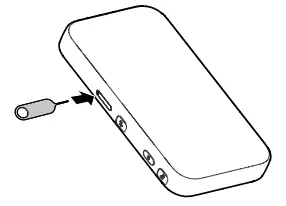
Insert the nano-SIM Card
- Insert the tip of the tray eject tool into the hole
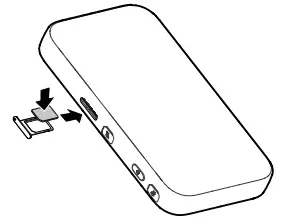
- Pull out the card tray and place the nano-SIM card on the tray as shown. Carefully slide the tray back into place.
Start Your Device
Press and hold the power button until the screen lights up and then the device will connect to the Internet automatically
NOTE:
If the battery is extremely low, you may be unable to power on the device. Please charge your device first.
Access the Internet
- Wi-Fi: The default Wi-Fi SSID and password can be found on the device label. Connect to the Wi-Fi network with your mobile device and then access the Internet.
NOTE:
You can touch the screen to view the default Wi-Fi SSID and password.
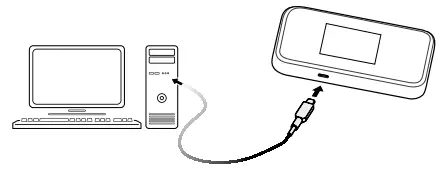
- USB Type-C cable: Connect with the computer via USB port and then access the Internet.
Change Your Device Settings
You can change the device settings by logging in to the 5G Mobile Hotspot configuration web page.
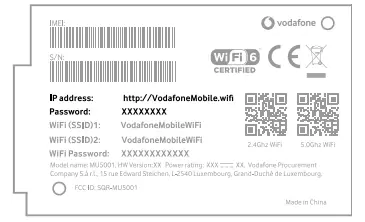
- View the label on your device to get the default Device Manager Website IP address and Password.
- Launch the Internet browser. Enter the Device Manager Website IP address in the Address bar.
- Input the Password and then click Login.
- After the 5G Mobile Hotspot configuration web page is opened, you can change the default settings.
NOTE:
You can also change some settings by touching the screen.
Touch Screen Icons and Interfaces
![]()
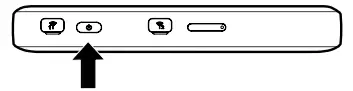
- External antenna connector: Connect the antenna if necessary. E.g. Antenna with TS9 connector, frequency range 600Mhz~6000Mhz.
- Power button: Press and hold for about 3 seconds to power on your device.
- nano-SIM card tray: Insert your nano-SIM card
- Charging/USB Type-C: Charge the device or connect to the USB port of a computer. Note: In order to reach higher connection speeds please use USB 3.0 cable.
- Touch sceen icons:
![]()
ZTE CORPORATION
NO. 55, Hi-tech Road South, Shenzhen, P.R.China
Postcode: 518057


