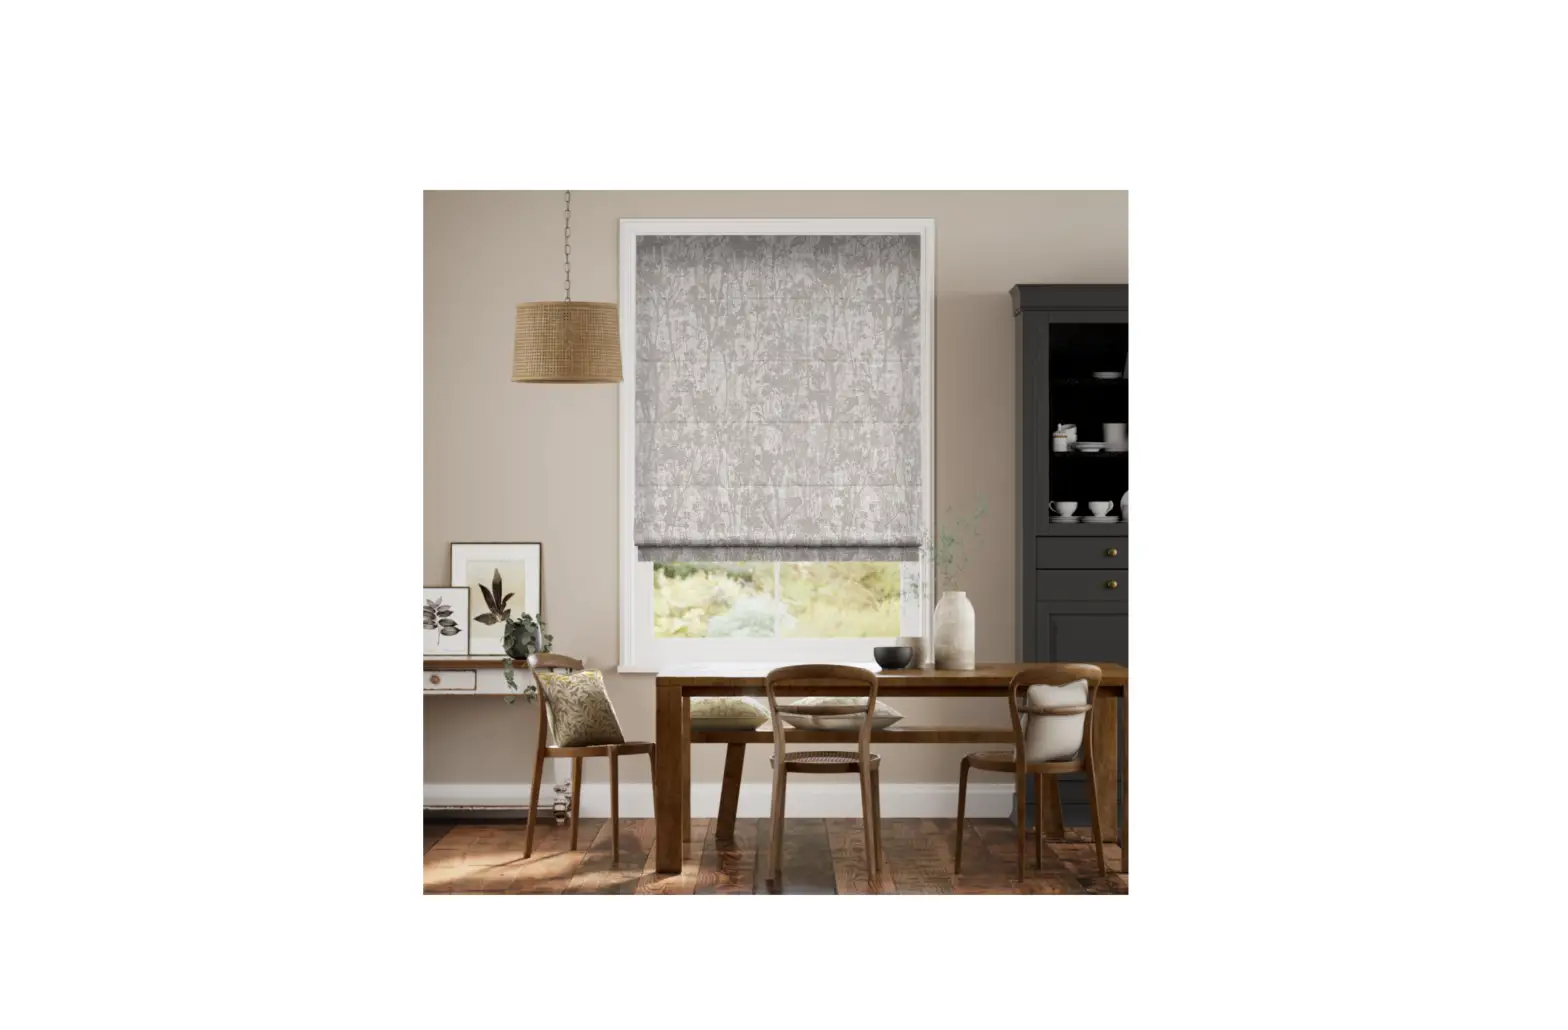
Ideal 2023 Roman Blind Fitting Instructions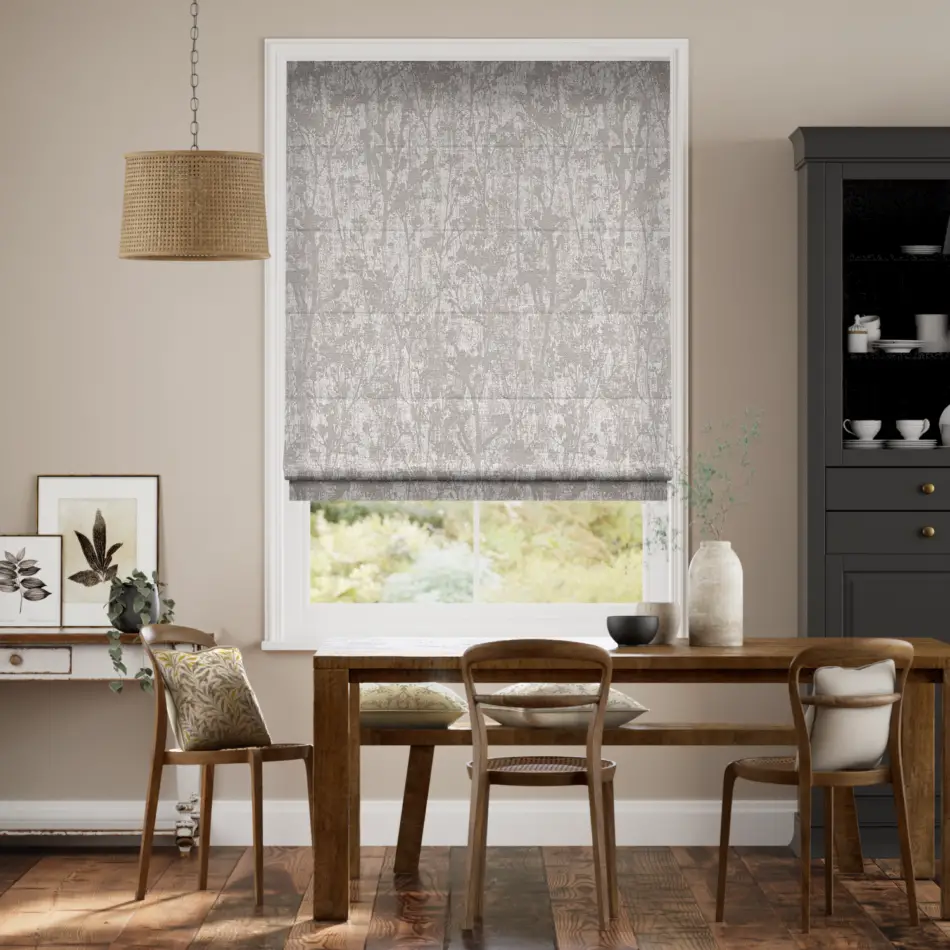
tools
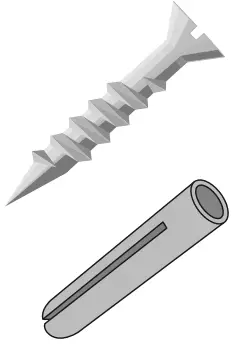
- Screws & plugs

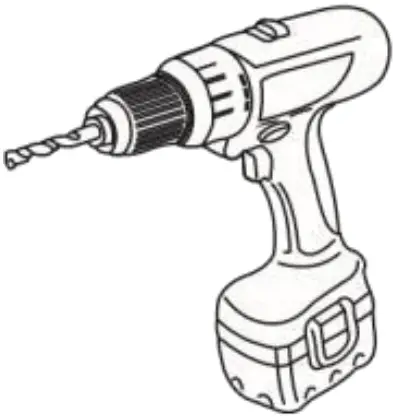
- Drill

- Screwdriver

- Spirit level

- Tape measure

- Pencil

Step 1
Fitting outside the recess
If fitting the blind outside the window, measurements (C) will need to be the same. To work out (C), simply minus (B) from (A) and divide the answer by two. Now follow the instructions for FACE FIXING.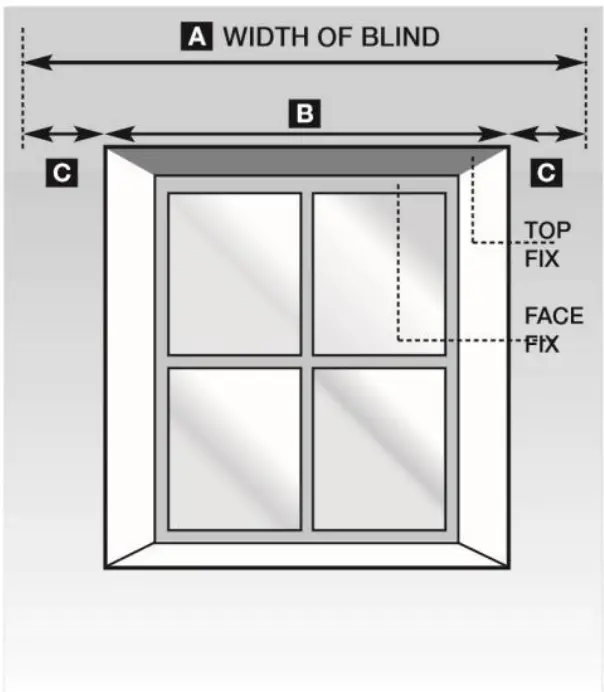
Fitting inside the recess
First choose if you want to FACE FIX or TOP FIX.
FACE FIX to fit the bracket to the window frame.
TOP FIX to fit the bracket to the lintel if the window is UPVC. Be careful when positioning the blind to avoid obstructions such as handles etc.
Step 2
Possilbe bracket positions
Bracket quantity supplied will suit the length of the blind.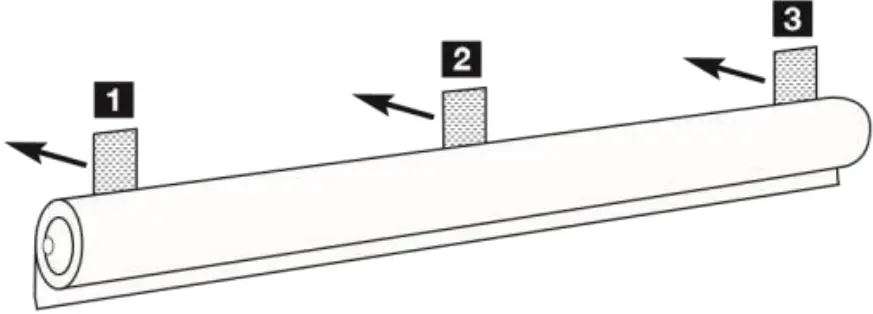
Step 3
Fixing the brackets
The brackets are designed for both face or top fixing.
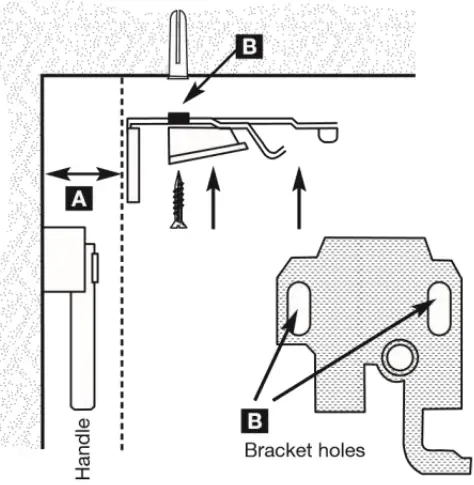
Top fixing: Measure the distance (A) that any handles protrude from the frame. Mark this measurement on the lintel with a pencil and use it to position the back of the bracket. Mark the position of the holes (B) and screw the bracket to the lintel using screws and rawl plugs supplied.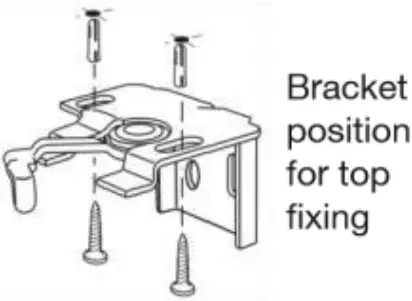
Step 4
Attaching the blind to the track
Line up the blind/loop tape with the hook tape on the headrail and press firmly to secure the blind in place.
Step 5
Mounting the child safety guide
Read these instructions carefully before installing and using the chain safety guide.
Children can be strangled if this safety device isnot installed correctly.
Use of safety devices helps reduce the risk of strangulation but cannot be considered entirely fool proof.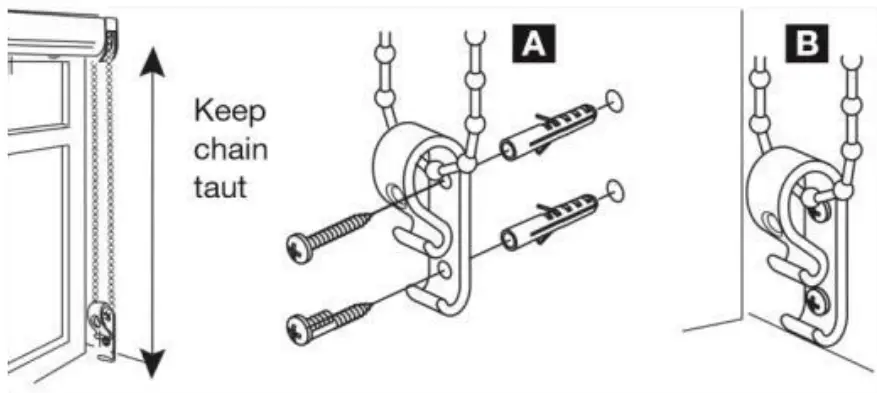
A With the chain safety guide on the chain, keeping the chain taut, mark positions for screws. It is essential that the chain safety guide is installed at the maximum distance possible from the control mechanism to prevent the looped chain becoming slack. Must be no lower than 150cm from the floor.
B Use appropriate fixings depending on the surface to which the device is being fitted. Always use this device to keep cords or chains out of reach of children.
Face fixing:
Position bracket with swing-arm facing towards you. Then mark holes (B). Screw bracket in place. Use rawl plugs if fitting to the wall.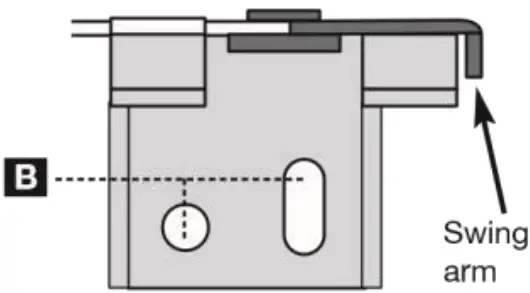
Please read all instructions carefully before commencing.