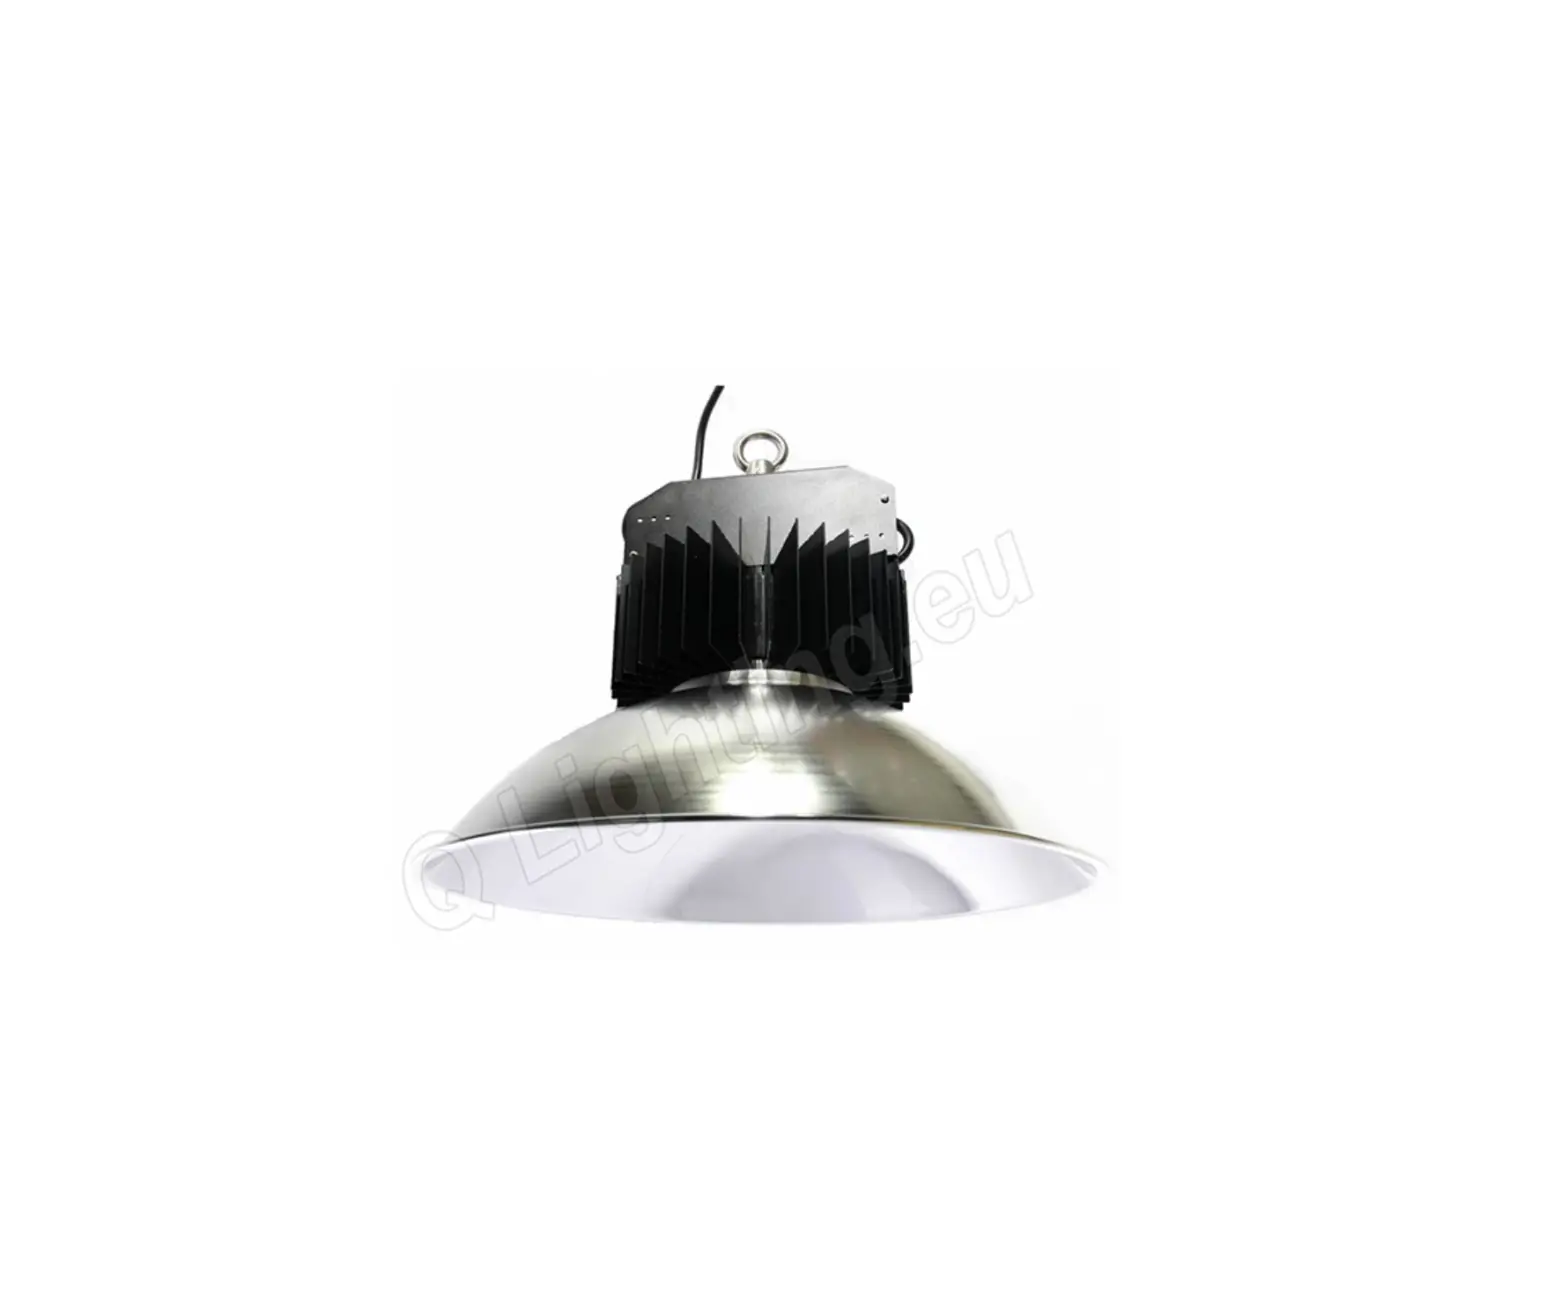
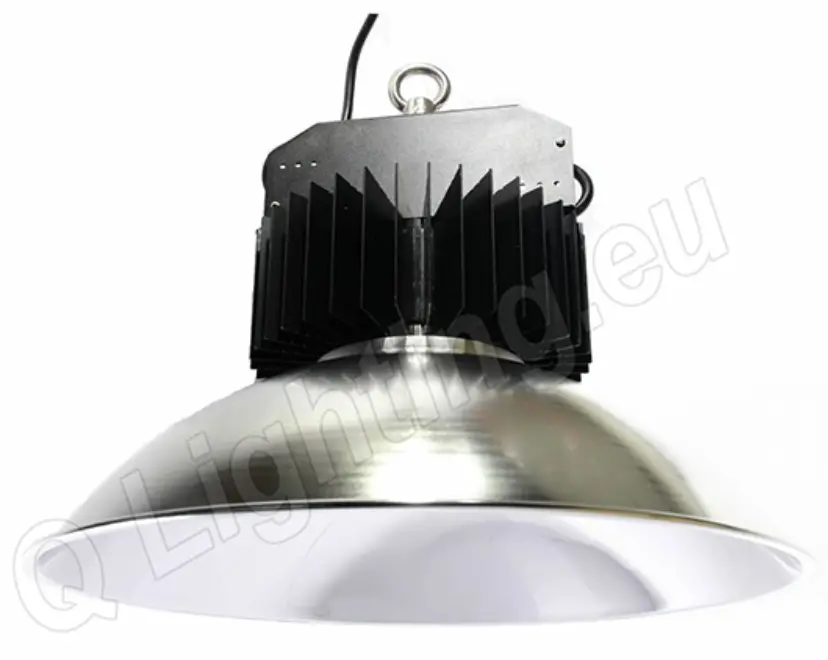
Q-LIGHT Q9TD6 HiFIVE Multipurpose High Bay
KEYS
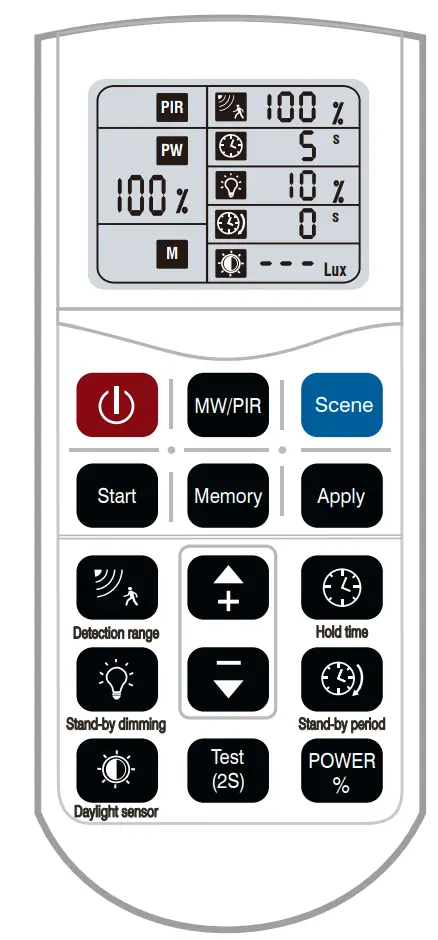
| Remote Keys | Keys Function | Keys Introduction |
 | ON/OFF | Switch ON/OFF the light; Switch OFF the sensor function. |
 | MW/PIR | Mode Switch |
 | Reset | Switch to Sensor mode and recover all settings to be factory defaulted setting(Detection area-100%, Hold time-5s, Daylight- Disable, Standby Period-0s, Stand-by dimming level-10%. |
 | Start | Press the key to start the setting of parameters with memory and apply function under the sensor mode. |
 | Memory | 1. Press “Start”, there will be a letter “S” flashes in the lower left corner of the display, then start to set up all parameters; |
 | Apply | 2. After setting all parameters, press “Memory” to store the settings and keep it until the next reset; 3. Press “Apply” to the set sensor with stored settings within the remote IR range ; 4. Note: All data shown in the display are the settings after pressing “Memory”. |
 | Detection area | Under sensor mode, press the key, the corresponding icon on the display flashes, press “+”/”-” to select the sensitivity |
 | Hold time | Under sensor mode, press the key, the corresponding icon on the display flashes, press “+”/”-” to select the hold time |
 | Daylight Threshold | Under sensor mode, press the key, the corresponding icon on the display flashes, press “+”/”-” to select the daylight threshold. |
 | Stand-by period | Under sensor mode, press the key, the corresponding icon on the display flashes, press “+”/”-” to select the low brightness time. |
 | Stand-by dimming level | Under sensor mode, press the key, the corresponding icon on the display flashes, press “+”/”-” to select the low brightness during stand-by period. |
 | UP | After pressing different parameter keys, press either of the key to adjust(UP/DOWN) the required parameters. |
 | DOWN | Under sensor mode, press “POWER”, the letter of “PW” flashes in the middle left of the display, press “+”/”.-” to increase/decrease the output power. |
 | POWER | Press the key to enter the test mode under sensor mode. It won’t be memorized after power OFF. |
 | Test mode | The parameters under test mode is: detection area-100%, hold time-2s, daylight-disable, stand-by period-0s, stand-by dimming level-10%. |
| Notes | Press “Scene” to reset the remote before using. During the setting of each parameter, the icon will flash for 5s, after that, the setting will be kept automatically. | |
SETUP
Microwave motion sensor settings- One sensor
① Step 1- Press “ON/OFF” to turn on the light.
② Step 2 – Press“ Scene”to reset the remote and switch to sensor mode.
③ Step 3 – Press related keys to set Detection Area, Hold Time, daylight threshold, stand-by period and stand-by dimming level with pressing “+”/”-” within 5s when the icon start to flash.
④ Then all settings would be kept automatically until the next reset.
Start / Memory / Apply-Applied to more sensor
① Press “ON/OFF” to turn on the light
② Press “Scene” to enter sensor mode. Then press “Start” to start the user-defined setting.
③ Press related keys to set Detection Area, Hold Time, daylight threshold, stand-by period and stand-by dimming level with pressing “+”/”-” within 5s when the icon start to flash.
④ Press “Memory” to store the setting.
⑤ Press” Apply” to all sensor within remote IR range, the light will blink rapidly when receiving the signal, means the sensor has been set successfully
Power Output Setting
① The output could be set under two mode-Sensor Mode and Always ON Mode.
② Under always ON mode, press”+”/”-” to adjust the output from 10%~100%.
③ Under the sensor mode, press “Scene”-“Power”, then press”+”/”-” to adjust the output from 60%~100%.
![]() Note: Under the sensor mode, the data shown in the display could be set from 10%-100%, but the brightness would be 60% at lowest and won’t dim any more.
Note: Under the sensor mode, the data shown in the display could be set from 10%-100%, but the brightness would be 60% at lowest and won’t dim any more.
CUSTOMER SUPPORT