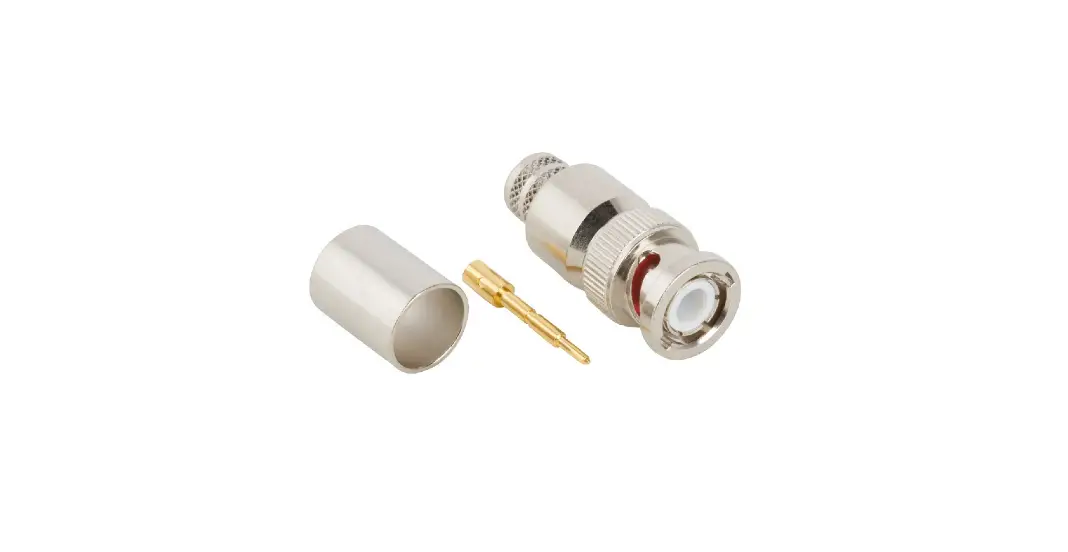
PROFESSIONAL WIRELESS SYSTEMS S4448 BNC Cable Mount Crimp Connector
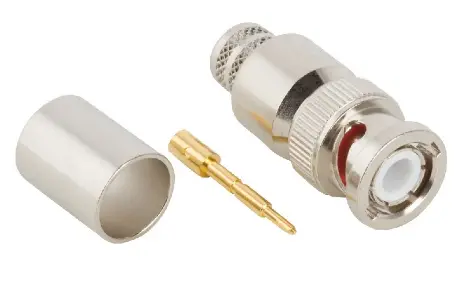
For use with PWS S3018 and S9046 Low-Loss Antenna Cable, Amphenol 112563 BNC Crimp Connector, and 3/4″ 3:1 Adhesive Lined Heat Shrink
Termination instructions
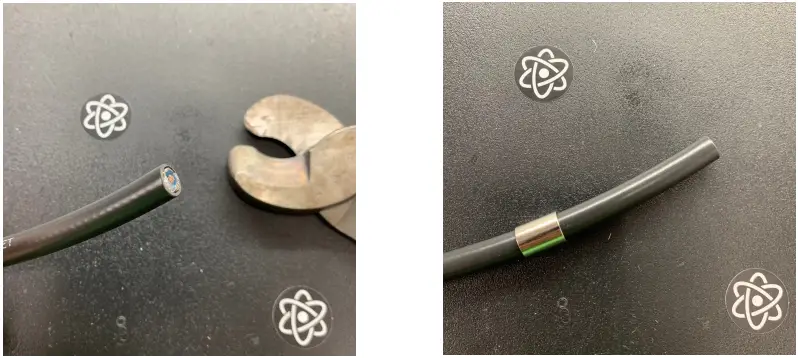
- Start with a fresh, clean 90° cut.

- Slide crimp sleeve on cable.
- We recommend the Times Microwave CST-400 Prep Tool, though not required.
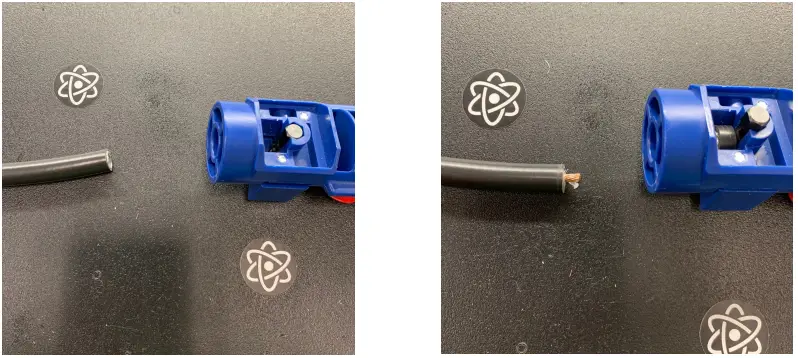
- Use the ‘Cut 1’ side of the tool, trim 1/4″ from all but the center conductor.
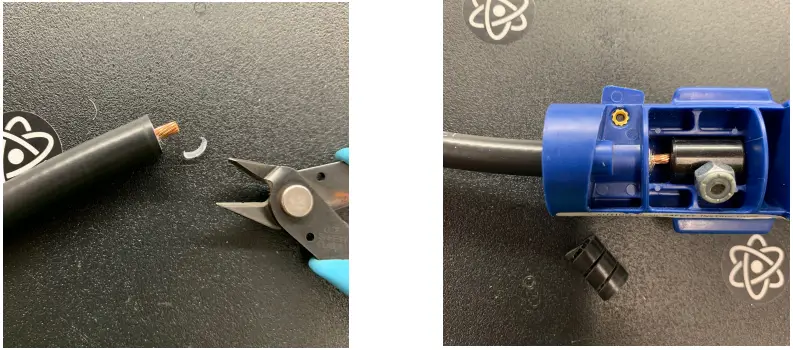
- Trim any excess.

- Use ‘Cut 2 side of the tool (set to Crimp) to trim 5/8″ off just the jacket.
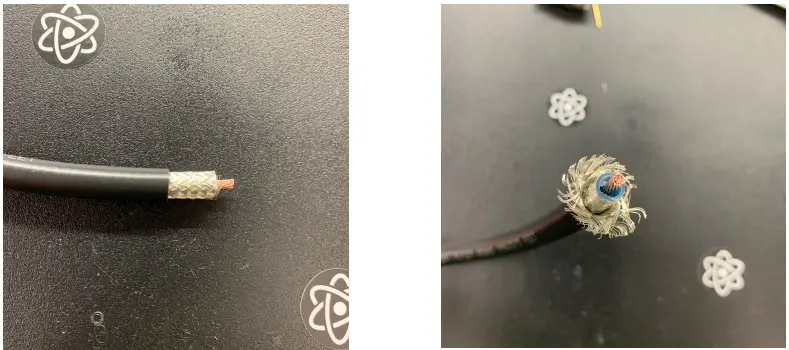
- Result.

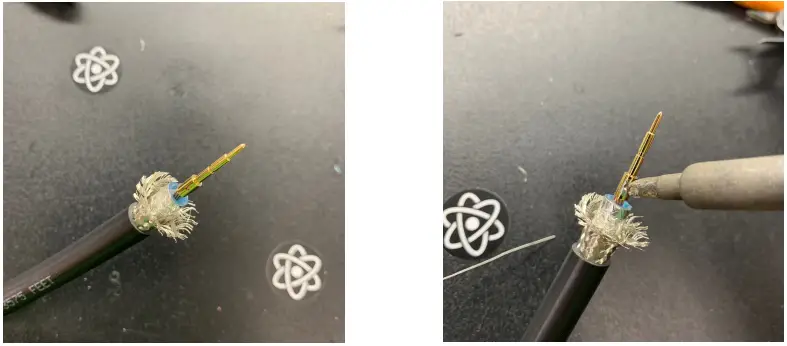
- Splay the braided shield away from the foil shield. Try to keep the braiding as intact as possible.
- Add pin to the center conductor.

- Apply solder through small hole in the center pin.
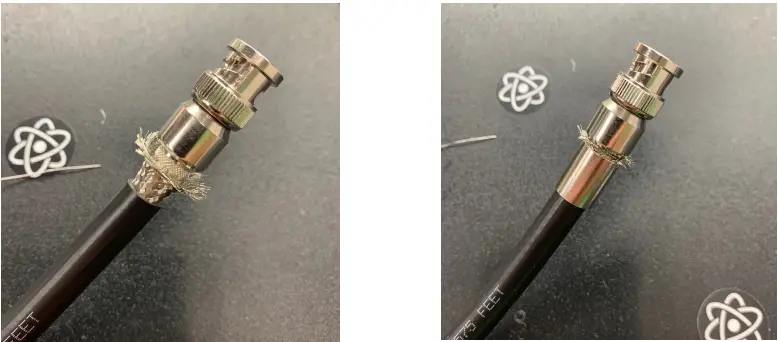
- Carefully slide connector body over foil shield until the center pin clicks into position. Be sure the foil does not slide down the dielectric.

- Slide the crimp sleeve over the braided shield to see how much excess needs to be trimmed.
- Trim excess braided shield.

- Slide crimp sleeve over the braided shield again, making sure no excess is sticking out.
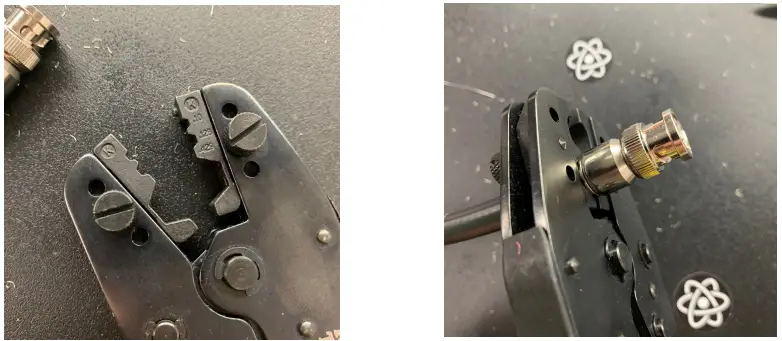
- Crimping will be done with a .429″ hex die.

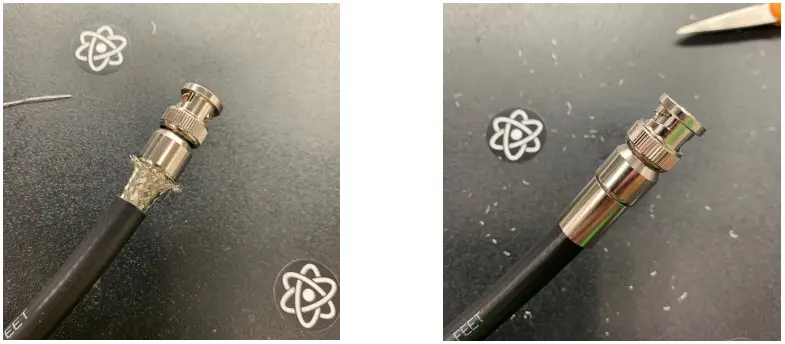
- Place crimp tool/hex die on crimp sleeve, towards the connector body. Crimp the sleeve, making sure it stays right against the connector body.
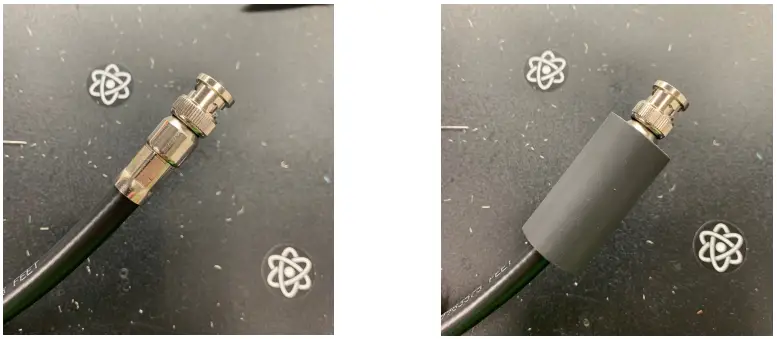
- Result.

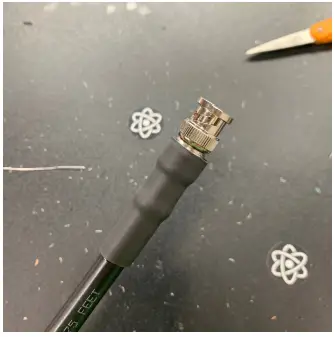
- Slide 2″ section of adhesive-lined heat shrink onto connector and cable. Be sure the heat shrink covers the crimp sleeve AND connector body (not the mating portion). This is what ensures strong reinforcement.

- Termination complete!