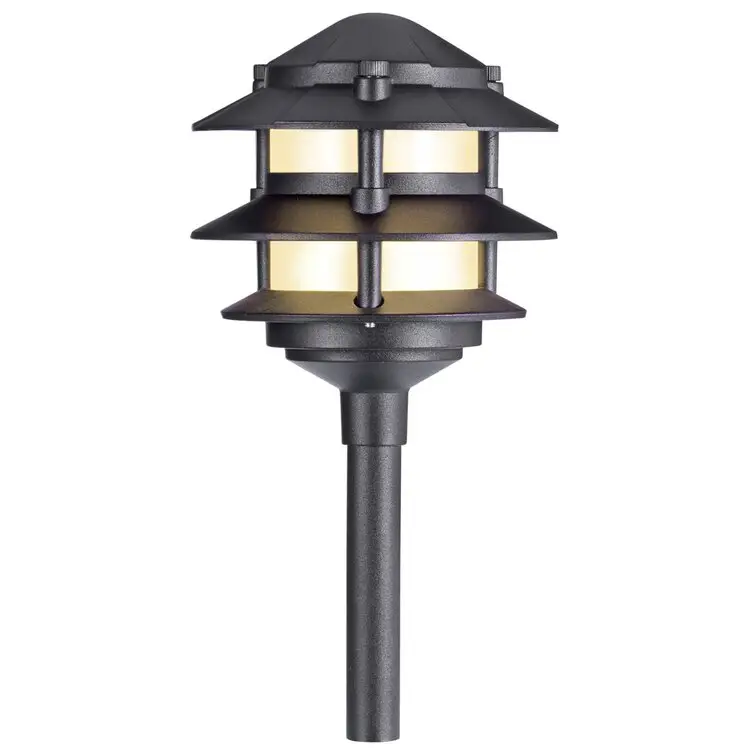
sterno home SHME1065 Tiered Lantern Aluminum Low Voltage Hardwired LED Pathway Light
IMPORTANT PLEASE READ!
These are installation instructions for landscape lighting kits and individual products such as spot lights, path lights, bulbs, transformers, and hubs. The products you purchased may be different than those represented in this instruction sheet, but will function the same.
Assemble Parts
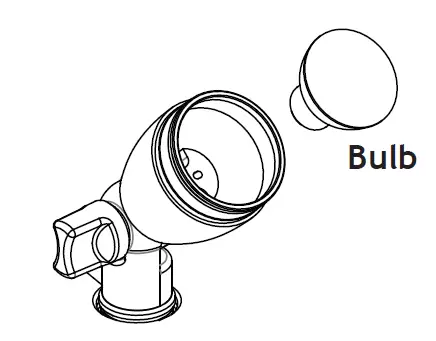
Pathlights
Insert the bulb and attach the top to the stem. 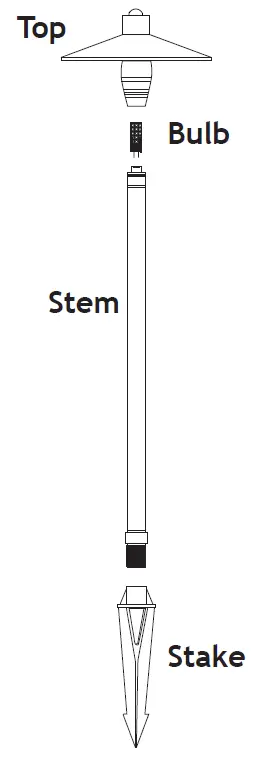 Insert the bulb and attach the top to the stem.
Hubs
Attach the smaller black ground stakes to the hubs.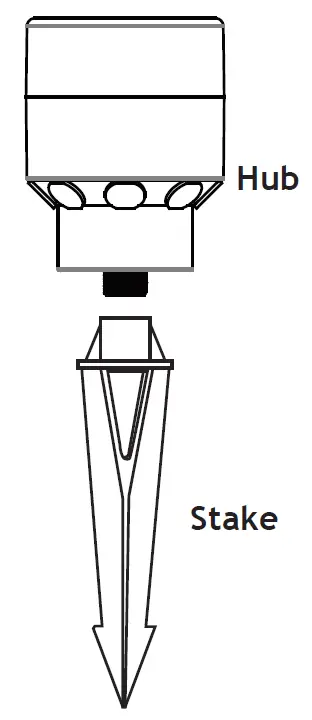
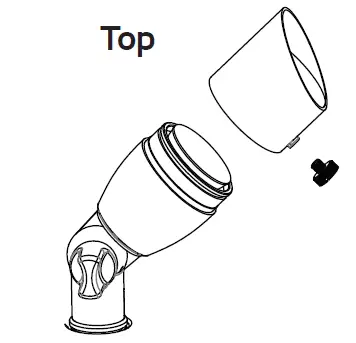
Spotlights
- Remove the top

- Install Bulb

- Reinstall Top
Develop a Plan
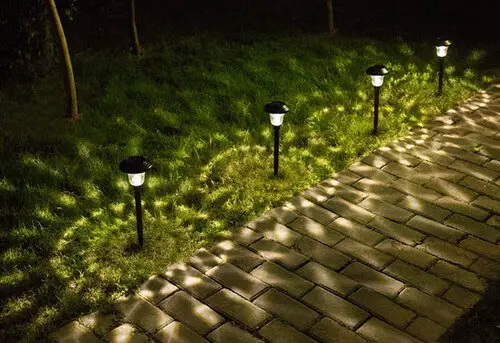
- Position the light fixtures as desired near plants, trees, walkways or structures located within 25 feet of the hubs.
- Position each of the hubs so that they’re centrally located among the fixtures per the plan developed.

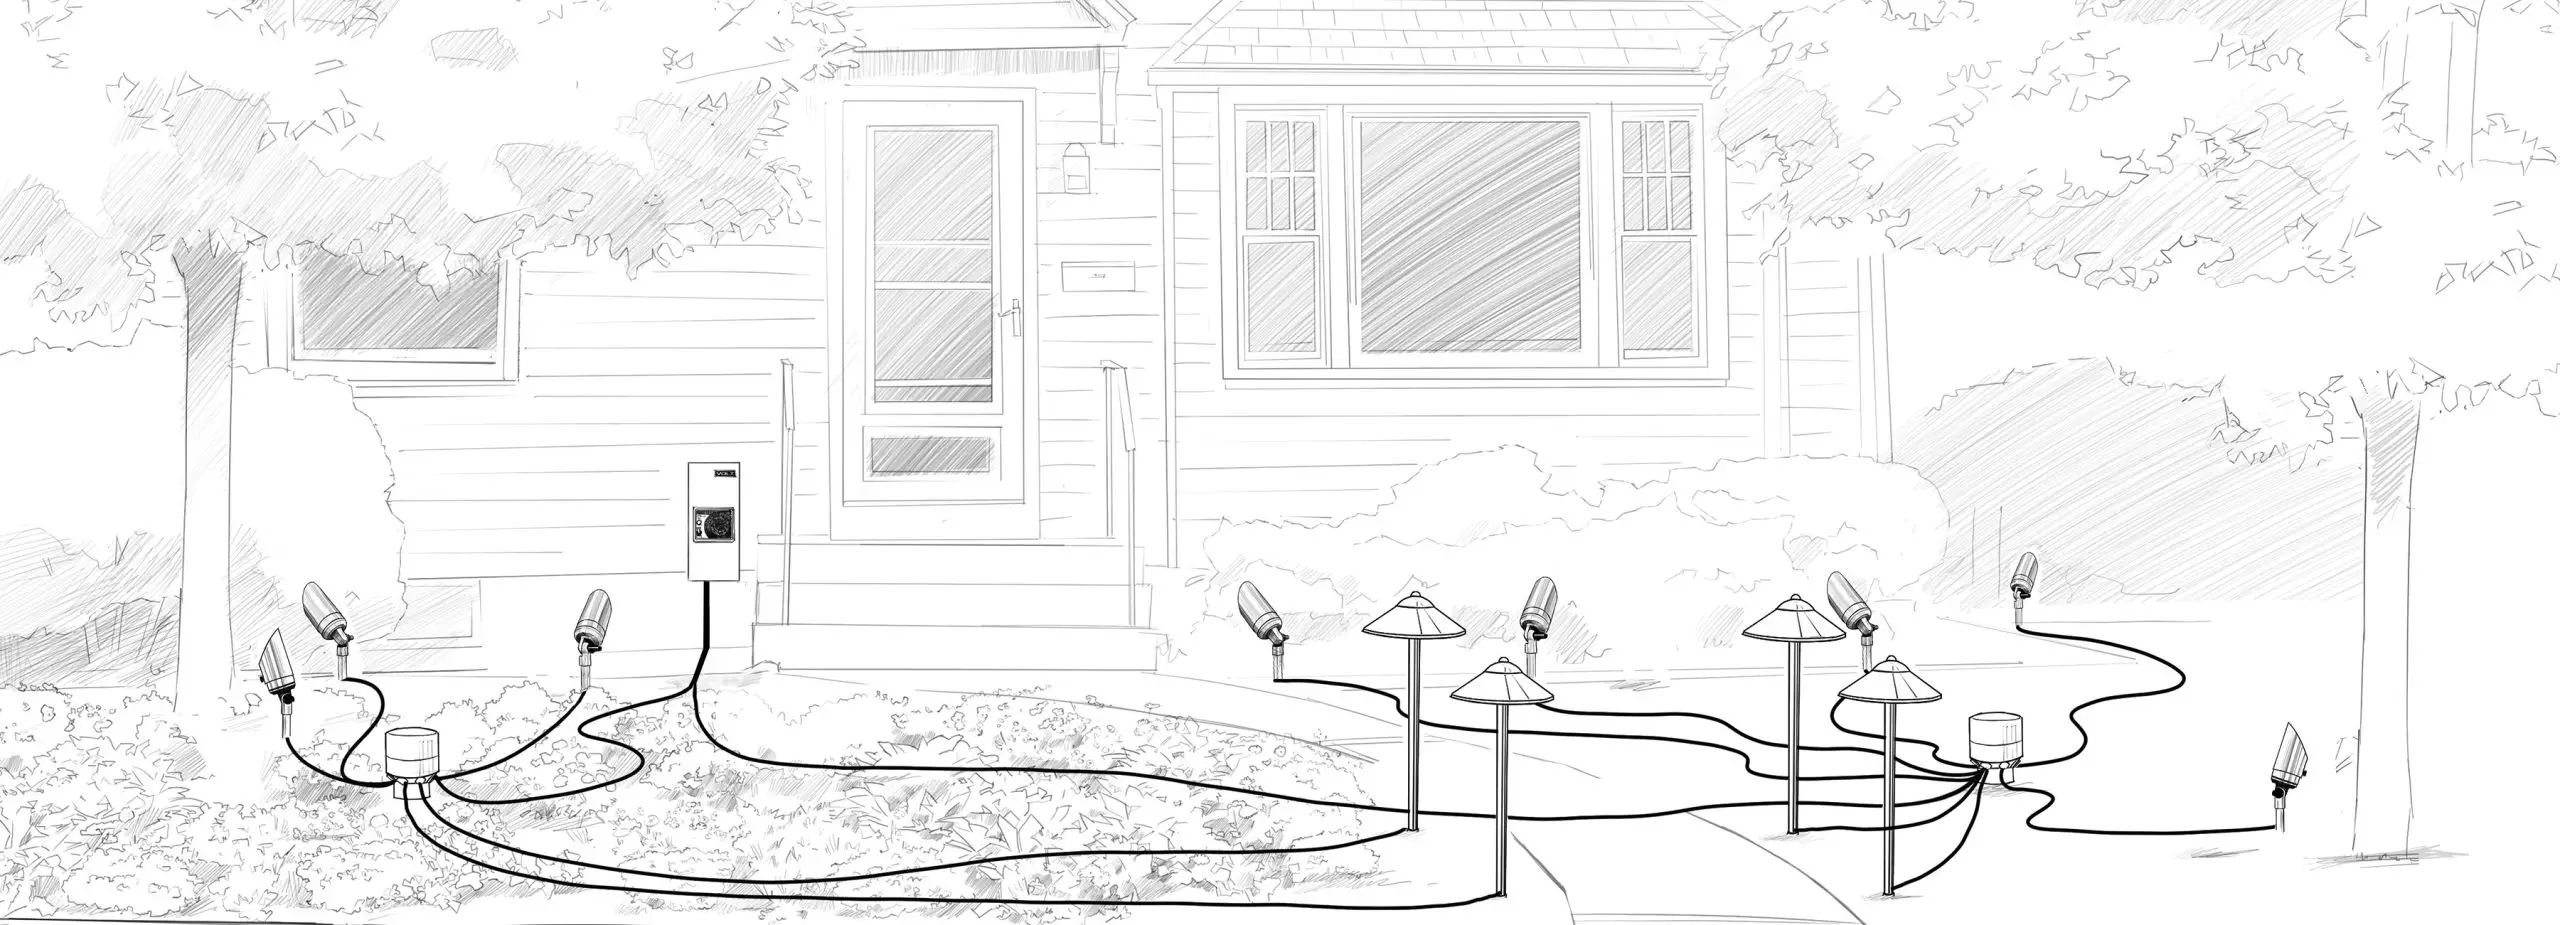
Set Up Wiring
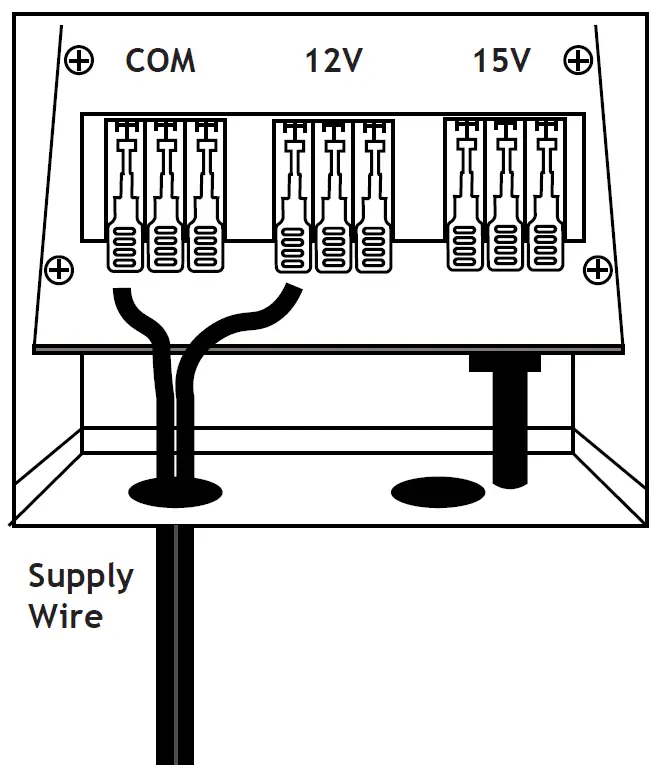
- NOTE: Please make sure the transformer is ‘OFF’ before making any new wire connections. Insert main supply wire into the wire exits on the bottom of the transformer. Then connect one end of the main supply wire to one lever terminal on the “COM” tap by simply lifting the lever up, inserting the wire and flipping the lever down. Then, connect the other end of the supply wire to the 12V lever terminal for shorter runs or 15V terminal for longer runs.

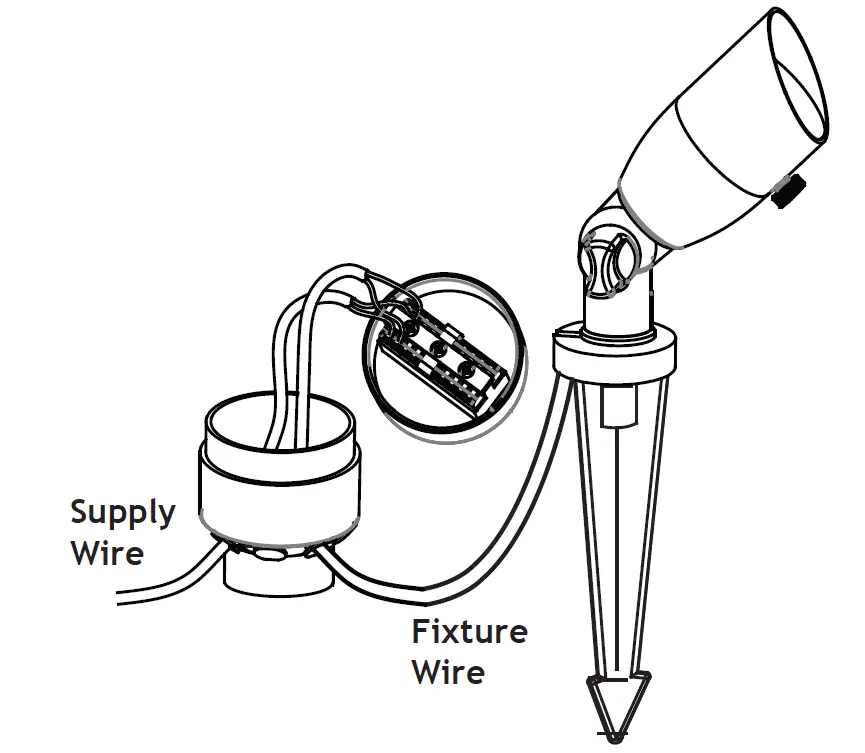
- Run the supply wire to the centrally located hubs and insert the wire through the rubber grommets on the bottom of the hub. Then, flip one of the terminal levers open, insert one end of the stripped supply wire, and flip the lever closed to make your connection. Last, flip the lever open that is directly opposite from the first connection, on the other side of the terminal block, and insert the other end of the supply wire and flip the lever closed to make the connection.

- Run the fixture wire to the hub and insert the wire through the rubber grommets on the bottom of the hub. Then, flip one of the terminal levers open, insert one end of the stripped fixture wire, and flip the lever closed to make your connection. Last, flip the lever open that is directly opposite from the first fixture wire connection, on the other side of the terminal block, and insert the other end of the fixture wire and flip the lever closed to make the connection.
Test Lights
- Check your transformer to ensure the green pilot light is on; this guarantees the transformer is receiving power from the wall outlet. Manually switch the timer to the “ON” position and verify the fixtures light up.
- Once you have verified the fixtures light up, turn the timer to the desired settings.


