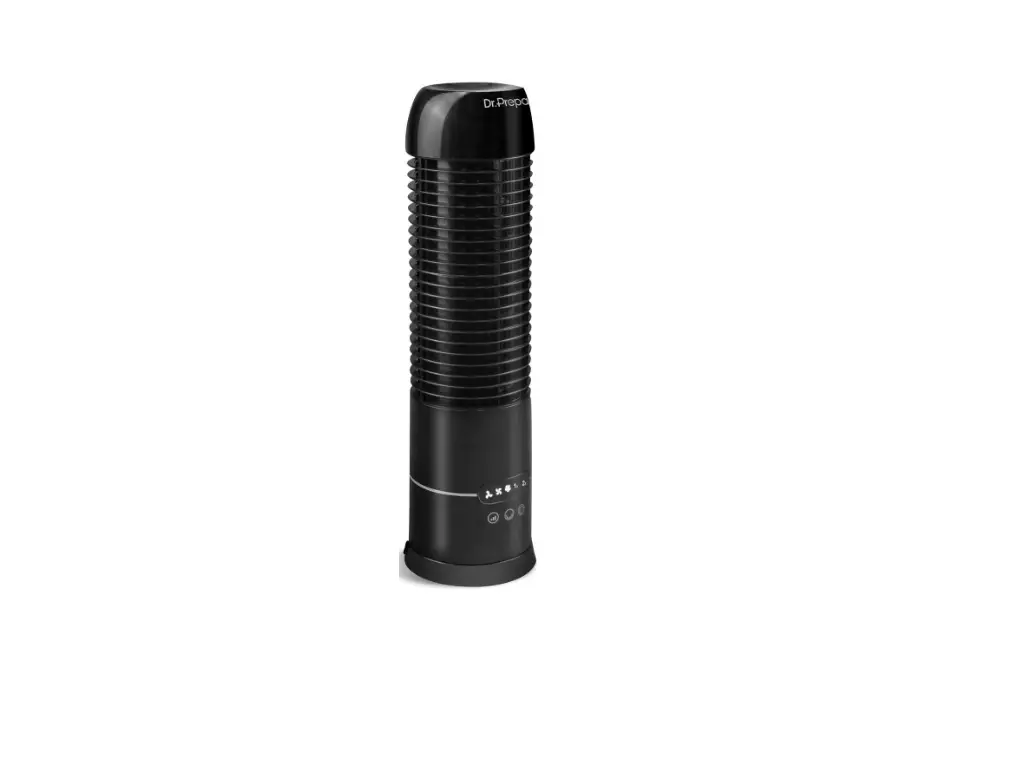
Dr Prepare DDF-1BKDF7 Oscillating Tower Fan
The user manual is meant to offer you a brief walkthrough of the device’s features.
Please save the user manual for future reference. Still need help? Please contact us via [email protected]
SPECIFICATIONS
| SKU | DDF-1BKDF7 |
| Input | DC 5V |
| Timer | 2/ 4/ 8 Hours |
| Speed setting | Low/ Medium/ High |
| Horizontal oscillation | 105° |
| Vertical rotation | 270° |
| Rechargeable battery | 10000mAh |
| Runtime (with Oscillation on) | 11 hours (on Low)/ 5 hours (on High) |
| Size | 15.7″ (H) x 5.5″ (CD) |
| Color | Black |
IDENTIFYING PARTS
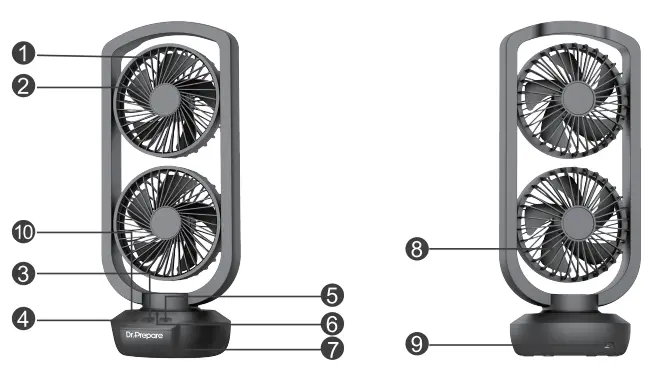
- Front grilles
- Blades
- Power
- Swing (Oscillation)
- Timer
- Indicator lights
- Pedestal
- Back grilles
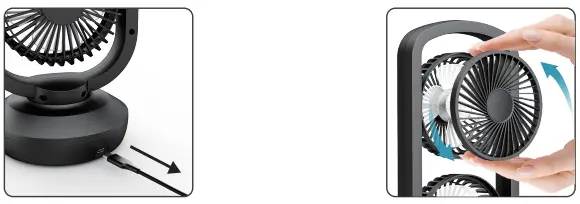
- USB-C input port
- Battery indicators
INSTRUCTIONS
- Place the fan on a firm and level surface before using.
- Press the Power Button to turn on the fan.
Press Power Button once Low speed Press Power Button twice Medium speed Press Power Button for three times High speed Press Power Button for four times Turn off - Oscillation
Press Swing (Oscillation) Button once Start oscillation Press Swing (Oscillation) Button twice Stop oscillation - Timer settings
Press Timer Button once 2 Hours Press Timer Button twice 4 Hours Press Timer Button for three times 8 Hours Press Timer Button for four times Turn off the timer - Battery indicators
There are 3 indicators on the left to show you the real-time battery capacity.The 1st LED blinks the power level is within 0%-33% The 2nd LED blinks the power level is within 34%-66% The 3rd LED blinks the power level is within 67%-99% The 3rd LED stays on the power level is 100%
MAINTENANCE
- Ensure the fan is turned off and unplugged before cleaning and maintenance.
- Rotate the grilles counterclockwise to take it out.
- Use a soft cloth to gently wipe off the dust. Then put the grilles back and rotate clockwise to secure them.
WARRANTY
- Dr.Prepare products are covered by a 12-month limited warranty from the original purchase date. If any problems occur, please contact our support team.
- We only provide after-sales services for products that are sold by Dr.Prepare or retailers and distributors authorized by Dr.Prepare. If you have purchased your unit from other channels, please contact your seller for more information about return and warranty.
CUSTOMER SUPPORT
- If you have any questions or concerns, please send us an email at [email protected]


 Oscillating Tower Fan User Manual")


