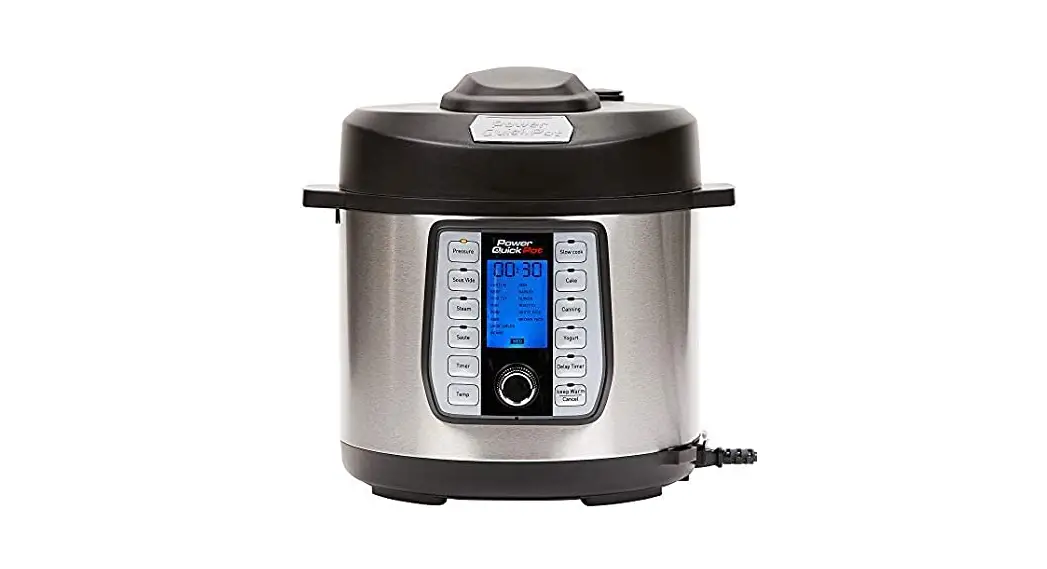
Power Quick Pot

Power Quick Pot
See the owner’s manual for complete instructions and important safety information before using this product.
STEP 1
Slide the Release Switch to the Open position.
Release the Switch and twist the Lid Add your ingredients. Do not fill past the FULL line in the Inner Pot. Place the Lid on top Select a cooking preset button on the sides of the base, aligning the Lid Position of the Digital Display. Use the Center Dial Mark with the Open Mark. Twist the Lid clockwise. When the Lid Position Mark is aligned with the Open Mark, lift the Lid to remove
STEP 2
Place the Inner Pot inside the Power Quick Pot Base.

STEP 3
Add your ingredients.
Do not fill past the full line in the Inner Pot.

STEP 4
Place the Lid on top of the Base, aligning the Lid Position Mark with the Open Mark. Twist the Lid counterclockwise about 30°. When the Lid is locked, the Release Switch will automatically move to the Closed position.
STEP 5
Select a cooking preset button on the sides of the Digital Display. Use the Center Dial to select a food type. Press the Center Dial to confirm the cooking time and temperature settings and start the cooking process.

Unpack all parts from the box and remove any clear or blue protective film on the components.
Wash with warm soapy water before first use (only select accessories are dishwasher safe).
PQP_4-6-8-10QT_QSG_ENG_V1_180525
FAQ’S
No. The Power Quick Pot is not designed for pressure canning.
No. The Power Quick Pot should not be used on any type of glass cooktop including induction cooktops.
In theory they are the same. The PQP has more cook style options than the instant pot like sous vide. The PQP does come with a clear lid the IP does not and neither come with the other accessories like the steam basket and the egg rack
First, you’ll need to make sure that your Instant Pot is properly plugged in and that the steam release valve is closed. Then, add the desired amount of water to the pot. Make sure that the lid is on tight, and then select the “Boiling” function. The Instant Pot will start to heat up and build pressure.
Tristar Products, Inc. is an Inc. 5000 company. Available in 6-, 8-, and 10-quart units, the Power Quick Pot multi-cooker is the newest innovation in home cooking appliances that makes preparing mouthwatering, flavor-rich meals easy, fast, and delicious.
Your Power Quick Pot display should turn orange to indicate that it’s preheating and building pressure. Any recipe that cooks at high pressure will work in your Power Quick Pot—regardless of whether the recipe was developed for the Instant Pot, Ninja Foodi, or any other brand of electric pressure cooker.
Slide the Release Switch to the Open position.
Place the Inner Pot inside the Power Quick Pot Base.
Add your ingredients.
Place the Lid on top of the Base, aligning the Lid Position Mark with the Open Mark.
Select a cooking preset button on the sides of the Digital Display.
First, you’ll need to make sure that your Instant Pot is properly plugged in and that the steam release valve is closed. Then, add the desired amount of water to the pot. Make sure that the lid is on tight, and then select the “Boiling” function. The Instant Pot will start to heat up and build pressure.
stored once the custom settings are defined, and even after the Instant Pot cooker is unplugged from power. To reset to factory default settings, press and hold the “Adjust” button for 3 seconds, when the Instant Pot cooker is in the Off mode.
Now you can do some repairs of your pressure cooker yourself and get back to cooking in just 5 minutes! All you need is a screwdriver – the other parts and tools are all there in the Hawkins Repair Kit. No more risk of using spurious parts, incurring repair costs or dealing with untrained, unscrupulous mechanics.
So it’s really easy all you do is plug it in and with the power pressure cooker by plugging it in that means the power is on so you don’t even have to hit a button there’s no power button.
There is not a separate fuse or the cooker side of the switch, so if the socket on the cooker panel beside the switch is working then its not the wiring that is faulty.
Documents / Resources
 | POWER Power Quick Pot [pdf] User Guide Power, Quick Pot |
