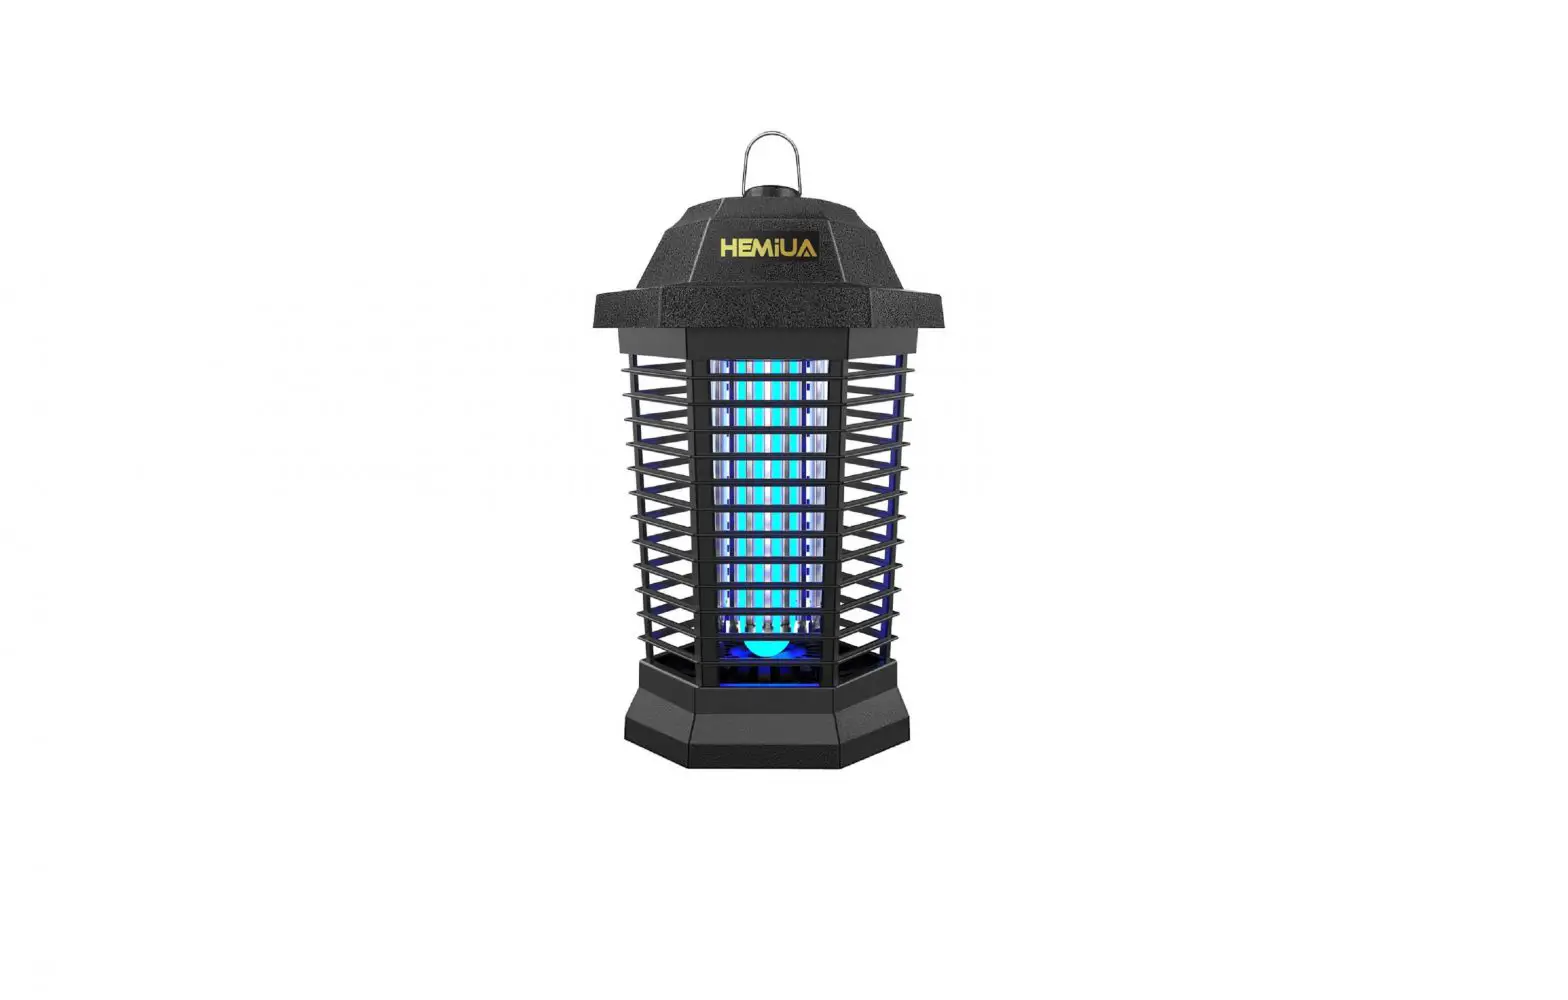
HEMiUA Electronic Bug Zapper Pro User Manual
Introduction
Thanks for purchasing our product, for optimal performance, please read this manual carefully.
- please check the condition of the device before use if the device is damaged, do not use it.
- A wavelength of 365 nm emitted by the highly efficient UV tube attracts bugs, mosquitoes, insects and flies etc. into device and get an electric shock immediately when they touch the electrified grid.
- The device is highly efficient and energy-saving. It is designed for continuous use and is ready to provide you with a long mosquito-free pastime for many years.
Safety Instructions
 Do not use in inflammable or explosive locales and alike.
 Check the local voltage codes before installing.
- Do not intend to touch internal high voltage grids because of electric shock danger. Never put metal objects inside the net during use.
- Hang or place the appliance out of the reach of children.
- Never remove any fixed part of the appliance to make internal adjustments to avoid electric shock.
 Do not clean this product with water, spray or any other liquids. Do not immerse any part of this appliance or supply cord in water. Do not use with wet hands or in damp environments.
 Clean metal grid at frequent intervals, unplug the appliance before cleaning. Use suitable brush to clean the high voltage grids and throw away the insects debris from the collection tray every week.
- Do not abuse power cord. Never carry unit by cord or yond cord to disconnect from receptacle. Keep power cord from heat, oil and sharp edges. Keep extension cord connections dry and off the ground.
Were And How to Use
Indoor:
- The product can be used in the bedroom, living room, hotel, restaurant, office, etc. the product has an energy-saving design and soft lighting, so it shouldn’t be used in high light conditions, otherwise, it will affect the destruction of mosquitoes.
- The right methods for using the device are below:
- (A) keep the house lighting off and use device before sleeping.
- (B) Turn off all strong lighting for 10-20 minutes.
- (C) keep the product in the dark place while working.
- (D) Suggested suspension height: keep the product hanged at a height of 1. 2 m at a distance of 0.3 m from the wall.
Notice: Ultraviolet or “black light” is invisible to the eye, Its ability to attract insects diminishes over time. Therefore, although the bulb appears to be functioning, it should be replace every season to maintain optimal “black light” efficiency..
Out Door:

- Hang the bug zapper at a height of 6 to 8 feet above the ground.
- Place the device 25 feet away from the area intended for human activity.
- Position the bug zapper between the source of insects (woods, lowlands, etc. ) and the area to be protected.
- Plug into a compatible extension cord signed for outdoor use, A blue glow will be emitted by the device within in a few seconds.
- To increase the killing rate, please clean insects debris stuck in the grid. please keep the power off, then open the base and use the metal bar with insulation to discharge the net, finally use soft brush to clean it.
How To Replace Bulb
- To prepare for bulb replacement, unplug unit and allow it to sit for two hours to allow the electrical charge within the unit to dissipate.
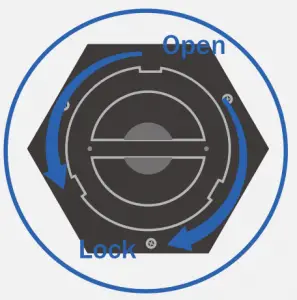
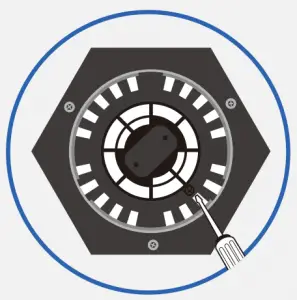
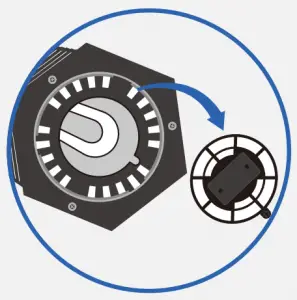
- Twist and remove the tray. (Fig.1)

- Remove both screws securing grate panel. (Fig.2)
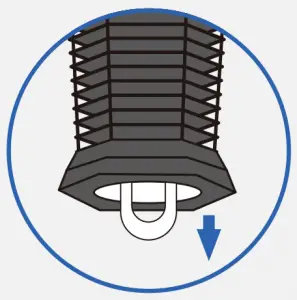
- Lift up grate to access bulb. (Fig.3)
- Wearing gloves, Gently tug on the bulb to remove. (Fig.4)
- Replace bulb only with proper HEMIUA replacement bulbs, then wearing gloves, insert replacement bulbs making sure they are properly seated into the sockets that they were removed from.
- Gently apply pressure on bulbs until they snap into socket securely.
- Place grate plate back into position and fasten with screws.
- If using base tray, twist back into place on bottom of unit.
- Plug in to test replaced bulb functions properly.
Note: If device falls to light after bulb replacement, unplug device, and follow the instructions above ensure that the bulb was correctly Installed, and re-assemble unit.
Trouble Shooting
Caution: Unplug Unit before servicing
| Problem | Possible Cause | Correction |
| A. UV bulb does not light and no high voltage on grid |
|
|
| B. Bulb light on, but no high voltage on grid |
|
|
| C. Grid voltage present, but bulbs do not light |
|
|
| D. Intermittent or continuous sparking between grid rods |
|
|
E. The bulb lights, but no longer attracts insects.
|
|
|
How To Clean
ELECTRIC GRID CLEANING
- Unplug the device and remove unit from hanging position and allow it to sit for two hours to allow all electricity in unit to disperse.
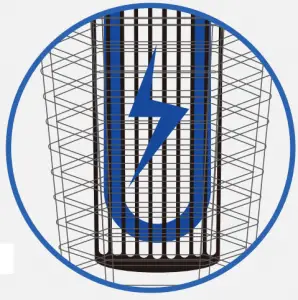
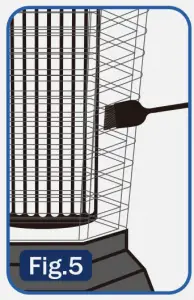
- Access grid through the open slots in grill as shown using included cleaning brush and gently brush away dead insects so they fall down into the lower tray for removal, Be carefully and make sure not to move the metal electric grid. (Fig.5)

- Never use water to clean the unit as this can cause damage to the electronics.
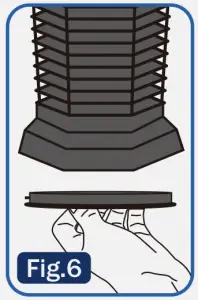
Removing & Cleaning Bottom Try
- If using removable bottom tray, make sure to clean the tray often of dead insects.
- Unplug the unit and twist the bottom tray as shown(Fig.1). (Fig.6) then rinse and dry it, avoid touch insect by hand.

- The exterior housing of bug zapper does not require cleaning. Do not attempt to clean the housing with water or spray any other liquids.
Customer Service
BEFORE YOU CALL CUSTOMER SERVICE:
- Check to make sure that the zapper is plugged in securely. If it is not, remove the plug from the outlet, wait 10 seconds and plug it in again securely.
- Check for a blown circuit fuse or a tripped main circuit breaker. If these seem to be operating properly, test the outlet with another appliance.
WARNING: Do not try to adjust or repair the zapper by yourself. Component parts shall be replaced with like components. Servicing shall be done by factory authorized service personnel to minimize the risk of possible ignition due to incorrect parts or improper service.
If you have further questions not answered by these instructions, please call our customer service at +1-571-486-2787 (Mon-Fri 8:00-20:00 GMT-6) or email [email protected]. Website: http://hemivavip.com
Warranty
ONE YEAR LIMITED WARRANTY: HEMIUA warrants to the original purchaser that the product will be free from defects in material, parts and workmanship for the period designated for this product. The warranty commences the day the product is purchased and covers up to a period of 1 year (12 months) for labor 1 year (12 months) (manufacturing defects only)/carry in service/and a total of 1 years (12 month).


