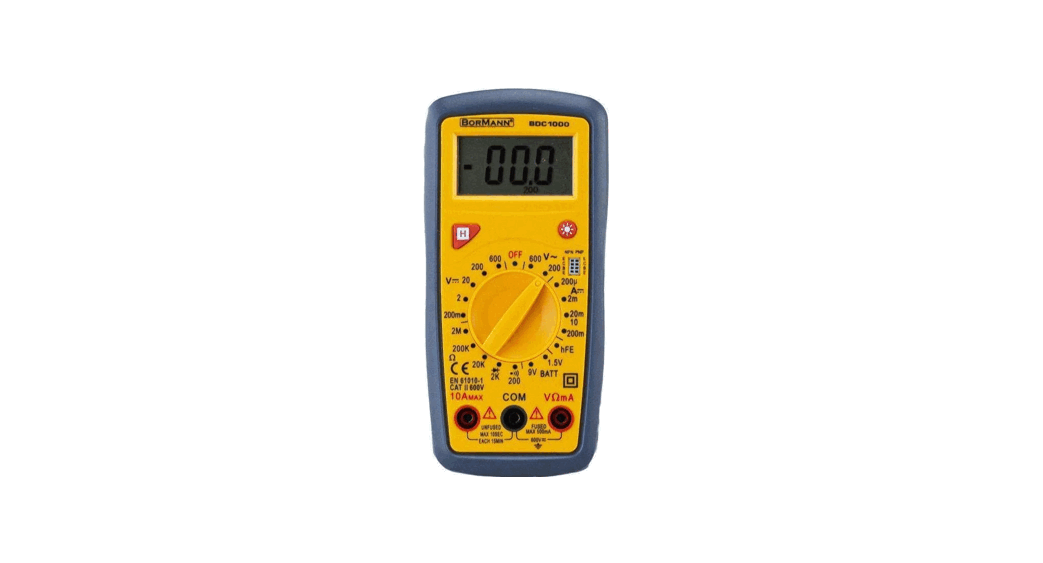
![]() BDC1000 Digital Multimeter
BDC1000 Digital Multimeter
User Manual
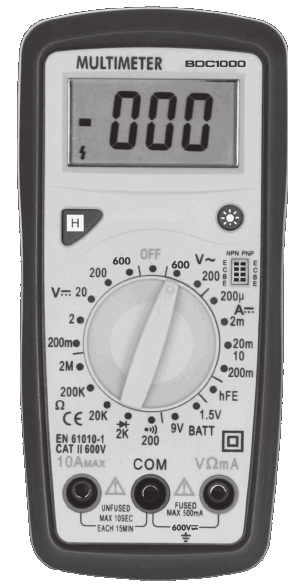
BDC1000 Digital Multimeter
ELECTRICAL SYMBOLS
| DC (Director Current). | |
| AC (Alternating Current). | |
| DC or AC. | |
 | Important Safety Information. Refer to the Manual. |
 | Dangerous Voltage may be Present. |
 | Earth Ground. |
 | Low Battery. |
| Fuse. | |
| Diode | |
| Continuity Test | |
| Centigrade. | |
| Conforms to European Union Directive. | |
| Double Insulated. |
Technical Data
| DCV | 200m-2-20-200-600V ±0.5% |
| ACV | 200-600V ±1.0% |
| DCA | 200u-2m-20m-200m-10A ±1.8% |
| Resitance | 200-2K-20K-200K-2MΩ ±1.0% |
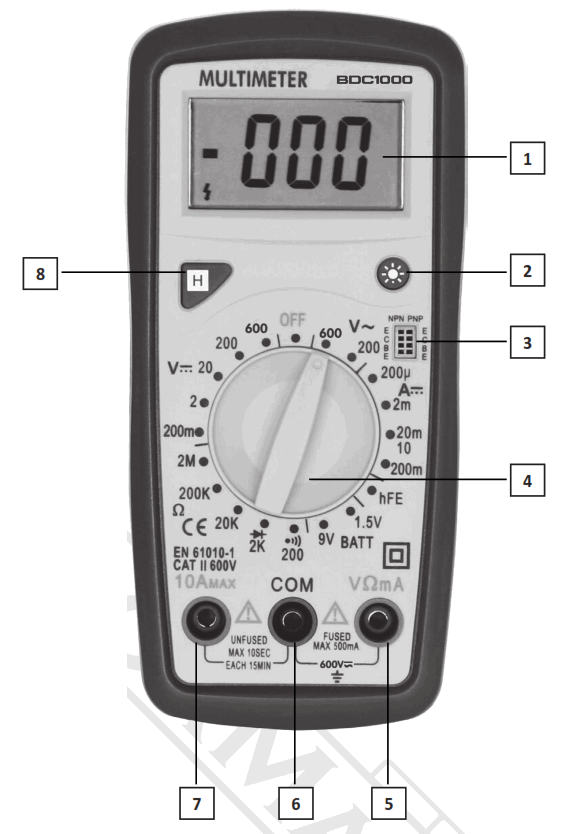
- LCD
- Back Light Button
- hFE Button
- Range Switch
- VΩmA Jack
- COM Jack
- 10A Jack
- Hold Button
RESISTANCE
| Range | Resolution | Accuracy |
| 200Ω | 0.1Ω | ±(1.0% of rdg +10D) |
| 2ΚΩ | 1ΚΩ | ±(1.0% of rdg +4D) |
| 20ΚΩ | 10ΚΩ | |
| 200ΚΩ | 100ΚΩ | |
| 2ΜΩ | 1ΚΩ |
TEMPERATURE (with K-TYPE PROBE
| Range | Resolution | Accuracy |
| -40ºC~150ºC | 1ºC | ±(1.0% + 4) |
| 150ºC~1370ºC | ±(1.5% + 15) | |
| -40ºF~302ºF | 1ºF | ±(1.0% + 4) |
| 302ºF~1999ºF | ±(1.5% + 15) |
BATTERY TEST
| Range | Resolution | nternal Resistance |
| 12V | 10mV | 1.2KΩ |
| 9V | 10mV | 900Ω |
| 1.5V | 1mV | 3KΩ |
Operations Instructions (DC & AC Voltage Measurement)
- Connect red test lead to “VΩmA” jack, Black lead to “COM” jack.
- Set RANGE switch to desired VOLTAGE range, if the voltage to be measured is not known beforehand, set switch to the highest range and reduce it until satisfactory reading is obtained.
- Connect test leads to device or circuit being measured.
- Turn on power of the device or circuit being measured voltage value will appear on Digital Display along with the voltage polarity.
DC Current Measurement
- Red lead to “VΩmA”. Black lead to “COM” (for measurements between 200mA and 10A connect red lead to “10A” jack with fully depressed.)
- Set RANGE switch to desired DCA range.
- Open the circuit to be measured, and connect test leads IN SERIES with the load in with current is to measure.
- Read current value on Digital Display.
- Additionally, “10A” function is designed for intermittent use only. Maximum contact time of the test leads with the circuit is 15 seconds, with a minimum intermission time of seconds between tests.
Resistance Measurement
- Red lead to “VΩmA”. Black lead to “COM”.
- Set RANGE switch to desired Ω range.
- If the resistance being measured is connected to a circuit, turn off power and discharge all capacitors before measurement.
- Connect test leads to circuit being measured.
- Read resistance value on Digital Display.
Diode Measurment
- Red lead to “VΩmA”, Black lead to “COM”.
- Set RANGE switch to “
 ” range.
 - Connect the red test lead to the anode of the diode to be measured and black test lead to cathode.
- The forward voltage drop in mV will be displayed. If the diode is reversed, figure “1” will be shown.
Temperature Measurement
- Set RANGE switch to ºC or ºF range, it will display room temperature in ºC or ºF value.
- Connect the K-type thermocouple to “VΩmA” and “COM” jacks.
- The display will read Temperature value ºC or ºF.
NOTE: The K-type thermocouple Max. Operating temperature of Probe: 250˚C/482˚F (300˚C/572˚F short-term). The sensor supplied with the instrument is an ultra fast response naked bead thermocouple suitable for many general purpose applications.
Audible Continuity Test
- Red lead to “VΩmA”, Black lead to “COM”.
- Set RANGE switch to “
 ” range.
 - Connect test leads to two points of circuit to be tested. If the resistance is lower then 30Ω±20Ω, the buzzer will sound.
Transistor hFE Measurment
- Set RANGE switch to the hFE range.
- Determine whether the transistor is PNP of NPN type and locate the Emitter, Base and Collector leads. Insert the leads into the proper holes of the hFE Socket.
- The meter will display the approximate hFE value at the condition of base current 10μA and VCE2.8V.
Battery Test
- Connect the black test lead to the “COM” jack and the red test lead to the “VΩmA” jack (Note: The polarity of the red test lead is positive “+”).
- According to the different type of the battery (1.5V, 9V, 12V) to be tested, set the range switch to the desired BATT range.
- Connect the test leads to the battery to be tested.
- Read the reading on the display. The polarity of the red test lead connection will be indicated.
Battery and Fuse Replacement
Fuse rarely need replacement and blow almost always as a result of operator error.
If the battery indicator appears in display, it indicates that the battery should be replaced.
To replace battery & Fuse (500mA/250V) remove the 2 screws in the bottom of the case, simply remove the old, and replace with a new one. Be careful to observe polarity.![]() The manufacturer reserves the right to make minor changes to product design and technical specifications without prior notice unless these changes significantly affect the performance and safety of the products. The parts described / illustrated in the pages of the manual that you hold in your hands may also concern other models of the manufacturer’s product line with similar features and may not be included in the product you just acquired.
The manufacturer reserves the right to make minor changes to product design and technical specifications without prior notice unless these changes significantly affect the performance and safety of the products. The parts described / illustrated in the pages of the manual that you hold in your hands may also concern other models of the manufacturer’s product line with similar features and may not be included in the product you just acquired.
- Please note that our equipment has not been designed for use in commercial, trade or industrial applications. Our warranty will be voided if the machine is used in commercial, trade or industrial businesses or for equivalent purposes.
- To ensure the safety and reliability of the product and the warranty validity, all repair, inspection, repair or replacement work, including maintenance and special adjustments, must only be carried out by technicians of the authorized service department of the manufacturer.


