
ZIP Xtra Next Gen DVR
Overview
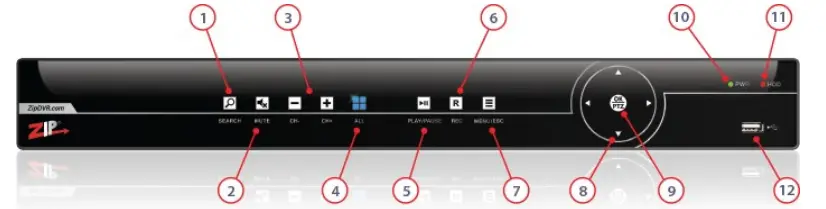
- SEARCH
- MUTE
- CH-/CH+
- ALL
- PLAY/PAUSE
- REC
- MENU/ESC
- Arrows
- OK/PTZ
- PWR
- HDD
Zip is a registered trademark of System Q Ltd
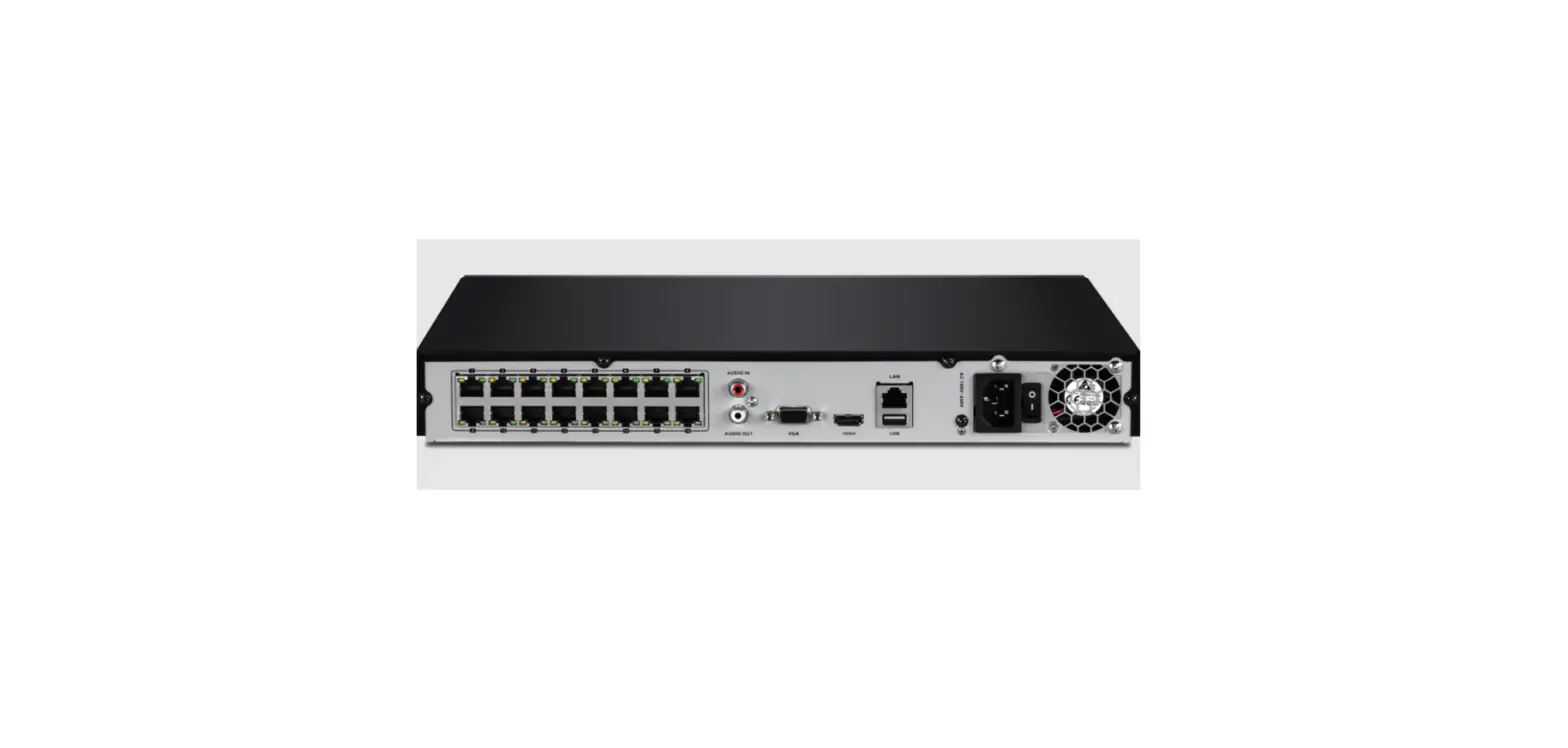
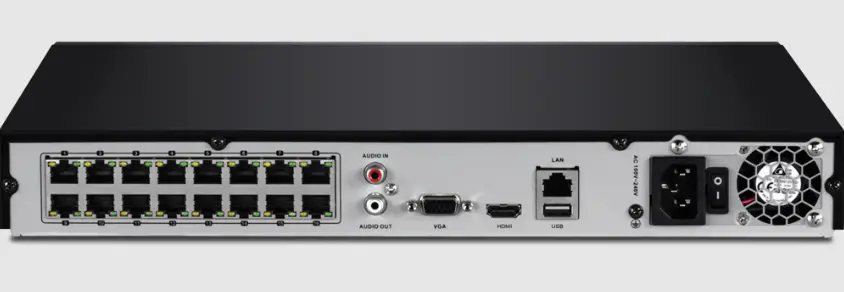
- Audio In (Secondary)
- e-SATA Interface
- Audio In (Primary)
- CVBS Spot Out
- Audio Out
- Video In
- VGA
- HDMI
- RS485 Interface
- LAN Interface
- USB Interface & Reset Button
- Alarm In/Out
- DC Power Socket
- Power Switch
- IR Extender (Not supplied)
Note different models may vary
Step by Step First Time Setup
- Connect the monitor to the DVR using a HDMI or VGA cable for the video, and turn on the monitor.
- Connect the cameras to the DVR and Power up the DVR using the power supply provided. Note – do not use a 3rd party or different power supply unless instructed to do so by the manufacturer.
- Once the DVR has booted up, connect the USB, see Operation below and connect the Network cable to the DVR. See Troubleshooting if you do not get an image on the monitor after “System Configuring”.
- Program the basic settings using Smart Setup.
Operation
IR Remote Control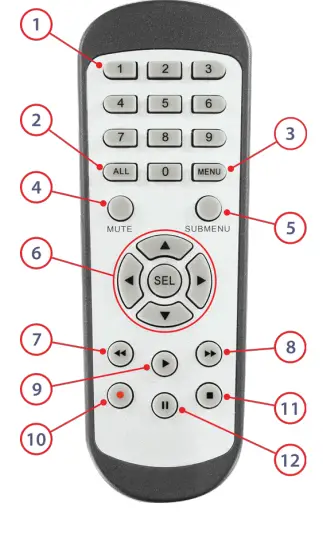
- Numeric Buttons
- Display All
- Menu/Escape
- Mute
- Sub-menu
- Navigation/ Enter
- Rewind
- Fast Forward
- Play
- Record
- Stop
- Pause
Mouse
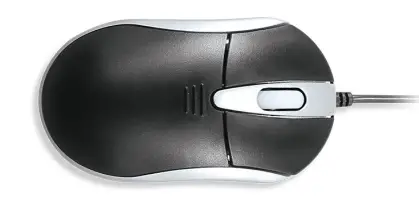
Left-Click
Right- Click
Scroll- Wheel
Single Click
- Live view: display Quick Setting toolbar
- Menu: select and enter
- Live view: drag channel
- Privacy Masking and Motion Detection: select target area
Click & Drag
- Digital zoom-in: zoom in to target area
- Live view: show menu
Single Click
- Menu: exit current menu to upper level menu
Scrolling
- Scroll up / down through highlighted field /drop down list
OSD Keyboard
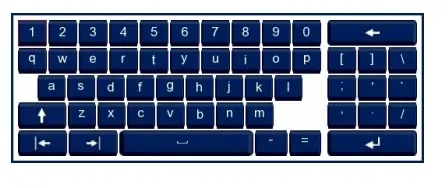
 Delete character to left of the cursor
 Confirm input
 Switch keyboard to upper case letters and symbols
 Insert a space
 Move courser left / right
Login
As all the ZIP DVRs come with the same admin password, for security the DVR password needs needs to be changed.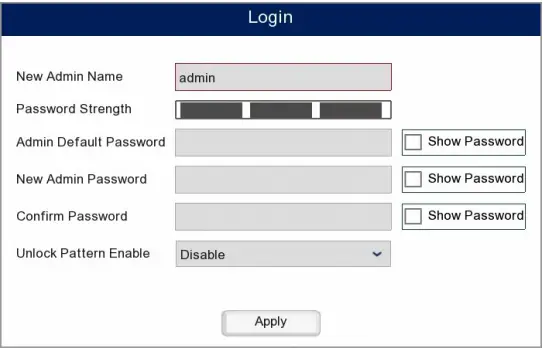
The admin name can be changed from “admin” in order to make the DVR even more secure, how this can be left on “admin”.
- Enter the Admin Default Password which is 555555.
- To set a new password enter the desired password into the New Admin Password field.
- Then re-enter the new password into the Confirm Password field.
The Password Strength bar gives an indication as to how secure the password is. Aim for a strong password using at least 8 characters and a combination of letters and numbers.
Note: Do not use a simple code like 12345, if the recorder is on a network this is too weak and easily accessed by malware.
Tech Tips
How to Select a Network Address
www.zipdvr.com/howto/TIP457-How-To-Select-A-Network-Address.html
How to Setup Motion Detection
www.zipdvr.com/howto/TIP462-How-To-Setup-Motion-Detection.html
How to Add IP Cameras
www.zipdvr.com/howto/TIP459-How-To-Add-IP-Cameras.html
Mobile App Links
ZipVision Pro Android
www.softcctv.com/mobileapps/ZipVisionAndroidClient.html
ZipVision Pro Apple
www.softcctv.com/mobileapps/ZipVisionAppleClient.html
ZipVision Pro App Manual
www.systemq.com/PDF/manual/xZipAPP.pdf
| XTRA204 | XTRA208 | XTRA216 | |
| Codec | H265 / H264 TVI / CVI /AHD / Analogue (CVBS) / IP LAN (RJ45) LAN (RJ45) |
LAN (RJ45) | |
| Input | |||
| Network Interface | |||
| Cameras | 4 (Analogue) | 8 (Analogue) | 16 (Analogue) |
| IP Cameras | 2 | 4 | 8 |
| Recording Resolution (Analogue) | 2MP – 25 fps / 5MP – 12 fps / 4K – 7 fps | 2MP – 25 fps / 5MP – 15 fps / 4K – 10 fps | 2MP – 25 fps / 5MP – 15 fps / 4K -10 fps |
| Recording Bandwidth (IP) | 12mbps 64mbps
Yes 6TB Max (1x6TB) 12TB Max (2x6TB) | 128mbps
12TB Max (2x6TB) | |
| e-SATA | |||
| Max HDD Capacity | |||
| Power | 12V DC / 2A | 12V DC / 5A | 12V DC / 5A |
| Dimensions | 300 x 217 x 53mm | 378 x 326 x 50mm | 378 x 326 x 53mm |
All specifications are approximate. System Q Ltd reserves the right to change product specifications or features without notice. Whilst every effort is made to ensure that these instructions are complete and accurate, System Q Ltd cannot be held responsible for any losses, no matter how they arise, from errors or omissions in these instructions, or the performance or non-performance of the equipment refered to.
This symbol indicates that equipment must not be mixed with general household waste. For treatment, recovery and recycling please return to your local designated WEE/CG0783SS collection point as defined by your local council.


